Skip to content

Instantly share code, notes, and snippets.

@westonruter
Last active June 30, 2023 03:43
Show Gist options
  • Star 10 You must be signed in to star a gist
  • Fork 1 You must be signed in to fork a gist
  • Save westonruter/6110fbc4bef0c4b8c021a112012f7e9c to your computer and use it in GitHub Desktop.
Save westonruter/6110fbc4bef0c4b8c021a112012f7e9c to your computer and use it in GitHub Desktop.
How to install a WordPress plugin from a Gist

Instructions for how to install a WordPress plugin that is stored in a Gist (example).

There are three ways to do it:

  1. Installing via GitHub Updater Plugin
  2. Installing via ZIP
  3. Installing via Git

Installing via GitHub Updater Plugin

Note: These instructions need to be refreshed now that the Gist updater functionality is in a separate plugin.

  1. Install and activate the GitHub Updater and GitHub Updater - Gist plugins.

  2. Navigate to Settings > GitHub Updater.

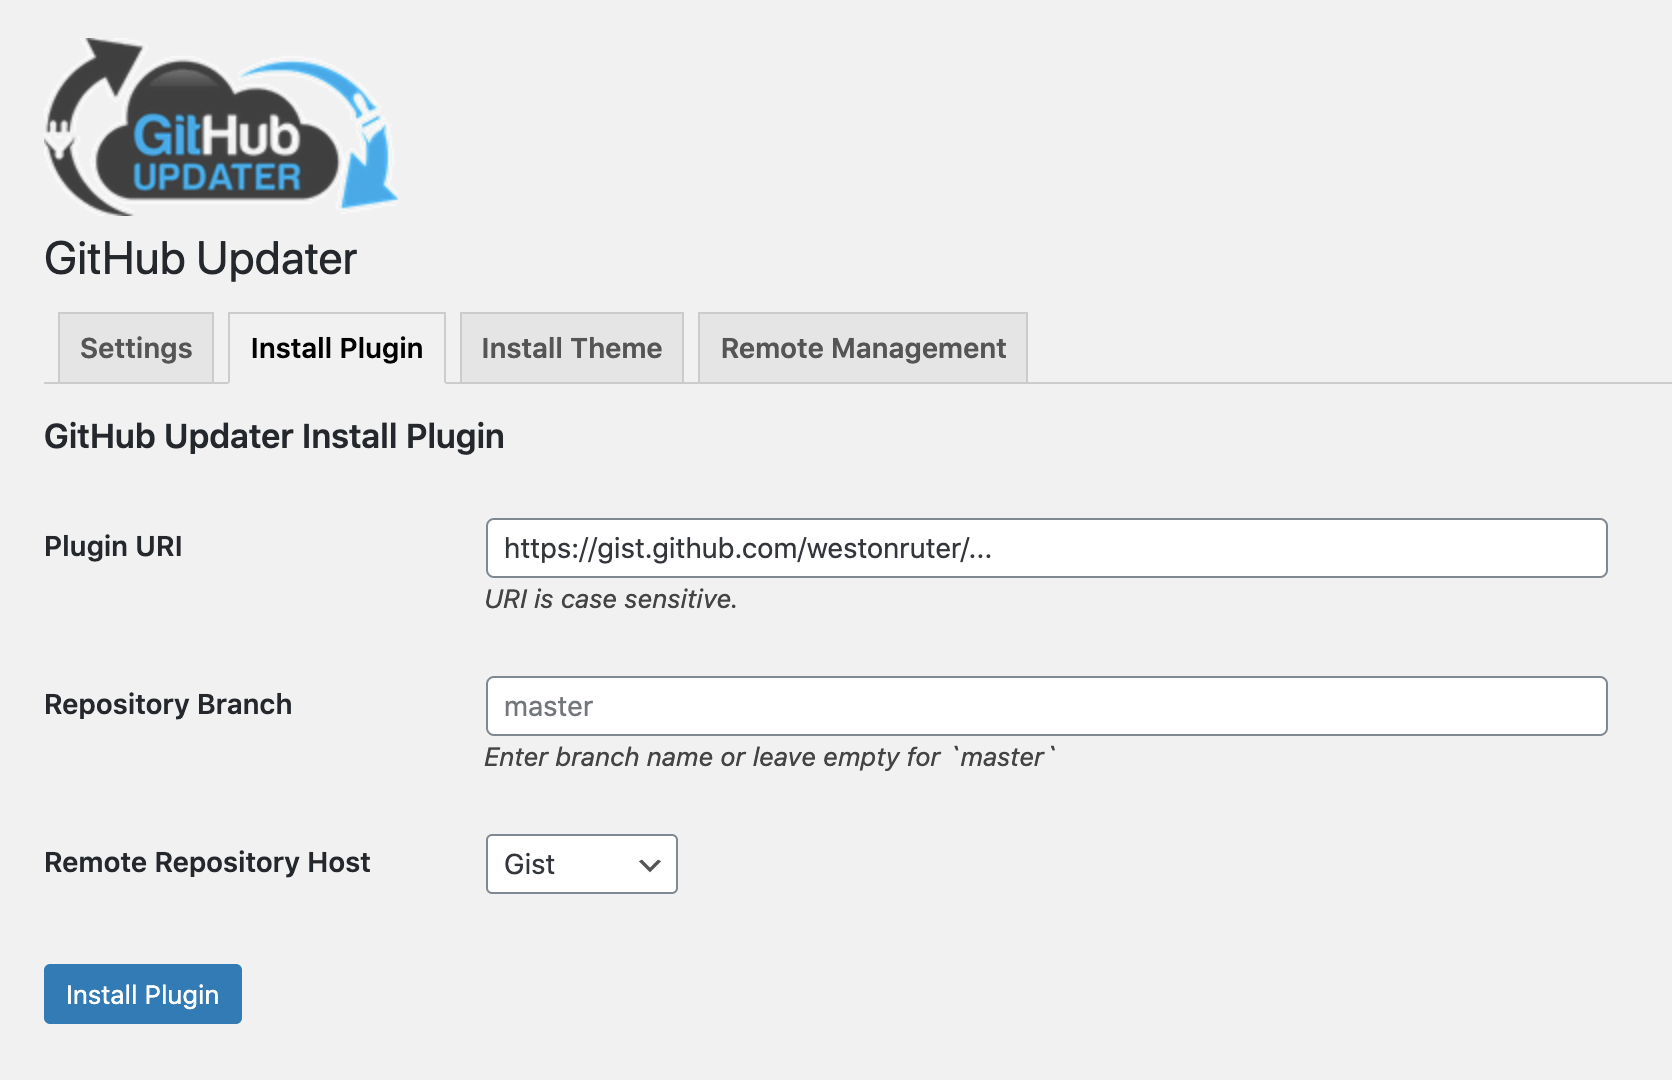
  3. Click on the Install Plugin tab.

  4. Supply the URL of the Gist as the Plugin URI and select “Gist” as the Remote Repository Host, and click Install Plugin. github-updater

  5. Click Activate Plugin. github-updater-activate

  6. From now on any updates to the Gist will be listed among the updated plugins on the WordPress Updates screen.

Installing via ZIP

  1. Click the Download ZIP button:
    image

  2. In the WordPress admin, go to Plugins > Add New:
    image

  3. Click Upload Plugin:
    image

  4. Choose the ZIP file you downloaded and click Install Now:
    image

  5. Click Activate Plugin:
    image

  6. Bonus: Install and activate the GitHub Updater plugin to get updates.

Installing via Git

  1. Click the Embed dropdown and select Clone via SSH (or Clone via HTTPS):
    image

  2. Click the button to copy to the clipboard:
    image

  3. Open the plugins directory on the terminal command line for your WordPress install.

  4. Do git clone {url} {slug} where {url} is the Gist SSH URL which you copied to the clipboard and {slug} is the name you want to use. You can leave out {slug} if you want, but then the slug of the plugin will be something like 621137b5a5ae1caaaee48c63f61ce7b7 instead of my-plugin-doing-something.

  5. Then activate the plugin either via the WordPress admin or via WP-CLI (e.g. wp plugin activate {slug}).

@easeder
Copy link

easeder commented Jan 11, 2022

Is someone else installing files via Git?

@farstud
Copy link

farstud commented Jan 11, 2022

I think installing via ZIP is much more convenient (the main thing is that you have a clutch from the file) than other methods. I must pay tribute to GitHub; at one time, I only used such an installation because I was too lazy to look for something else. Now I choose only ZIP. I am currently using this service https://prosvit.design/wordpress-services/plugin-development/ for plugins, and ZIP suits me best. I haven't tried installing via Git, but I'm unlikely to try. I don't want to offend anyone, and if it's better and more convenient for you to use other installers, I have nothing against it. In any case, the main thing is that the plugins work, and how to install them is a matter of taste. Good luck to everyone!

@herefer
Copy link

herefer commented Jun 10, 2022

It's amazing how you managed to describe everything in such detail and simply.

Sign up for free to join this conversation on GitHub. Already have an account? Sign in to comment