Ionic is a framework that allows us to develop mobile apps using web technologies – HTML, CSS and Javascript basically.
The app is running inside a webview, but of course you don’t see a navigation bar inside that app later!
Through Cordova our “webview app” get’s packaged into a native iOS or Android project, and from that point on you can deploy it like you could any other native app.
With Ionic your app is built from one single code base, and the apps are often referred to as Cross Platform Apps or also Hybrid Apps (although the latter has a bitter taste for some people).
I guess you came here because you already know a bit about it and are interested in more, if you still want more general information just check out the official Ionic page!
To begin make sure that you have setup your own environment to get Started. A few packages are required to get sTARTED.
Whether you are using Windows, Linux or Mac the first step is to make sure you have Node.js installed on your machine.
If you haven’t, simply go to the official Node.js page, pick the right package for your machine, download and finally install it.
Ionic can be installed as a Node.js package through the Node Package Manager (npm) directly from our command line. On a Mac, you can open the Terminal, on other machines use the according Shell and run this command:
npm install -g cordova ionicYou might have noticed there are a few more words in this command. So besides the ionic package we also install cordova, which we need to build our apps into native projects for iOS or Android. But more on that to a later point, for now just make sure this command runs successful!
Oh, and the “-g” option means to install the package globally on your machine, not just in your current folder!
Download VS Code
It’s exactly what we need to work with HTML, CSS and JavaScript and many extensions make this really an awesome code editor.
Of course you can use something else like Sublime, Atom or whatever you prefer, but I still recommend you give VSC a try!
Many people have previously asked for my theme and plugins inside VSC, so if you are interested you can install the ones you see in the images below!
List of Extensions
- Atom One Dark Theme
- Atom One Light Theme
- Auto Close Tag
- Auto Import
- Auto Import - ES6 & TS
- Color Info
- Ionic 2 Commands with Snippets
- Ionic 2 Snippets
- Ionic 2-snippets
- Ionic-vscode
- Language-vscode-javascript-angular2
- Matierial Icon Theme
- npm
- npm intellisense
- path intellisense
- vscode-icons
After installing Ionic through Node you should be able to successful run this command from your command line:
ionic infoThis should print your current versions of different things, and if you have a problem it’s always a good idea to mention those versions as problems might occur only in specific versions at some time!
For me this looked like this (at the point of writing this):
Cordova CLI: 6.5.0
Ionic Framework Version: 3.1.1
Ionic CLI Version: 2.2.3
Ionic App Lib Version: 2.2.1
Ionic App Scripts Version: 1.3.5
ios-deploy version: 1.9.1
ios-sim version: 5.0.4
OS: macOS Sierra
Node Version: v5.4.0
Xcode version: Xcode 8.3.2 Build version 8E2002
If some of your values are different that’s no problem. The most important part here is that Ionic is installed correctly and the command line interface (CLI) works properly.
We are now ready to start the first project – already a bit excited?
Simply start your app by running this command from your command line
ionic start ionicStarWarsApp blankWhat this command does is downloading a template for a new “blank” Ionic app and installing all the dependencies the framework needs. The project name will be “ionicStarWarsApp”, so if you want a different name pick something else.
Once this bootstrapping process is done you can navigate into your folder (cd ionicStarWarsApp) and directly serve your app – but first only inside your browser running:
ionic labThis will compile the project and run it on a local server in Multiple Platform.
And finally your browser should open with a view looking like this:

That is a very good sign, because you have just created and started your first Ionic app!
This is the preview function which you will use 95% of the time to develop your apps – and it’s unbelievable fast.
If you are a former native developer, this will feel so much faster, and if you are coming from web development you feel right at home!
At the top right corner you can pick which platform you would like to see the preview for – different platforms will automatically have a different styling (but more on this in a later lesson)!
For now we leave that view and take a look at what we have actually downloaded and bootstrapped before.
The files inside of your folder might look quite scary and overwhelming if this is your first encounter with Ionic or an Angular project – but most of the time you will be working only in the src folder and can forget about the rest!
Your app folder will look very likely like the one in the image below.
-
config.xml is used once the native project is built from this Ionic project. If you need special permissions in the native app or change other stuff, it will be set inside this file.
-
hooks directory contains actions that will be automatically executed at given lifecycle events of the app. Most of the time you don’t need to touch any file in there.
-
ionic.config.json contains some basic information about your project and is used if you upload your app to the Ionic.io platform.

-
node_modules folder is automatically generated once you install the npm dependencies with “npm install” (Ionic already did this for you in the beginning). This command will scan the package.json for all the packages that need to be installed and is a classic Node.js file.
-
platforms folder contains your native projects. You need to add them first (we will see how later) and they will be generated to this folder.
-
plugins folder contains all the Cordova plugins that you installed. As you might know, these are the wrapper around native functions.
-
resources folder is an Ionic folder that can contain your app icon and splash screen.
-
src folder is the most important folder, and 99% of your work will happen in that folder. It’s the folder that contains your actual Angular code!
-
(tsconfig.json, tslint.json) are related to TypeScript and how it gets compiled. We don’t really have to care for them, just keep them like they are and you are fine.
-
www folder which is auto generated and contains your current build when you run the ionic preview inside your browser. Don’t change code here, only in the app folder! This is very important, especially if you come from Ionic 1.
Until now we haven’t seen much of the code – so let’s change that!
As said before, we are working inside the src folder of your project, therefor we inspect what we currently have there.
The app folder is more or less the entry point of your app. Everything inside that folder is used when your app is bootstrapped. This folder works in combination with the index.html, which also imports some stuff and has this part somewhere inside the body of your HTML:
<!-- Ionic's root component and where the app will load -->
<ion-app></ion-app>
his is the place where your app will be loaded into!
You rarely have to touch that file, but it’s good to know how everything works.
We’re not going deeper into the module files for now, we already covered quite a bunch of knowledge in this lesson so let’s get to where the fun is.
Our App is made up of different pages, and after starting our app we already have on page inside that folder called home.

Every page will have it’s own folder with a HTML, CSS and TS file. The one thing new here might be the filetype TS which stands for TypeScript.
TypeScript is a superset of JavaScript which most important adds Types to our variables like void, string or boolean.. Yeah, Javascript doesn’t suck like some years ago!
We will always code in TypeScript and the build system will transpile this code into plain Javascript which every browser can understand. Again, don’t worry about that part, it just happens under the hood.
We saw that each page consists of these 3 parts – and they are of course connected. Within the CSS file you can define styling for your view, the HTML page represents your view and the TypeScript file contains the class that is associated with your view.
The connection between view and class comes from Angular and we don’t have to add anything to get it working. Your home.ts will most likely look like this:
import { Component } from '@angular/core';
import { NavController } from 'ionic-angular';

@Component({
  selector: 'page-home',
  templateUrl: 'home.html'
})
export class HomePage {

  constructor(public navCtrl: NavController) {

  }

}
For Javascript or web developers this looks very object oriented and for native developers it looks also kinda familiar – and it is!
The @Component decorator is used internally by Ionic and Angular and we don’t have to change anything here, the imports at the top import different components from other NPM packages and below we got our class HomePage with a constructor.
Inside our class we can define variables like in all other languages, so go ahead and change your class to this:
export class HomePage {

  myVariable: string = 'The force is with me!';

  constructor(public navCtrl: NavController) { }

}
We already define that our variable is of the type (which we don’t need to do, but it’s a good practice) and assign a basic string to it.
Now how to show it from the view?
We can access this variable through Angulars data binding by using double brackets “{{” and “}}” inside our HTML view. Therefore open your home.html and change it to:
<ion-header>
  <ion-navbar>
    <ion-title>
      Ionic Blank
    </ion-title>
  </ion-navbar>
</ion-header>

<ion-content padding>
{{ myVariable }}
</ion-content>
You will notice that the browser view have changed BECAUSE ionic uses LIVE RELOAD.
Ok it’s pretty static to just see the string, so we add a button and call a function to change the string to something else!
We start with our class where we implement a function that changes our variable. We can access all the variables of a page by using this, so change your class to look like this:
export class HomePage {

  myVariable: string = 'The force is with me!';

  constructor(public navCtrl: NavController) { }

  updateMyValue() {
    this.myVariable = 'Now the force is even stronger!';
  }

}
I think how a function works should be quite clear to you.
We need to add a button using Ionics components (which already have some basic styling!) and tell it to call the function once someone clicks that button.
Therefore, open the home.html again and change it to:
<ion-header>
  <ion-navbar>
    <ion-title>
      Ionic Blank
    </ion-title>
  </ion-navbar>
</ion-header>

<ion-content padding>
  <button ion-button full (click)="updateMyValue()">Click me!</button>
{{ myVariable }}
</ion-content>
Besides telling the button tag to be an ion-button, which is one of Ionic components, we also specify what should happen on a click event – in this case the function of our class will be called.

You might now notice that when you click the button the value of the view is directly updated. This is again automatically working thanks to the data binding of Angular between view and class!
Enough of all of this for now – you can of course play around a bit more with the code, HTML and Angular but actually we have only seen our app inside the browser. Wasn’t the goal here to build mobile apps? Hell yeah!
If you want to build your app into a native package, you need again a few things.
Note: If you are not on a Mac you can’t build your app for iOS! This is simply not possibly yet due to how iOS works.
Open the App Store on your Mac and search for “Xcode“. This is the native development environment for iOS developers and we can use it to try out our app on iOS devices.
Don’t worry, you don’t really have to learn how it works, a few buttons are enough to get us started there.
After installing Xcode (which is free) you can run directly inside your Ionic project the command to build everything into a native project:
ionic cordova platform add ios
ionic cordova build ios
The first command needs to be called only once for a project, and it set’s up the iOS platform for the project.
This might take a few moments and once done, you will find that inside the platforms folder you now got a iOS project.
To open the project in Xcode double click the ionicStarWarsApp.xcodeproj, which will bring up Xcode. If you click on the project on the left side the general view opens which should look like this:

At the top left next to the run button you now see the name of your project and the currently selected simulator. You can now hit the run button to deploy your app to an iOS simulator and get the feeling of a native app!
If you want to deploy your app to your iPhone, you can connect it through USB and it will appear at the top of that list above the simulators.
Congratulations, you’ve now starte, builded and run your Ionic app on a native iOS device!
I guess the majority of you is more interested in Android (also due to the absence of a Mac).
For Android, it’s a good idea to download the official environment Android Studio. This will help you to install the Android SDK which is needed now.
After installing Android Studio open it and inside the Wizard click Configure and pick SDK Manager.
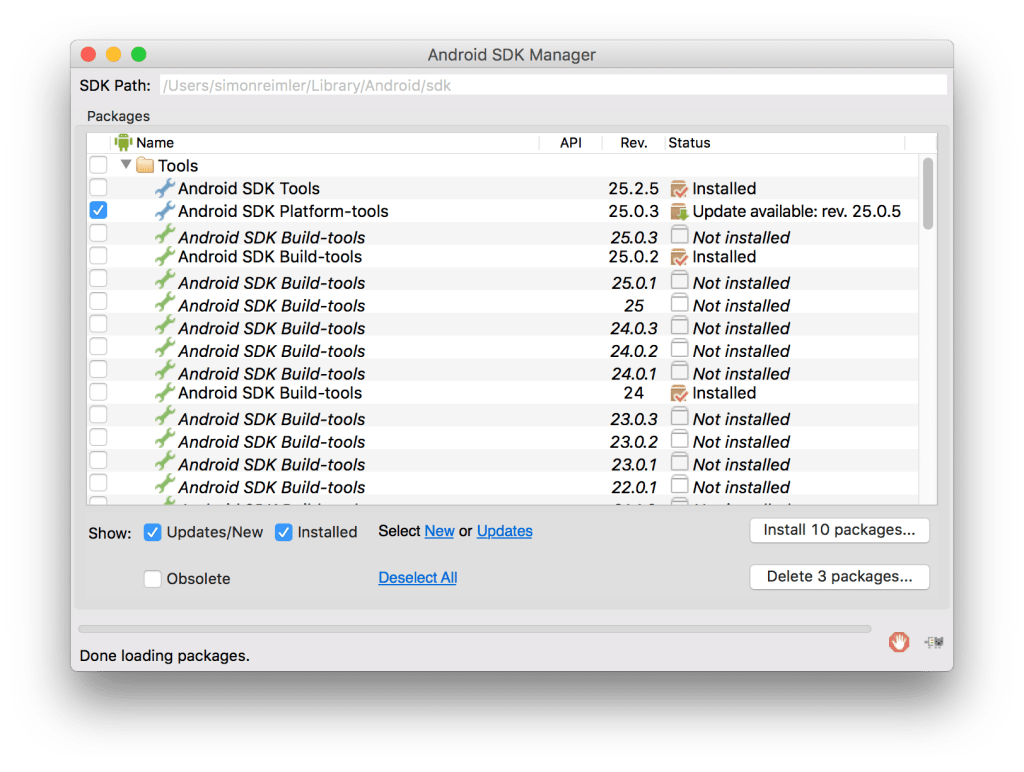
This will bring you to a view where you can install an Android SDK – simply pick the newest one and install what you need!
Now we can add the Android platform to our project just like we did before for iOS, so go to your command line and run:
ionic cordova platform add android
ionic cordova build android
This results in a new Android project inside the platforms folder. You can now either go ahead and import this project into Android Studio or directly install it to your Android device if it’s connected with USB.
Ionic already told us the path to the generated APK after the build command.
If you have followed the course so far, this should be:
/platforms/android/build/outputs/apk/android-debug.apk
You can now use the Android Debug Bridge (ADB to install it by running:
adb install platforms/android/build/outputs/apk/android-debug.apkOR
you can use GenyMotion
This will install the App on your device and you got your first Ionic app in your hands!