Skip to content

Instantly share code, notes, and snippets.

@Jaykul
Last active October 7, 2021 02:15
Show Gist options
  • Star 1 You must be signed in to star a gist
  • Fork 0 You must be signed in to fork a gist
  • Save Jaykul/5585372737be0f1fe6e7e7bcd3b148ce to your computer and use it in GitHub Desktop.
Save Jaykul/5585372737be0f1fe6e7e7bcd3b148ce to your computer and use it in GitHub Desktop.
Retro Terminal

I borrowed crt.hlsl from Hammster although I've tweaked it a little.

You need a terminal profile with something like this in it:

{
    // This is the shader and a background with the monitor in it, because that's easy
    "experimental.pixelShaderPath": "C:\\Users\\Jaykul\\crt.hlsl",
    "backgroundImage": "C:\\Users\\Jaykul\\crt.png",
    "backgroundImageAlignment": "center",
    "backgroundImageOpacity": 1.0,
    "backgroundImageStretchMode": "fill",

    // Ideally, you need to use a color scheme with a green or yellow default foreground color:
    "colorScheme": "Vintage",
    "cursorShape": "vintage",    

    // But you can use it with any shell you like:
    "useAcrylic": true,
    "name": "PowerShell 7 Preview",
    "source": "Windows.Terminal.PowershellCore",
    "guid": "{a3a2e83a-884a-5379-baa8-16f193a13b21}"
}

You want a color scheme that has that green or yellow font. You might want to use all shades of green, but I can't stand that, so I'm just not authentic. Oh well:

{
    "background": "#212021",
    "black": "#212021",
    "blue": "#01A0E4",
    "brightBlack": "#493F3F",
    "brightBlue": "#6ECEFF",
    "brightCyan": "#95F2FF",
    "brightGreen": "#6CD18E",
    "brightPurple": "#D29BC6",
    "brightRed": "#FF6E6D",
    "brightWhite": "#FFFCFF",
    "brightYellow": "#FFFF85",
    "cursorColor": "#FFFFFF",
    "cyan": "#55C4CF",
    "foreground": "#397339",
    "green": "#01A252",
    "name": "Vintage",
    "purple": "#A16A94",
    "red": "#D92D20",
    "selectionBackground": "#FFFFFF",
    "white": "#A5A2A2",
    "yellow": "#FBED02"
}

Then, of course, you need the background image something like this: crt

// Data provided by Windows Terminal
Texture2D shaderTexture;
SamplerState samplerState;
cbuffer PixelShaderSettings {
float Time;
float Scale;
float2 Resolution;
float4 Background;
};
// Settings
#define GRAIN_INTENSITY 0.02
#define TINT_COLOR float4(1, 0.7f, 0, 0)
#define ENABLE_SCANLINES 1
#define ENABLE_REFRESHLINE 1
#define ENABLE_NOISE 1
#define ENABLE_CURVE 1
#define ENABLE_TINT 0
#define DEBUG 0
// Grain Lookup Table
#define a0 0.151015505647689
#define a1 -0.5303572634357367
#define a2 1.365020122861334
#define b0 0.132089632343748
#define b1 -0.7607324991323768
static const float4 tint = TINT_COLOR;
static const float4 scanlineTint = float4(0.6f, 0.6f, 0.6f, 0.0f);
float permute(float x)
{
x *= (34 * x + 1);
return 289 * frac(x * 1 / 289.0f);
}
float rand(inout float state)
{
state = permute(state);
return frac(state / 41.0f);
}
float4 mainImage(float2 tex) : TARGET
{
float2 xy = tex.xy;
#if ENABLE_CURVE
// TODO: add control variable for transform intensity
xy -= 0.5f; // offcenter screen
float r = xy.x * xy.x + xy.y * xy.y; // get ratio
xy *= 4.423f + r; // apply ratio
xy *= 0.24f; // zoom
xy += 0.49f; // move back to center
// TODO: add monitor visuals and make colors static consts
// Outer Box
//if(xy.x < -0.025f || xy.y < -0.025f) return float4(0, 0, 0, 0);
//if(xy.x > 1.025f || xy.y > 1.025f) return float4(0, 0, 0, 0);
// Bazel
//if(xy.x < -0.015f || xy.y < -0.015f) return float4(0.198f, 0.224f, 0.184f, 0.0f);
//if(xy.x > 1.015f || xy.y > 1.015f) return float4(0.198f, 0.224f, 0.184f, 0.0f);
// Screen Border
if(xy.x < -0.005f || xy.y < -0.005f) return float4(0.00f, 0.00f, 0.00f, 0.0f);
if(xy.x > 1.005f || xy.y > 1.005f) return float4(0.00f, 0.00f, 0.00f, 0.0f);
#endif
float4 color = shaderTexture.Sample(samplerState, xy);
#if DEBUG
if(xy.x < 0.5f) return color;
#endif
#if ENABLE_REFRESHLINE
float timeOver = fmod(Time / 5, 1);
float refreshLineColorTint = timeOver - xy.y;
if(xy.y > timeOver && xy.y - 0.03f < timeOver ) color.rgb += (refreshLineColorTint * 2.0f);
#endif
#if ENABLE_SCANLINES
// TODO: fixing the precision issue so that scanlines are always 1px
if(floor(xy.y * 1000) % 2) color *= scanlineTint;
#endif
#if ENABLE_TINT
float grayscale = (color.r + color.g + color.b) / 3.f;
color = float4(grayscale, grayscale, grayscale, 0);
color *= tint;
#endif
#if ENABLE_GRAIN
float3 m = float3(tex, Time % 5 / 5) + 1.;
float state = permute(permute(m.x) + m.y) + m.z;
float p = 0.95 * rand(state) + 0.025;
float q = p - 0.5;
float r2 = q * q;
float grain = q * (a2 + (a1 * r2 + a0) / (r2 * r2 + b1 * r2 + b0));
color.rgb += GRAIN_INTENSITY * grain;
#endif
return color;
}
float4 main(float4 pos : SV_POSITION, float2 tex : TEXCOORD) : SV_TARGET
{
return mainImage(tex);
}
@Jaykul
Copy link
Author

Jaykul commented Apr 20, 2021

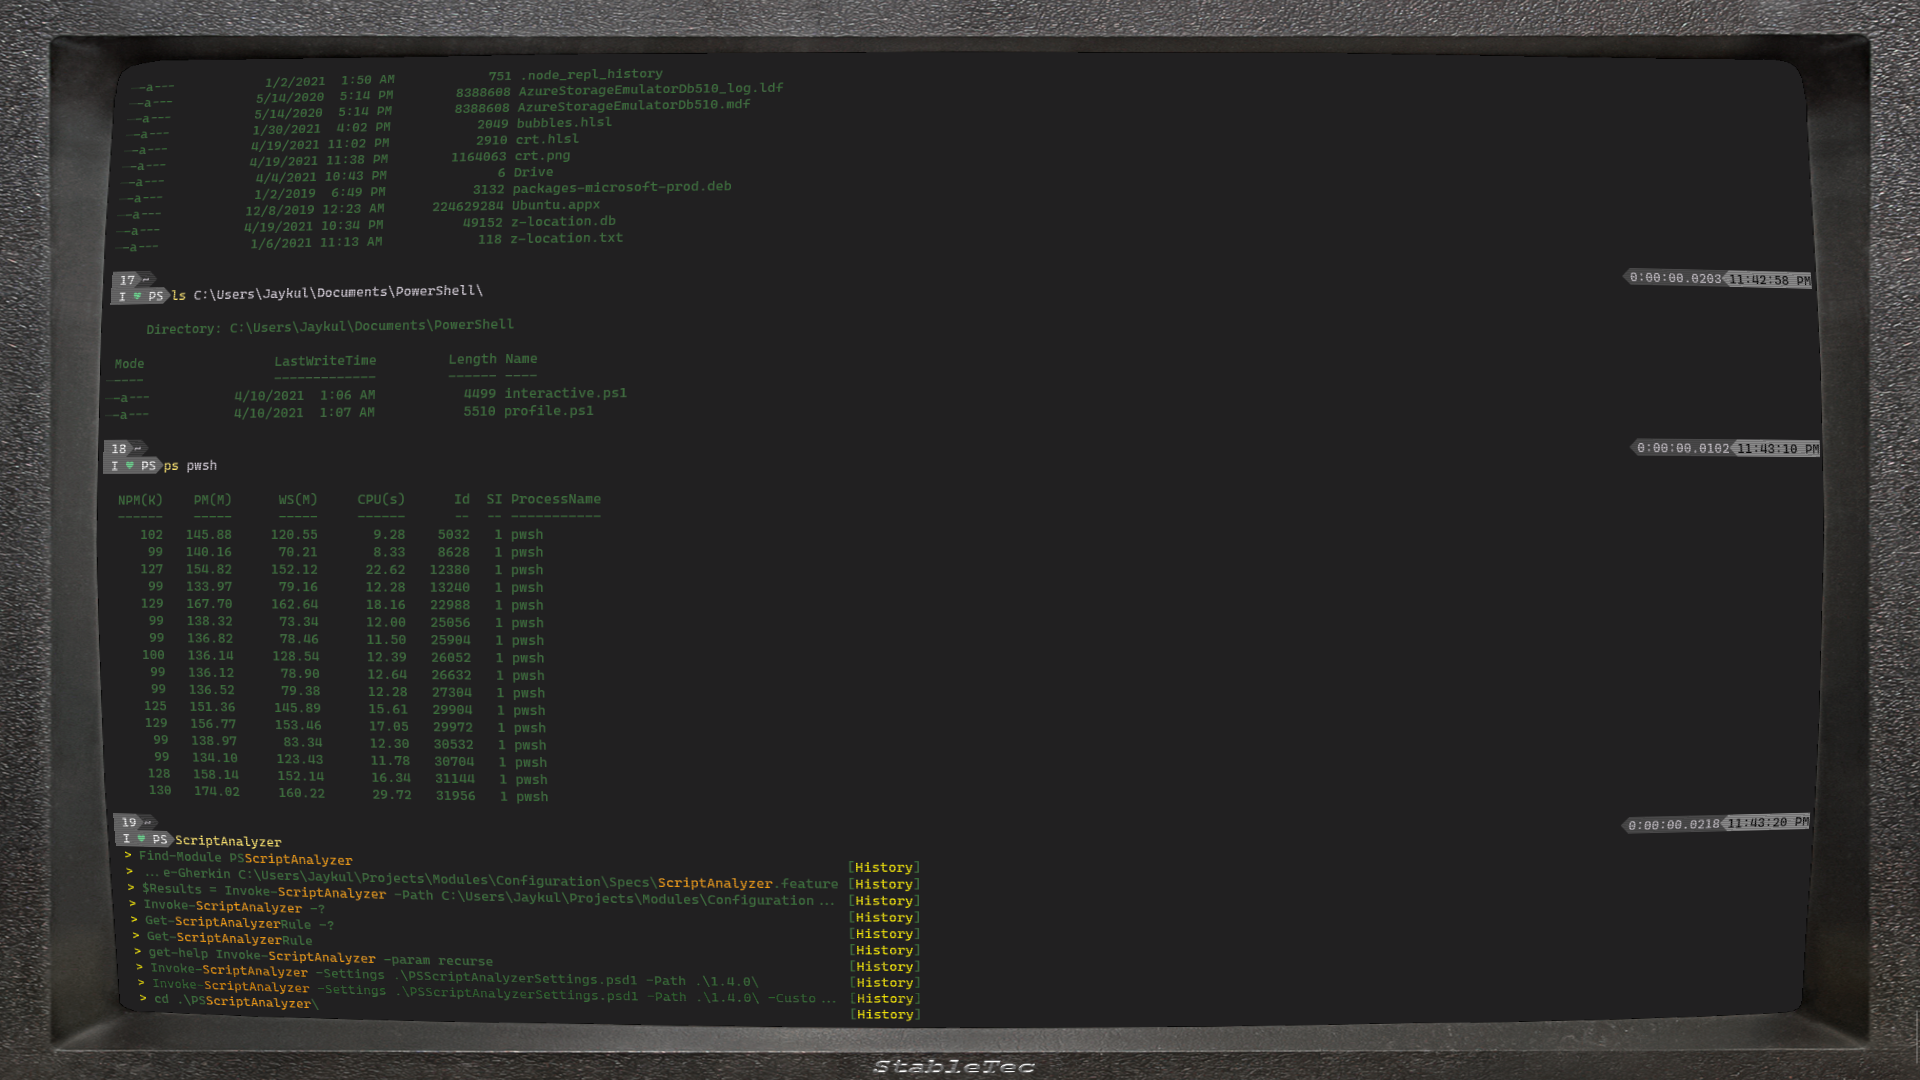
Here's a screenshot, which doesn't do it justice. Frankly, you have to see it in action because there's actually a moving faux refresh line and more...
WindowsTerminal_2021-04-19_23-44-16

Sign up for free to join this conversation on GitHub. Already have an account? Sign in to comment