This document: https://tinyurl.com/hackfs-pow
Slides from intro presentation: https://speakerdeck.com/andrewxhill/intro-to-filecoin-building-apps-with-powergate
In this workshop, we are going to introduce you to Filecoin through the use of the Powergate. While you can develop using Lotus or other Filecoin implementations directly, the Powergate is designed to provide the necessary abstractions to build Filecoin storage into your application. Some features of the Powergate include fast data retrieval with IPFS serving as a caching layer, deal management, multi-tenant wallet APIs, and more. The system comes set up to run locally in Docker or deploy to your servers.
We'll cover the Powergate CLI and the Powergate JavaScript Client in the two parts of the workshop. To prepare, we encourage you to install a few things before we get started.
- For the first section, we'll each be running an instance of the Powergate. To do this, you should have Docker Desktop installed and running on your computer.
- When you run the Powergate for the first time on Docker Desktop, it will download some images that can be on the larger side. If you are worried about download speed during the workshop, we recommend doing the first two steps of the Localnet documentation, Installation and Setup. By running those once before the workshop, you'll have the images ready to run quickly when it's time.
- The second part of the workshop will be brief, but if you haven't run a Node.js app before, you should be sure to set up Node on your computer. Mozilla has a good set of instructions.
The Powergate is designed to be flexible to how you prefer to run it in your system. For today's workshop, we'll use the easy method, which is to run Powergate locally in Docker Desktop, using the embedded Localnet instead of the live Testnet. That's a mouthful, so let's just work through it.
You can grab the latest Dockerfile from the Powergate releases page. Go ahead and download the release archive, similar to powergate-docker-v0.X.X-beta.X.zip in the top most release.
Unpack the archive
You can do this step with your OS or in your terminal.
tar -xvf powergate-docker-v0.0.1-beta.12.zip
cd powergate-docker-v0.0.1-beta.12/
ls

▶
LICENSE                      grafana
Makefile                     ipfs-image.yaml
dashboards                   powergate-build-context.yaml
docker-compose-localnet.yaml   powergate-image.yaml
docker-compose.yaml prometheusYou'll need to be running the Docker Desktop application. Once that is running, you can fire up Powergate using the downloaded docker-compose-localnet.yml, this file contains all the instructions needed to spin up Lotus, IPFS, and Powergate all on your computer.
Sidebar: Testnet versus Localnet
Powergate is configured to be run easily in two modes. In the default mode, it will connect to the live Filecoin testnet, where you can store files, spend faucet fil and all the good stuff.
In the second mode, Powergate will stand up its own private network of miners for you to use. We call this, Localnet in the docs. This mode is fantastic for situations where you just want the APIs to work quickly and not have to bootstrap your node, such as, CI, app development, demos, and... workshops.
So today, we'll run the Localnet. A couple more notes about it. First, it's epheral. It only exists on your computer, once you shut it down, it is gone. Second, it runs with small sectors by default (so it's very fast) which is great for things like CI. But it limits the size of files you can store to ~700B. You can run it with a flag, BIGSECTORS, that will give you the ability to store realistic file sizes on a slightly slower network. Let's do that!
Run Localnet
From inside the folder we just downloaded+unarchived, run:
BIGSECTORS=true make localnetAlternatively, you can run the docker-compose command directly. This is how you can start to customize how you run the Powergated and embedded miners.
BIGSECTORS=true docker-compose -p localnet \
		-f docker-compose-localnet.yaml \
		-f ipfs-image.yaml \
		-f powergate-image.yaml \
		up --build -V
This should update all your local machine images, spin up your network of miners, and fire up your Powergate stack.
Once it's running, you'll see a stream of logs, like,
lotus_1      | 2020-07-02T00:39:26.445Z	INFO	miner	miner/miner.go:287	Time delta between now and our mining base: 359999276s (nulls: 0)
lotus_1      | 2020-07-02T00:39:26.453Z	WARN	storageminer	storage/miner.go:180	Generating fake EPost proof! You should only see this while running tests!
lotus_1      | 2020-07-02T00:39:26.457Z	INFO	miner	miner/miner.go:345	mined new block	{"cid": "bafy2bzacecxunzik6whv6p34cafqgrx67ufyufss4qllb4tqt6b7syuhc5pz4", "height": "32", "took": 0.0168421}
lotus_1      | 2020-07-02T00:39:26.457Z	WARN	miner	miner/miner.go:175	mined block in the past	{"block-time": "2009-02-03T08:51:55.000Z", "time": "2020-07-02T00:39:26.457Z", "duration": 359999251.4572013}
lotus_1      | 2020-07-02T00:39:26.457Z	WARN	chain	chain/sync.go:561	insecure test validation is enabled, if you see this outside of a test, it is a severe bug!
lotus_1      | 2020-07-02T00:39:26.464Z	INFO	chain	chain/sync.go:554	block validation	{"took": 0.0071623, "height": "32"}
You are now ready to use the Powergate APIs!
We said that the Powergate is API driven, the first client of that API is actually the Powergate CLI (command-line interface)!
Let's start using it.
Like all things in the Powergate, there are options for how you'd like to install the CLI.
The easy way (for the hard way, seedocs
You can download a pre-built CLI from the Powergate releases page, the same place you downloaded the Docker image.
Go to the latest release and download the CLI for your platform, either Linux or Darwin (for Mac)*. For me, it's pow_v0.0.1-beta.12_darwin-amd64.tar.gz
Download, unarchive, and change your directory into it, same steps as the Docker file above but this time for the CLI.
tar -xvf pow_v0.0.1-beta.12_darwin-amd64.tar.gz
ls

▶
x LICENSE
x README.md
x install
x pow
Next, install it by running the install script.
./installTada! 🎉🎉🎉 or...
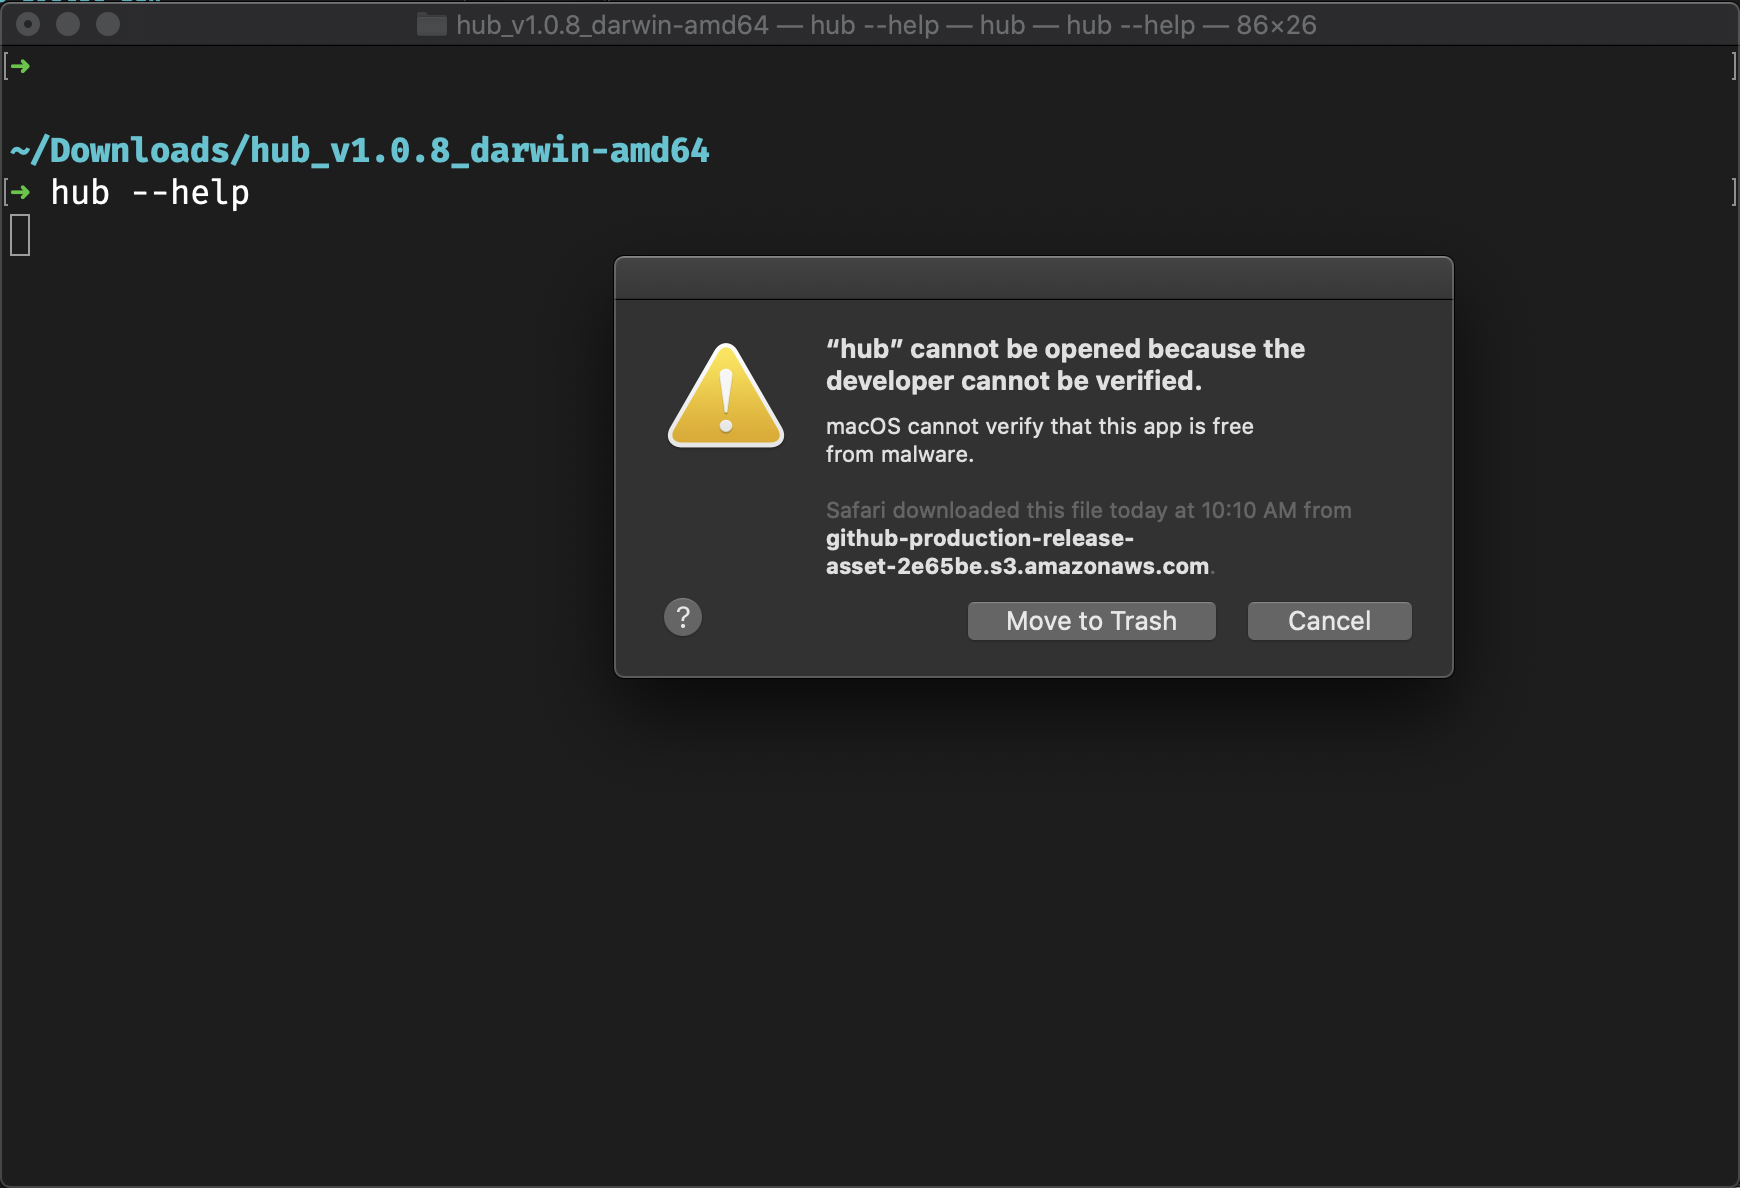
On MacOS you will need to confirm that it is okay to run the hub binary before it will run successfully. Let's fix it now. Run the following,
pow helpYou will see this warning, click cancel.
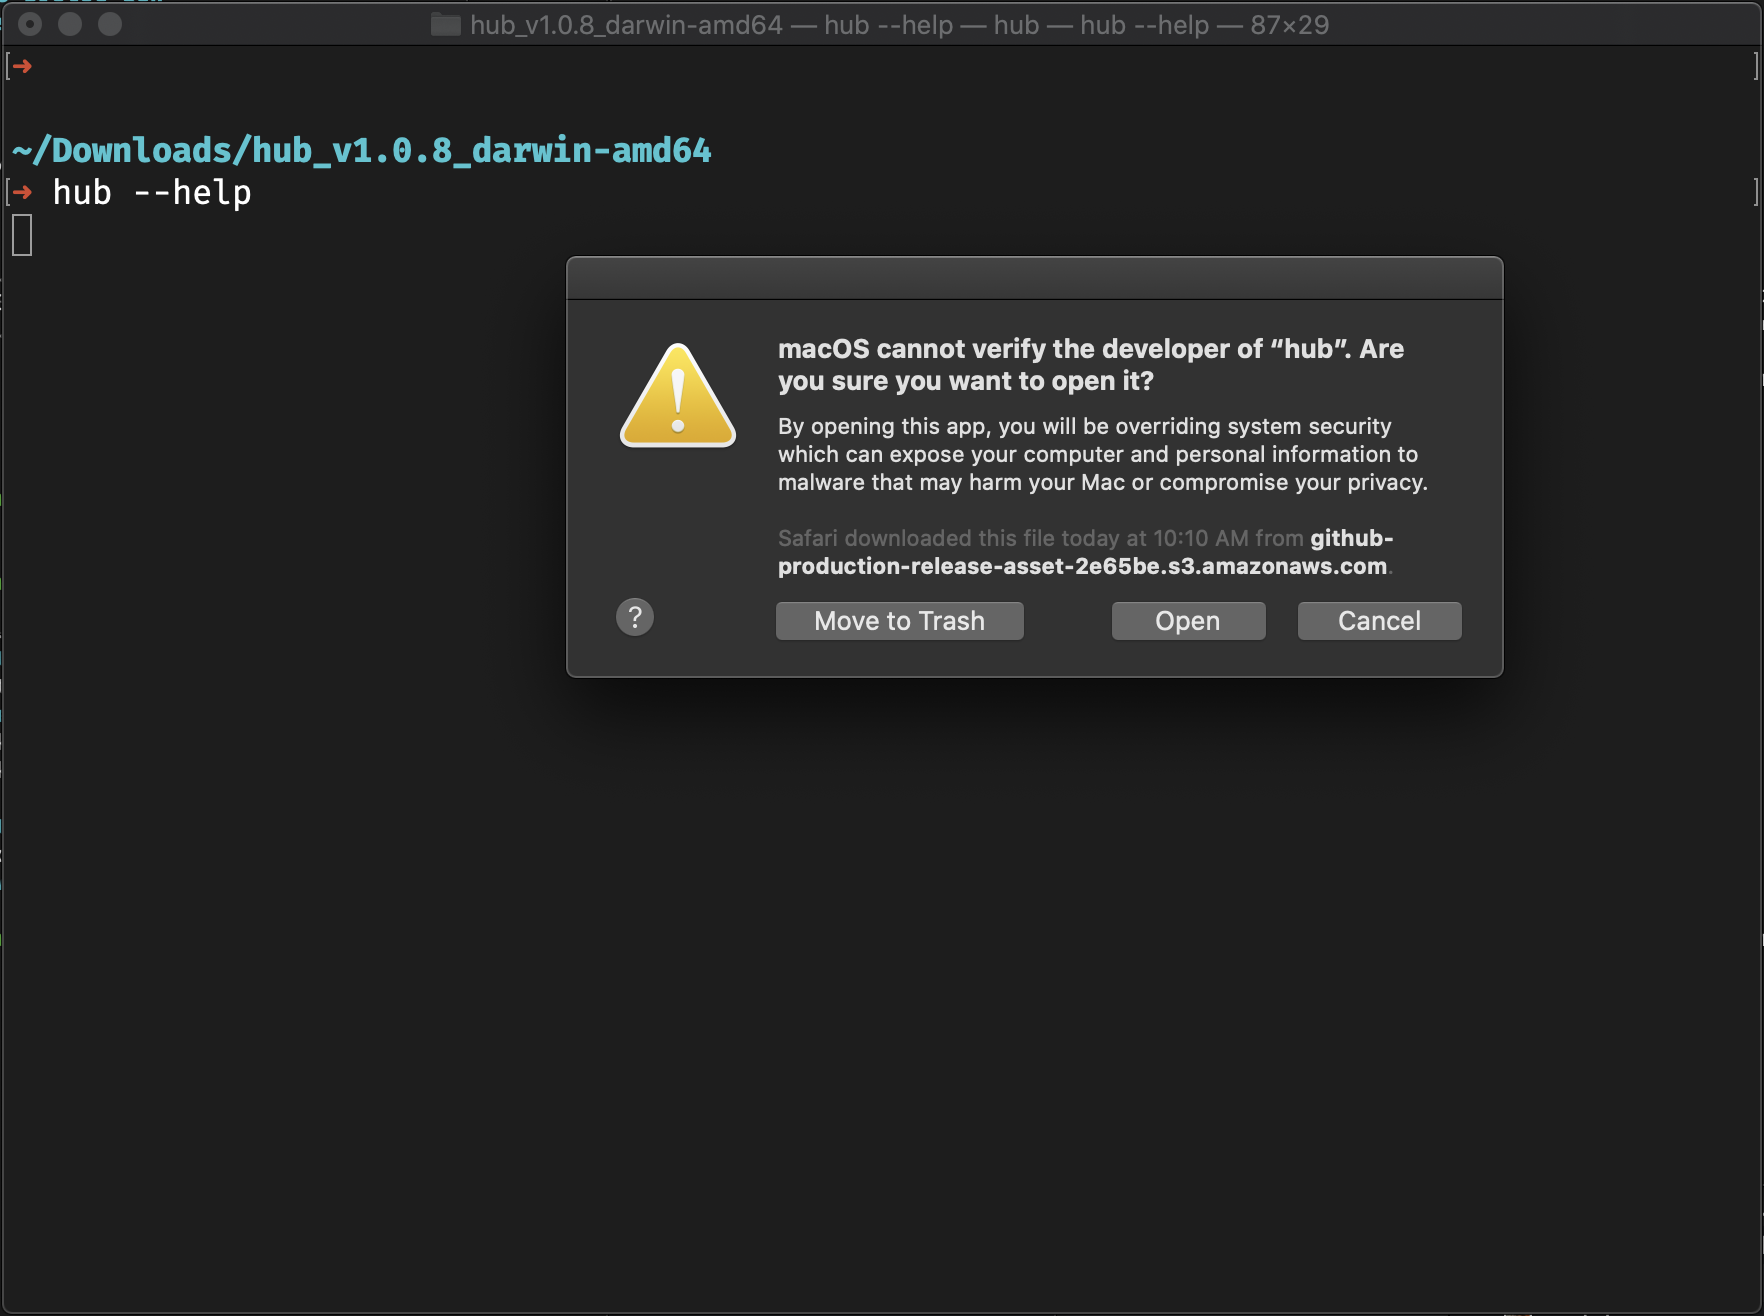
Go to 'System Settings' => 'General' where you will be able to click, 'Allow Anyway'.
Run the test command again,
pow helpYou will see another warning. This time, click 'open'.
pow help
▶
A client for storage and retreival of powergate data

Usage:
  pow [command]

Available Commands:
  asks        Provides commands to view asks data
  deal        Interactive storage deal
  deals       Provides commands to manage storage deals
  faults      Provides commands to view faults data
  ffs         Provides commands to manage ffs
  health      Display the node health status
  help        Help about any command
  init        Initializes a config file with the provided values or defaults
  miners      Provides commands to view miners data
  net         Provides commands related to peers and network
  reputation  Provides commands to view miner reputation data
  wallet      Provides commands about filecoin wallets

Flags:
      --config string          config file (default is $HOME/.powergate.yaml)
  -h, --help                   help for pow
      --serverAddress string   address of the powergate service api (default "/ip4/127.0.0.1/tcp/5002")

Use "pow [command] --help" for more information about a command.Because you are connected to the embedded miner network, many of the top level methods (e.g. reputation, asks, etc) will be a bit boring here. They'll work, but boring.
Instead, let's start playing with the FFS. The FFS wraps up a lot of the Powergate's magic.
- You can create many FFS instances on the same POW.
- Each FFS instance can be owned by a users in your app, or a process in your stack.
- Each FFS has its own wallet address (or multiple) and create its own deals and more.
- Each FFS instance gets an access token used against the FFS API.
Let's create one.
pow ffs create

> Instance created with id 3fc95733-f808-40d4-8de6-8f2e9cc4921c and
> token 5765a455-c8b3-4c5a-8eee-99895aa6448c
The output is the token you will use to access this FFS with the API, or here in the CLI. In the CLI, you can pass the token as a flag (-t) with every command, or you can set it as an environmental variable to be used every time. Let's do that because it makes everything easy.
export POW_TOKEN=<token value from above>Note: you'll need the above command twice in today's workshop. So maybe paste it someplace handy for later too.
Now, when you run any FFS command, the CLI will know you mean to be using this specific instance. Give it a shot by listing our wallet addresses for this FFS.
pow ffs addrs list

> Wallet addresses:
     NAME       	                                       ADDRESS                                         	TYPE 	DEFAULT
Initial Address t3sfeeothts7gd5uwtveiqka7jltmbjcrzywlinzfbpecrldbmtgodvfsa5u6w6xy3wovw7rvrxr5xkeqqfr6a bls yes Let's skip to the good stuff now. Let's store a file on Filecoin.
Download a file to store
wget https://upload.wikimedia.org/wikipedia/commons/thumb/8/89/Apollo_11_bootprint.jpg/1920px-Apollo_11_bootprint.jpgStage it for storage
The FFS requires data you aim to store to be available over IPFS. When you are using the CLI, you can ensure that it is available by staging it on IPFS usingaddToHot. Note that addToHot does not store your data in the Powergate FFS.
pow ffs addToHot 1920px-Apollo_11_bootprint.jpg

> Success! Added file to FFS hot storage with cid: Qme1Uj2ZP9duKSurtGhJDPfA9KFaovAyAnj8QxQsCW7xMf
Nice! The response is the CID of the file, it's unique fingerprint and identifier. We're going to use that to reference it from now on. Read more about CIDs here.
Push it to FFS
Now, we're ready to store some data. We'll use the CID output above to tell the FFS we want to store this new file. With the --watch flag, we can observe the progress of the FFS as it goes through the stages of storage.
pow ffs push --watch Qme1Uj2ZP9duKSurtGhJDPfA9KFaovAyAnj8QxQsCW7xMf
Wait a bit. This will take a bit longer than the default devent because we choose BIGSECTORS at the beginning. But it will still be a lot faster than the live testnet, so be sure to do this async in your apps.
Once it's complete, you should see Success. It can be pretty interesting to look at the log for any file in the FFS.
pow ffs log Qme1Uj2ZP9duKSurtGhJDPfA9KFaovAyAnj8QxQsCW7xMf

> 2020-07-01T19:10:12 - Pushing new configuration...
> 2020-07-01T19:10:12 - Configuration saved successfully
> 2020-07-01T19:10:12 - Executing job 6d32cc71-d945-4841-a5fc-b2e7a832232a...
> 2020-07-01T19:10:12 - Ensuring Hot-Storage satisfies the configuration...
> 2020-07-01T19:10:12 - Hot-Storage execution ran successfully.
> 2020-07-01T19:10:12 - Ensuring Cold-Storage satisfies the configuration...
> 2020-07-01T19:10:12 - Current replication factor is lower than desired, making 1 new deals...
> 2020-07-01T19:10:12 - Calculating piece size...
> 2020-07-01T19:10:12 - Estimated piece size is 1048576 bytes.
> 2020-07-01T19:10:12 - Proposing deal to miner t01000 with 500000000 fil per epoch...
> 2020-07-01T19:10:13 - Watching deals unfold...
> 2020-07-01T19:10:43 - Deal with miner t01000 changed state to StorageDealValidating
> 2020-07-01T19:11:13 - Deal with miner t01000 changed state to StorageDealSealing
> 2020-07-01T19:12:13 - Deal 2 with miner t01000 is active on-chain
> 2020-07-01T19:12:13 - All deals reached final state.
> 2020-07-01T19:12:13 - Cold-Storage execution ran successfully.
> 2020-07-01T19:12:13 - Job 6d32cc71-d945-4841-a5fc-b2e7a832232a execution finished successfully.(control + c to exit).
We now have data stored on Filecoin! And IPFS!
Now, you may want to know how the FFS just did that... and what it did. A good place to start is the CidConfig.
Every FFS instance has it's own default CidConfig that defines how files will be stored when requested. Additionally, users can supply custom CidConfig definitions per storage request. Let's take a look at the config attached to the file we just stored.
pow ffs info Qme1Uj2ZP9duKSurtGhJDPfA9KFaovAyAnj8QxQsCW7xMf

> FFS instance id: 3fc95733-f808-40d4-8de6-8f2e9cc4921c
> Wallet addresses:
     NAME       	                                       ADDRESS                                         	TYPE 	    BALANCE      	DEFAULT
Initial Address	t3sfeeothts7gd5uwtveiqka7jltmbjcrzywlinzfbpecrldbmtgodvfsa5u6w6xy3wovw7rvrxr5xkeqqfr6a	bls 	3999997067872595	yes
> Default storage config:
{
  "Hot": {
    "Enabled": true,
    "AllowUnfreeze": false,
    "Ipfs": {
      "AddTimeout": 30
    }
  },
  "Cold": {
    "Enabled": true,
    "Filecoin": {
      "RepFactor": 1,
      "DealMinDuration": 1000,
      "ExcludedMiners": null,
      "TrustedMiners": null,
      "CountryCodes": null,
      "Renew": {
        "Enabled": false,
        "Threshold": 0
      },
      "Addr": "t3sfeeothts7gd5uwtveiqka7jltmbjcrzywlinzfbpecrldbmtgodvfsa5u6w6xy3wovw7rvrxr5xkeqqfr6a",
      "MaxPrice": 0
    }
  },
  "Repairable": false
}
> Pinned cids:
                     CID
Qme1Uj2ZP9duKSurtGhJDPfA9KFaovAyAnj8QxQsCW7xMf
If you ever want to change how you are storing some data, you can just push a new CidConfig.
In one terminal window, let's start a log for our stored data.
pow ffs log Qme1Uj2ZP9duKSurtGhJDPfA9KFaovAyAnj8QxQsCW7xMf With that still running, open a second terminal window where we'll play with the storage config. With the second window open, you'll need to set your FFS Token again,
export POW_TOKEN=<token value from wayyyyy above>Create a cidconfig.json
Create a new file named cidconfig.json. Next, get the contents of your FFS default CidConfig.
pow ffs config defaultIt will look like the following. Do not use the following, you need to use yours exactly
{
  "Hot": {
    "Enabled": false,
    "AllowUnfreeze": false,
    "Ipfs": {
      "AddTimeout": 30
    }
  },
  "Cold": {
    "Enabled": true,
    "Filecoin": {
      "RepFactor": 1,
      "DealMinDuration": 1000,
      "ExcludedMiners": null,
      "TrustedMiners": null,
      "CountryCodes": null,
      "Renew": {
        "Enabled": false,
        "Threshold": 0
      },
      "Addr": "t3sfeeothts7gd5uwtveiqka7jltmbjcrzywlinzfbpecrldbmtgodvfsa5u6w6xy3wovw7rvrxr5xkeqqfr6a",
      "MaxPrice": 0
    }
  },
  "Repairable": false
}
Copy the output above into your cidconfig.json file (be sure to only include the json, do not include the line like > Default storage config:).
While editing, change one thing in the above file different than the default, disable the Hot storage layer. You can do this by changing 'true' to 'false' in the 'Hot' section. As follows,
{
  "Hot": {
    "Enabled": false,
    "AllowUnfreeze": false,
    "Ipfs": {
      "AddTimeout": 30
    }
  },
 ...
Save it.
Let's push it to the FFS.
pow ffs push Qme1Uj2ZP9duKSurtGhJDPfA9KFaovAyAnj8QxQsCW7xMf \
-c cidconfig.json

> Error! Rpc error: code = Unknown desc = cid already pinned, consider using override flag
no problem!
pow ffs push Qme1Uj2ZP9duKSurtGhJDPfA9KFaovAyAnj8QxQsCW7xMf \
-c cidconfig.json -o
Now, if you look back at the terminal doing the logging, you should see updates.
> 2020-07-01T19:45:30 - Pushing new configuration...
> 2020-07-01T19:45:30 - Configuration saved successfully
> 2020-07-01T19:45:30 - Executing job 91a81e09-8e73-4476-a2ef-3ecac83cbb42...
> 2020-07-01T19:45:30 - Ensuring Hot-Storage satisfies the configuration...
> 2020-07-01T19:45:30 - Cid data was pinned in IPFS node.
> 2020-07-01T19:45:30 - Cid successfully removed from Hot-Storage.
> 2020-07-01T19:45:30 - Hot-Storage execution ran successfully.
> 2020-07-01T19:45:30 - Ensuring Cold-Storage satisfies the configuration...
> 2020-07-01T19:45:30 - The current replication factor is equal or higher than desired, avoiding making new deals.
> 2020-07-01T19:45:30 - Cold-Storage execution ran successfully.
> 2020-07-01T19:45:30 - Job 91a81e09-8e73-4476-a2ef-3ecac83cbb42 execution finished successfully.
Let's undo it. Edit the cidconfig.json to add hot storage back to our file. We should also set allowUnfreeze to true while we are at it. So change the 'Hot' section of the cidconfig.json to match the following:
{
  "Hot": {
    "Enabled": true,
    "AllowUnfreeze": true,
    "Ipfs": {
      "AddTimeout": 30
    }
  },
...
Let's push it.
pow ffs push Qme1Uj2ZP9duKSurtGhJDPfA9KFaovAyAnj8QxQsCW7xMf \
-c cidconfig.json -o
Again, if we flip back to our terminal doing the logging, we should see updates.
> 2020-07-01T19:47:54 - Pushing new configuration...
> 2020-07-01T19:47:54 - Configuration saved successfully
> 2020-07-01T19:47:54 - Executing job 914ab99a-05c2-4325-a9ff-dedfb6b74e08...
> 2020-07-01T19:47:54 - Ensuring Hot-Storage satisfies the configuration...
> 2020-07-01T19:47:54 - Current Cid state is healthy in Hot-Storage.
> 2020-07-01T19:47:54 - Hot-Storage execution ran successfully.
> 2020-07-01T19:47:54 - Ensuring Cold-Storage satisfies the configuration...
> 2020-07-01T19:47:54 - The current replication factor is equal or higher than desired, avoiding making new deals.
> 2020-07-01T19:47:54 - Cold-Storage execution ran successfully.
> 2020-07-01T19:47:54 - Job 914ab99a-05c2-4325-a9ff-dedfb6b74e08 execution finished successfully.
Super. Cool.
Let's use the FFS to download data back out of the system.
pow ffs get Qme1Uj2ZP9duKSurtGhJDPfA9KFaovAyAnj8QxQsCW7xMf evidence.jpg
open evidence.jpg Info: the bucket archive optoin is not in production yet, but this is a sneak peek.
Using the Textile Hub CLI to store folders on a publicly available Powergate API. You folders will have addresses in HTTP, IPFS, IPNS, and Filecoin!!!
create account
hub initcreate a bucket
cd folder/with/content
hub bucket init
push your folder
hub bucket pushview your bucket links
hub bucket linksarchive your bucket on filecoin
hub bucket archive> Error! Archiving bucket bafzbeidakhuec5k426vzc5omisoxskvg7p3brirvpg5shyj5qoaassmuhe: bucket FIL balance is zero, if recently created wait 30s
Automatically tapping the Faucet on testnet... retry in a few seconds.
check archive status
hub buck archive status -wprint the archive info
hub buck archive infoComing to the Hub CLI and the Bucket JavaScript package.
You already have the Powergate running localy in Docker, which means you laready have an API ready to power JavaScript apps! We can take a look at a couple very quickly.
Let's look at the ffs index... everything should look very familiar!
A neat example of pairing the Powergate with Metamask to create a pinning service.
https://bafzbeig3zkp6p7xakrdxyxkwk3opsrwig45krsxuz2xeticjq3c6fikc34.textile.space/
https://github.com/filecoin-project/slate
git clone git@github.com:filecoin-project/slate.git
cd slate
npm install
npm run dev
A simple example mapping GitHub accounts to FFS instances.
git clone git@github.com:textileio/node-starter.git
cd node-starter
npm install
Follow along for the rest of the workshop here: https://blog.textile.io/integrating-powergate/.
Docs: https://docs.textile.io/powergate/
Repo: https://github.com/textileio/powergate/
JS Client: https://www.npmjs.com/package/@textile/powergate-client
Go Client: https://godoc.org/github.com/textileio/powergate/ffs/api
JS Tutorial: https://blog.textile.io/integrating-powergate/
Client Example: https://github.com/filecoin-project/filecoin-client
HackFS Example: https://medium.com/@samikshan/using-ipfs-filecoin-for-decentralised-storage-with-powergate-71ffe42f8c09
Have you already built a product and are looking to scale quickly? We are offering a limited number of managed, hosted Powergate stacks for teams and companies during Testnet and HackFS. Add your details here.
Thanks for this awesome tutorial, I followed along with the video here https://www.youtube.com/watch?v=SePJrCLUM0g and I forked this gist and updated a few of the commands to be compatible with the latest version of
pow.https://gist.github.com/clinta/176952e5e7426148f98e4f614573904e/revisions