Watch the video here: https://www.crowdcast.io/e/textileworkshop
An introduction to Buckets and app building.
For the javascript section, you are going to need node installed on your machine (reasonably new version).
Useful links:
- All docs: https://docs.textile.io/
- Bucket docs: https://docs.textile.io/buckets/
- Bucket JS: https://textileio.github.io/js-hub/docs/hub.buckets
- Examples repo: https://github.com/textileio/js-examples/
- Slack for help: https://slack.textile.io
Grab the latest Hub release here.
You want the Hub binary. hub_v1.0.9_darwin-amd64.tar.gz for Mac and hub_v1.0.9_linux-XXX.tar.gz for linux. If you are using Windows, we don't currently have binary for you.. yet! You'll be able to jump back in on the JavaScript section.
tar -xvf hub_v1.0.9_darwin-amd64.tar.gz
cd buck_v1.0.9_darwin-amd64
ls
▶ LICENSE README.md hub install./install
▶ Moved ./hub to /usr/local/binOn MacOS you will need to confirm that it is okay to run the hub binary before it will run successfully. Let's fix it now. Run the following,
hub whoamiYou will see this warning, click cancel.
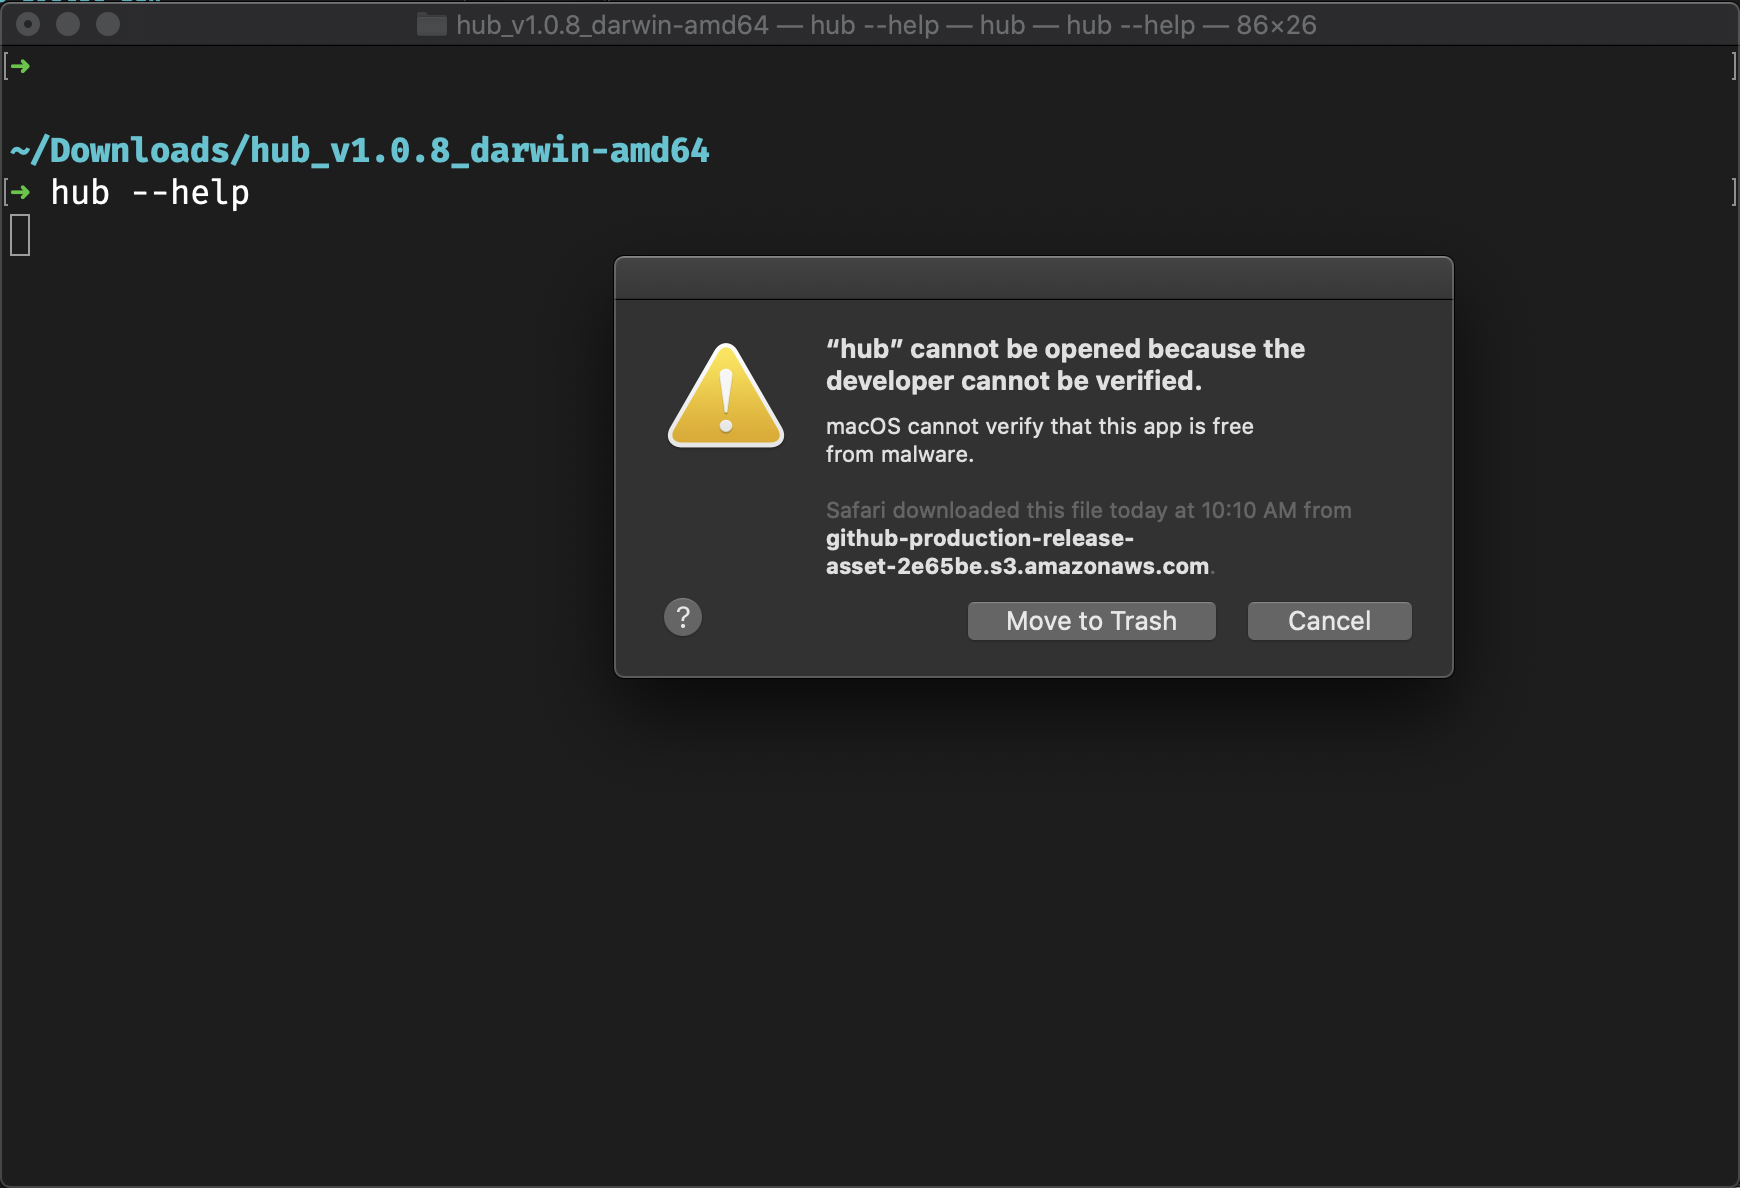
Go to 'System Settings' => 'General' where you will be able to click, 'Allow Anyway'.
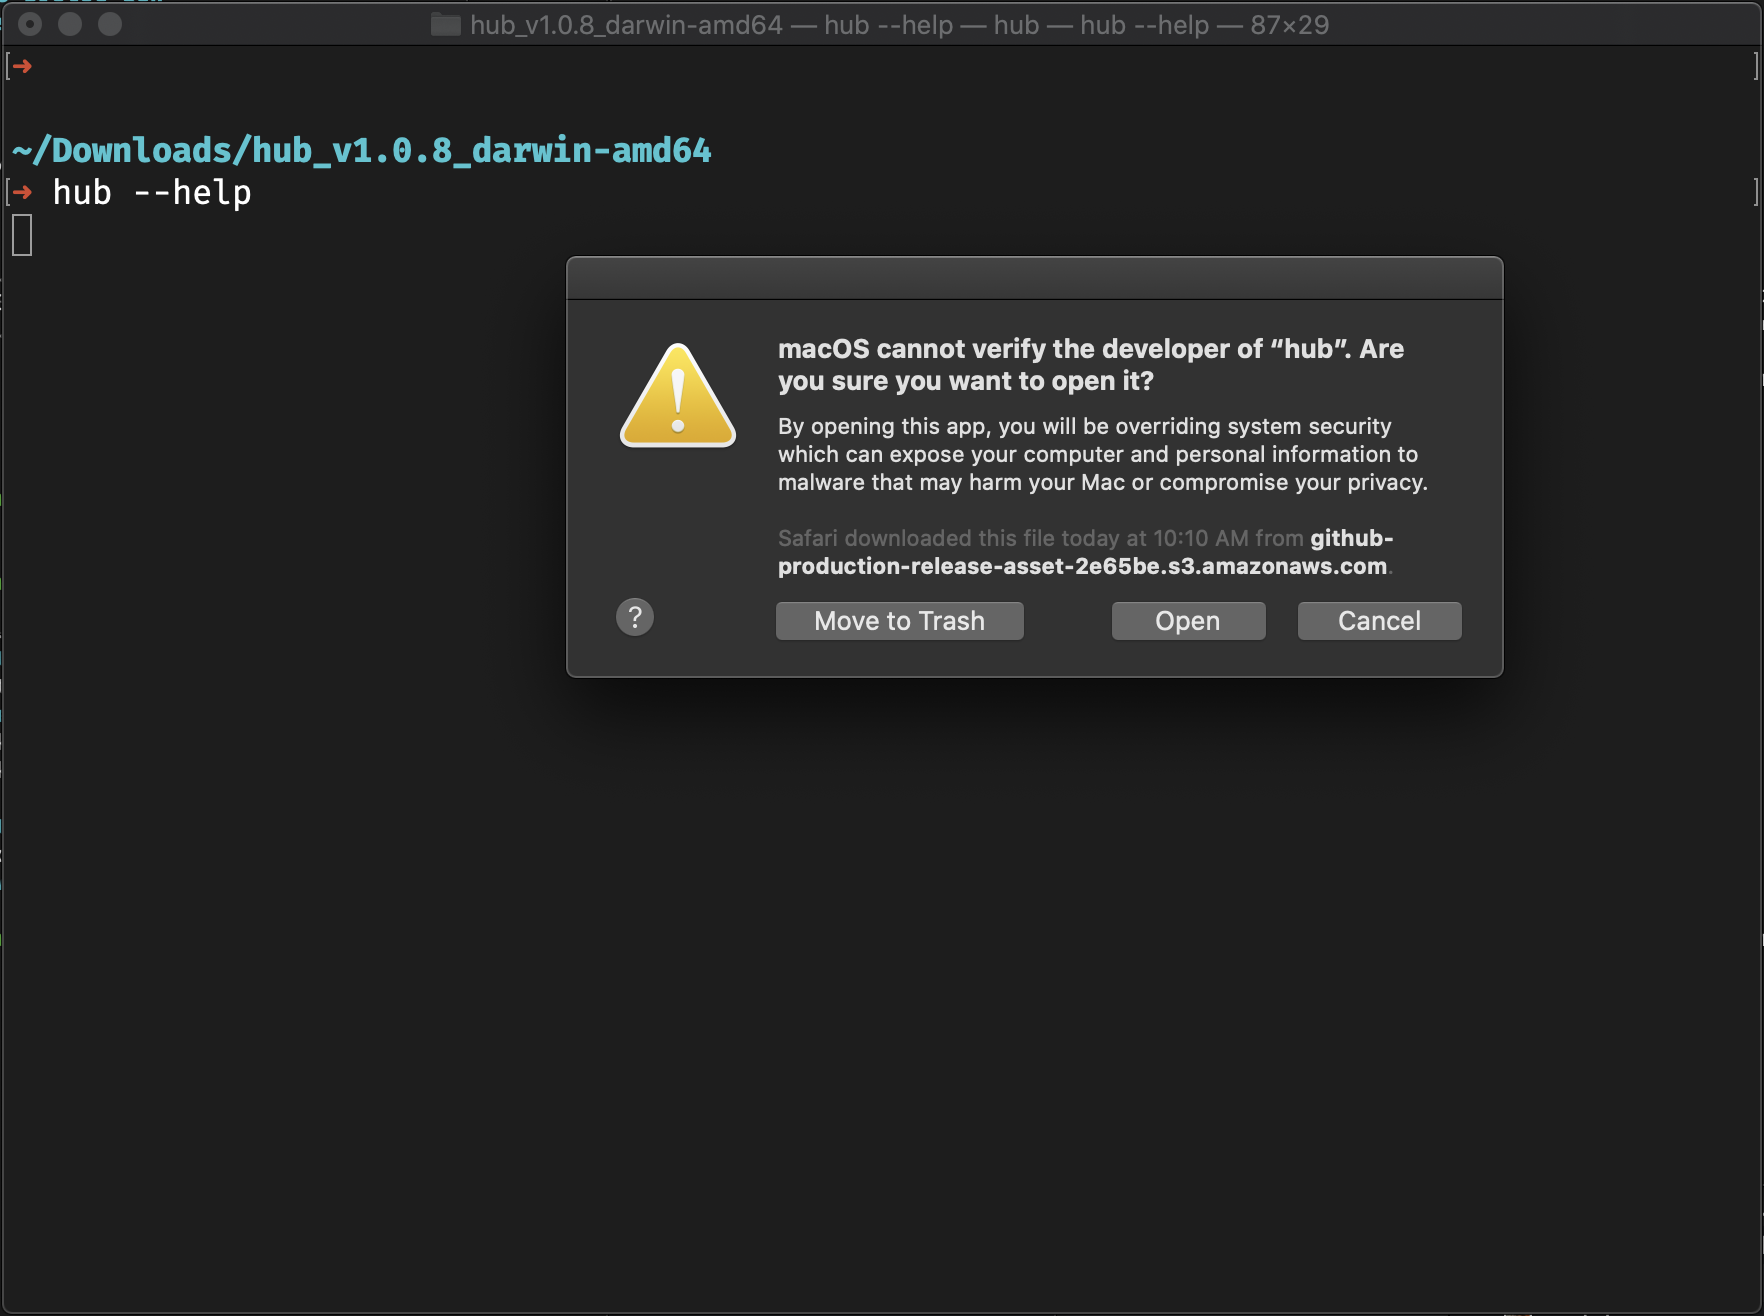
Run the test command again,
hub whoamiYou will see another warning. This time, click 'open'.
You can now register an account on the Textile Hub. This will give you resources such as remote IPFS persistence, network tools, user data storage, and more. We'll see some of that today. First run,
hub init
▶ Choose a username: █
Select your user name and enter a valid email. You'll need to use that email to verify your account and later login.
hub login
▶ Enter your username or email: █
Let's take a look around.
hub help

The Hub Client.

Usage:
  hub [command]

Available Commands:
  buck        Manage an object storage bucket
  destroy     Destroy your account
  help        Help about any command
  init        Initialize account
  keys        API key management
  login       Login
  logout      Logout
  orgs        Org management
  threads     Thread management
  whoami      Show current user

Flags:
      --api string       API target (default "api.textile.io:443")
  -h, --help             help for hub
  -s, --session string   User session token

Use "hub [command] --help" for more information about a command.hub orgs lsCreate orgs to share public or private buckets with your collaborators! Today, we'll do individual buckets, but in most cases you'll want to use organizations on the hub.
Let's walk through some commands for Buckets.
hub bucket help
▶ hub bucket help
Manages files and folders in an object storage bucket.

Usage:
  hub buck [command]

Aliases:
  buck, bucket

Available Commands:
  add         Add adds a UnixFS DAG locally.
  archive     Create a Filecoin archive
  cat         Cat bucket objects at path
  decrypt     Decrypt bucket objects at path with password
  destroy     Destroy bucket and all objects
  encrypt     Encrypt file with a password
  init        Initialize a new or existing bucket
  links       Show links to where this bucket can be accessed
  ls          List top-level or nested bucket objects
  pull        Pull bucket object changes
  push        Push bucket object changes
  root        Show local bucket root CID
  status      Show bucket object changes

Flags:
  -h, --help   help for buck

Global Flags:
      --api string       API target (default "api.textile.io:443")
  -s, --session string   User session token

Use "hub buck [command] --help" for more information about a command.Let's create a folder with a Bucket to play with.
Download the ZIP here, workshop gist. You can find the Download ZIP button in the upper right.
Once the ZIP is downloaded, expand the contents. Next, back in your terminal cd into the new folder. Mine is in ~/Downloads/b12541a7e22482d8e57de9148c6e4f9e-a1c1fca7dc3e303e1b606df4ba2651f66f3d1ed2. If we look at the contents we can see it contains two files,
~/Downloads/b12541a7e22482d8e57de9148c6e4f9e-a1c1fca7dc3e303e1b606df4ba2651f66f3d1ed2
▶ ls
index.html index.mdindex.mdis the document you are reading right now.index.htmlis just a placeholder website.
Let's create a bucket and push these files into it. While still in the same directory, initialize a new bucket, hub bucket init.
hub bucket init
▶ Enter a name for your new bucket (optional): █
▶ Encrypt bucket contents?? [y/N] █
Okay, a few cool things already appear. First, you can name your buckets. Second, you can choose to encrypt the bucket contents or not. Encrypted contents are discoverable on IPFS, but without your private key, cannot be read. Let's start by creating a non-encrypted, open bucket (the default).
You'll also notice that you need to select a Thread for you Buckets. That's because Threads are built on the Threads protocol. So much more to share here, but we'll move pretty quickly over it for now.
hub bucket push

> new file:  index.html
> new file:  index.md
? Push 2 changes? [y/N] █
Nice! Your template website is now live on IPFS (and IPNS, and ThreadDB, and HTTP!). Let's take a look. You can get the links to your bucket in all those protocols by running the links command.
hub bucket links

> Your bucket links:
> https://hub.textile.io/thread/bafkqvif37deytyf2bz2xih4gzdvsck2upe4th4asbf6qxvty2jzjedy/buckets/bafzbeigm3v5aatt7adofy7bzs5zfyovpkjhcz47hfsksd3ndbonvz5skvy Thread link
> https://hub.textile.io/ipns/bafzbeigm3v5aatt7adofy7bzs5zfyovpkjhcz47hfsksd3ndbonvz5skvy IPNS link (propagation can be slow)
> https://bafzbeigm3v5aatt7adofy7bzs5zfyovpkjhcz47hfsksd3ndbonvz5skvy.textile.space Bucket website
You can see my new bucket has an IPNS id of bafzbeigm3v5aatt7adofy7bzs5zfyovpkjhcz47hfsksd3ndbonvz5skvy, I could use that on any IPNS enabled gateway to view my current bucket. What is cool about IPNS is that if I change the content of my bucket, that address will show the latest changes!
Take a look at the bucket website for example, which uses the IPNS address to give you a nice HTTP endpoint for your website.
Open the index.html file at the root of your bucket in any text editor. You can now tweak the message in the HTML and push the changes.
For example, change the text from Our bucket is under construction. to, Our bucket is in space.
Now, you just push the changes like you did before.
hub bucket push
> modified:  index.html
? Push 1 changes? [y/N] █
You see that your changes were automatically detected. We have a good introduction to how that is done, here.
If you now visit any of your links again (hub bucket links), you can view your updated bucket contents.
Go through the same steps as before,
- Download the workshop material.
- Unzip it into a new folder,
cdinto the folder with your terminal. - Initialize a new bucket, but this time, set it to Private.
- Push the contents of the folder.
Now, visit any of the links: hub bucket links.
You'll see that they are unviewable!
For this section, you are going to need node installed on your machine (reasonably new version).
Description of account keys and user-group keys.
hub keys lshub keys create
Let's create a new set of User Group Keys.
We'll use one of the examples on our GitHub repo.
git clone git@github.com:textileio/js-examples.git
cd js-examples
ls
▶ LICENSE              README.md            bucket-photo-gallery react-native-hub-app
Today, we'll use the bucket-photo-gallery example.
cd bucket-photo-galleryinstall dependencies
npm installThis app is going to use your insecure api key for now. You can update that on line ~20 of src/App.tsx.
Currently:
  keyInfo: KeyInfo = {
    key: 'q4artt6q33q6ksxswuufmeh87ru',
  }
Change the value (q4artt6q33q6ksxswuufmeh87ru) to match the API key you generated in the step above.
If you forgot what your keys are, you can list them in the CLI with, hub keys ls.
Be sure to save your file changes in App.tsx.
run the server
npm run start
Voila! Let's play with this example and I can walk through primary application logic, seen here.