We want to go from this:

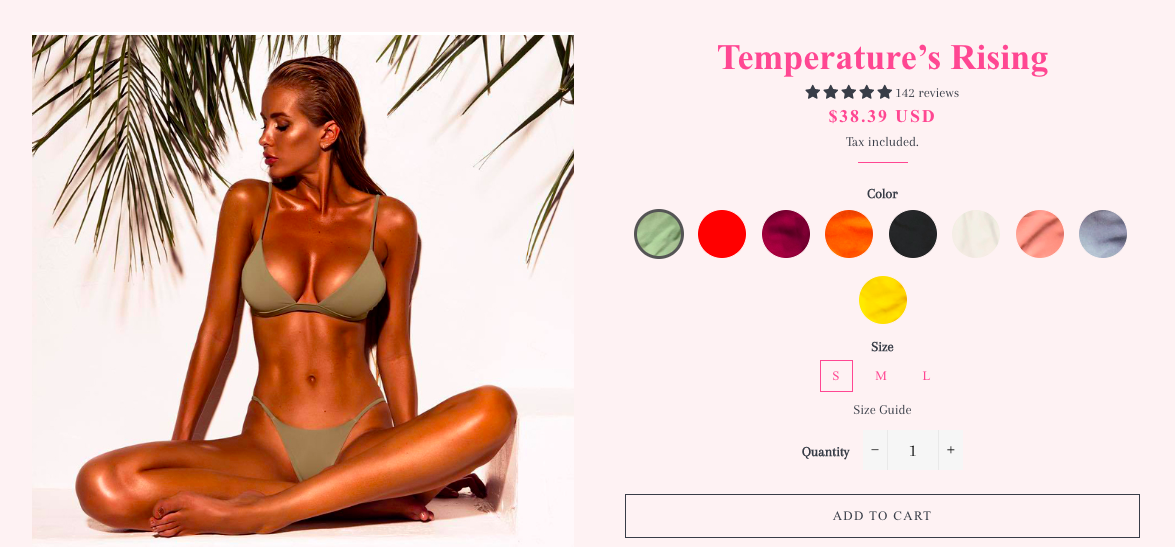
... to that:

- Start compiling all the names of your colors store-wide. Add to a text file. By color names, we mean these:

Note
The name of the product option does not need to be Color. This tutorial can work with any product option.
-
Find the proper hexadecimal value for each color. Use this tool: http://www.color-hex.com/ Add the hex value next to each color in your text file.
-
Time to write some CSS! Open your theme.scss.liquid stylesheet in the online code editor. At the very bottom of the file, define your colors, following this very strict format:
$colors: (
  'Color-Hot-Pink'     #FE4365,
  'Color-Vieux-Rose'   #FC9D9A,
  'Color-Old-Paper'    #F9CDAD,
  'Color-Faded-Green'  #C8C8A9,
  'Color-Green'        #83AF9B
);
Notes
- We are writing Sassy CSS here. We are defining a comma-separated list of space-separated lists. A list of lists. Alas, the version of Sass used by Shopify is too old for us to use a
mapobject, which would have made our code more succinct. - The name of each color must match this pattern:
<Option Name>-<Option Value>. Use the same case as in your Admin. Except replace white space with a dash. So if you have a 'Color' option, and one of its values is 'Faded Green', use 'Color-Faded-Green', not 'Color Faded Green' nor 'color-Faded-green'. Accents are allowed. - There ought be no comma between the color name and the hex value.
- There ought to be a comma at the end of each color definition except the last one.
- Right below that, add this CSS:
@each $color in $colors {
  $colorName: nth($color, 1);
  $bgColor:   nth($color, 2);

  #ProductSelect-option-#{$colorName} + label {
    background-color: $bgColor;
    color: $bgColor;
    width: 50px;
    height: 50px;
    overflow: hidden;
    border-radius: 25px;
    margin: 5px;
    text-indent: 100%;
    white-space: nowrap;
  }

  #ProductSelect-option-#{$colorName}:checked + label {
    border-color: #555;
    border-width: 3px;
  }
}
That's it!


Thank you so much. This works great on product pages.

But when I'm adding those same products as featured products on the homepage (brooklyn theme), the radio buttons are not appearing and color options are appearing in the default form. Please help!