Scripts work the same as with VPython, just not as pretty. Falls back gracefully.
-
Open the script you wish to run in your favorite text editor. Wordpad on the Windows system or TextWrangler or TextEdit on the Mac system will work. Microsoft Word is best avoided. In this case, it may work for copying ad long as you don't try saving it.
-
Go to tmpnb.org or try.jupyter.org in your browser. A Jupyter dashboard page will come up after a moment and it will look similar to below.
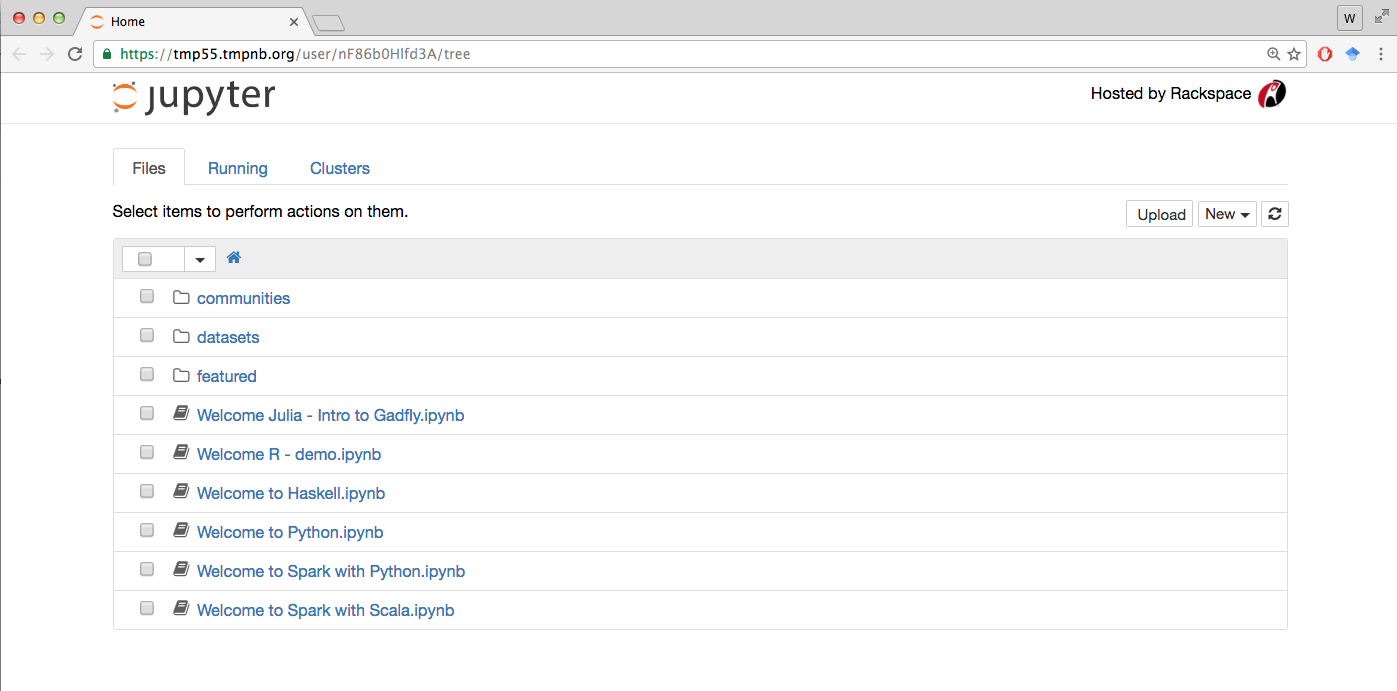
- You'll want a blank notebook for easy pasting in of the script into a cell.
To get a blank notebook, look in the upper right side of the dashboard and clicknew.
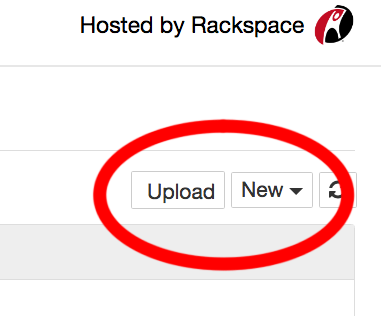
- From the menu that pops up, select
Python 2orPython 3.

-
The empty Jupyter notebook will come up and you'll see a cell where you can paste the script.
-
Now you will have the script populating a cell of the notebook.

Next you can decide if you want to edit the script to change any of the default settings. Or you can simply you run 'as-is' to accept the defaults. The main option and the default is spelled out in the next optional step.
I had an image for pasting, I think. Use here?
- OPTIONAL: Turn on the animation of the representation state of the simulation by changing the line that appears around 70 to 80 lines down in the various scripts from
motion=0tomotion=1. Withmotionset equal to 1 you can monitor the simulation as it runs. The default,0value, is just to show the final state and the plots represent the course of the already run simulation.

IMPORTANT: About half of the time when animating each step, the IPython kernel/machine where the computation is actually running will become recycled before 100 cycles of the simulation have completed. At this time the simulation will cease to continue running and the notebook will say it has been disconnected. You will be able to see the progress thus far, although there will be no saved files of images or CSVs. Please just copy and paste the script to a new transient instance of tmpnb.org and run again. Chances are it will make it all the way through the simulation if you move quickly to get things started. There is no such issue when using the settings that only produce output representing the end state, i.e., the default motion=0 setting in the present versions of the scripts.
There are other options at the top of the script you can edit too. Such as save_csv_file. The default for that is to save a comma-separated values file recording the values of the variables and the state of the simulation at each step as text values.
-
Type
shift-enterto execute the code in the cell. Alternatively, click on the "Play" button [►|] on the toolbar just above the notebook or selectCells>Runin the notebook menu. -
After it concludes, you'll need to be sure to save any result you wish to keep as these Jupyter instances are very ephemeral.
Of course, you can easily run the scripts again later using the steps above and get a similar result, but for some of the versions you will not get precisely the same result again.
By default, the scripts save two files:
- An image of the plots with a name ending in
_plot_final_image.png, and; - a comma-separated values file recording the values of the variables and the state of the simulation at each step as text values. The latter file ends in
.csv. To see these files exist on the remote system, you need to go back to the dashboard by clicking on the Jupyter notebook in the upper left corner.
![]()
Among the list of the files, you'll see the two generated files. You need to click on each in turn to be able to download it to your local computer.
Click on the image name in the list.

You'll see the image load in the next screen. Right-click on the image and select Save as..

Go back in your browser. When you click on the name of the .csv file in the list

You'll see a page open showing some of the values.

You can choose Download from the File menu above the text of the values.

To download the representation of the patches, you use the download button on the right side of the toolbar that is shown below the representation of the patches back in the notebook. You need to re-enter the notebook by clicking on its name within the Dashboard. It will look like Untitled.ipynb in the list. If you triggered more than one, you want the one with the highest number after Untitled unless you named the notebook by typing in the top where it said Untitled.