Skip to content

Instantly share code, notes, and snippets.

@mrpjevans
Last active January 6, 2024 21:17
Show Gist options
  • Save mrpjevans/9885e853b603ed046cbc5326b9942991 to your computer and use it in GitHub Desktop.
Save mrpjevans/9885e853b603ed046cbc5326b9942991 to your computer and use it in GitHub Desktop.
Installation process for facial recognition dependancies

Step 1: Install dependancies

sudo apt -y update && sudo apt -y full-upgrade
sudo apt install build-essential \
    cmake \
    gfortran \
    git \
    wget \
    curl \
    graphicsmagick \
    libgraphicsmagick1-dev \
    libatlas-base-dev \
    libavcodec-dev \
    libavformat-dev \
    libboost-all-dev \
    libgtk2.0-dev \
    libjpeg-dev \
    liblapack-dev \
    libswscale-dev \
    pkg-config \
    python3-dev \
    python3-numpy \
    python3-pip \
    zip \
    python3-picamera

Step 2: Updates

sudo pip3 install --upgrade picamera[array]

Step 3: Increase the swap file size so we can build dlib

sudo nano /etc/dphys-swapfile

Find CONF_SWAPSIZE and change its value from 100 to 1024. Save and exit then run this command:

sudo /etc/init.d/dphys-swapfile restart

Step 4: Build and install dlib

cd
git clone -b 'v19.6' --single-branch https://github.com/davisking/dlib.git
cd ./dlib
sudo python3 setup.py install --compiler-flags "-mfpu=neon"

This may take a significant time to run (Raspberry Pi 4 took about 30 minutes)

Step 5: Revert the swap size

sudo nano /etc/dphys-swapfile

Find CONF_SWAPSIZE and change its value from 1024 to 100. Save and exit then run this command:

sudo /etc/init.d/dphys-swapfile restart

Step 6: Install face_recognition and examples

sudo pip3 install face_recognition

You're done!
@chenyinhao98
Copy link

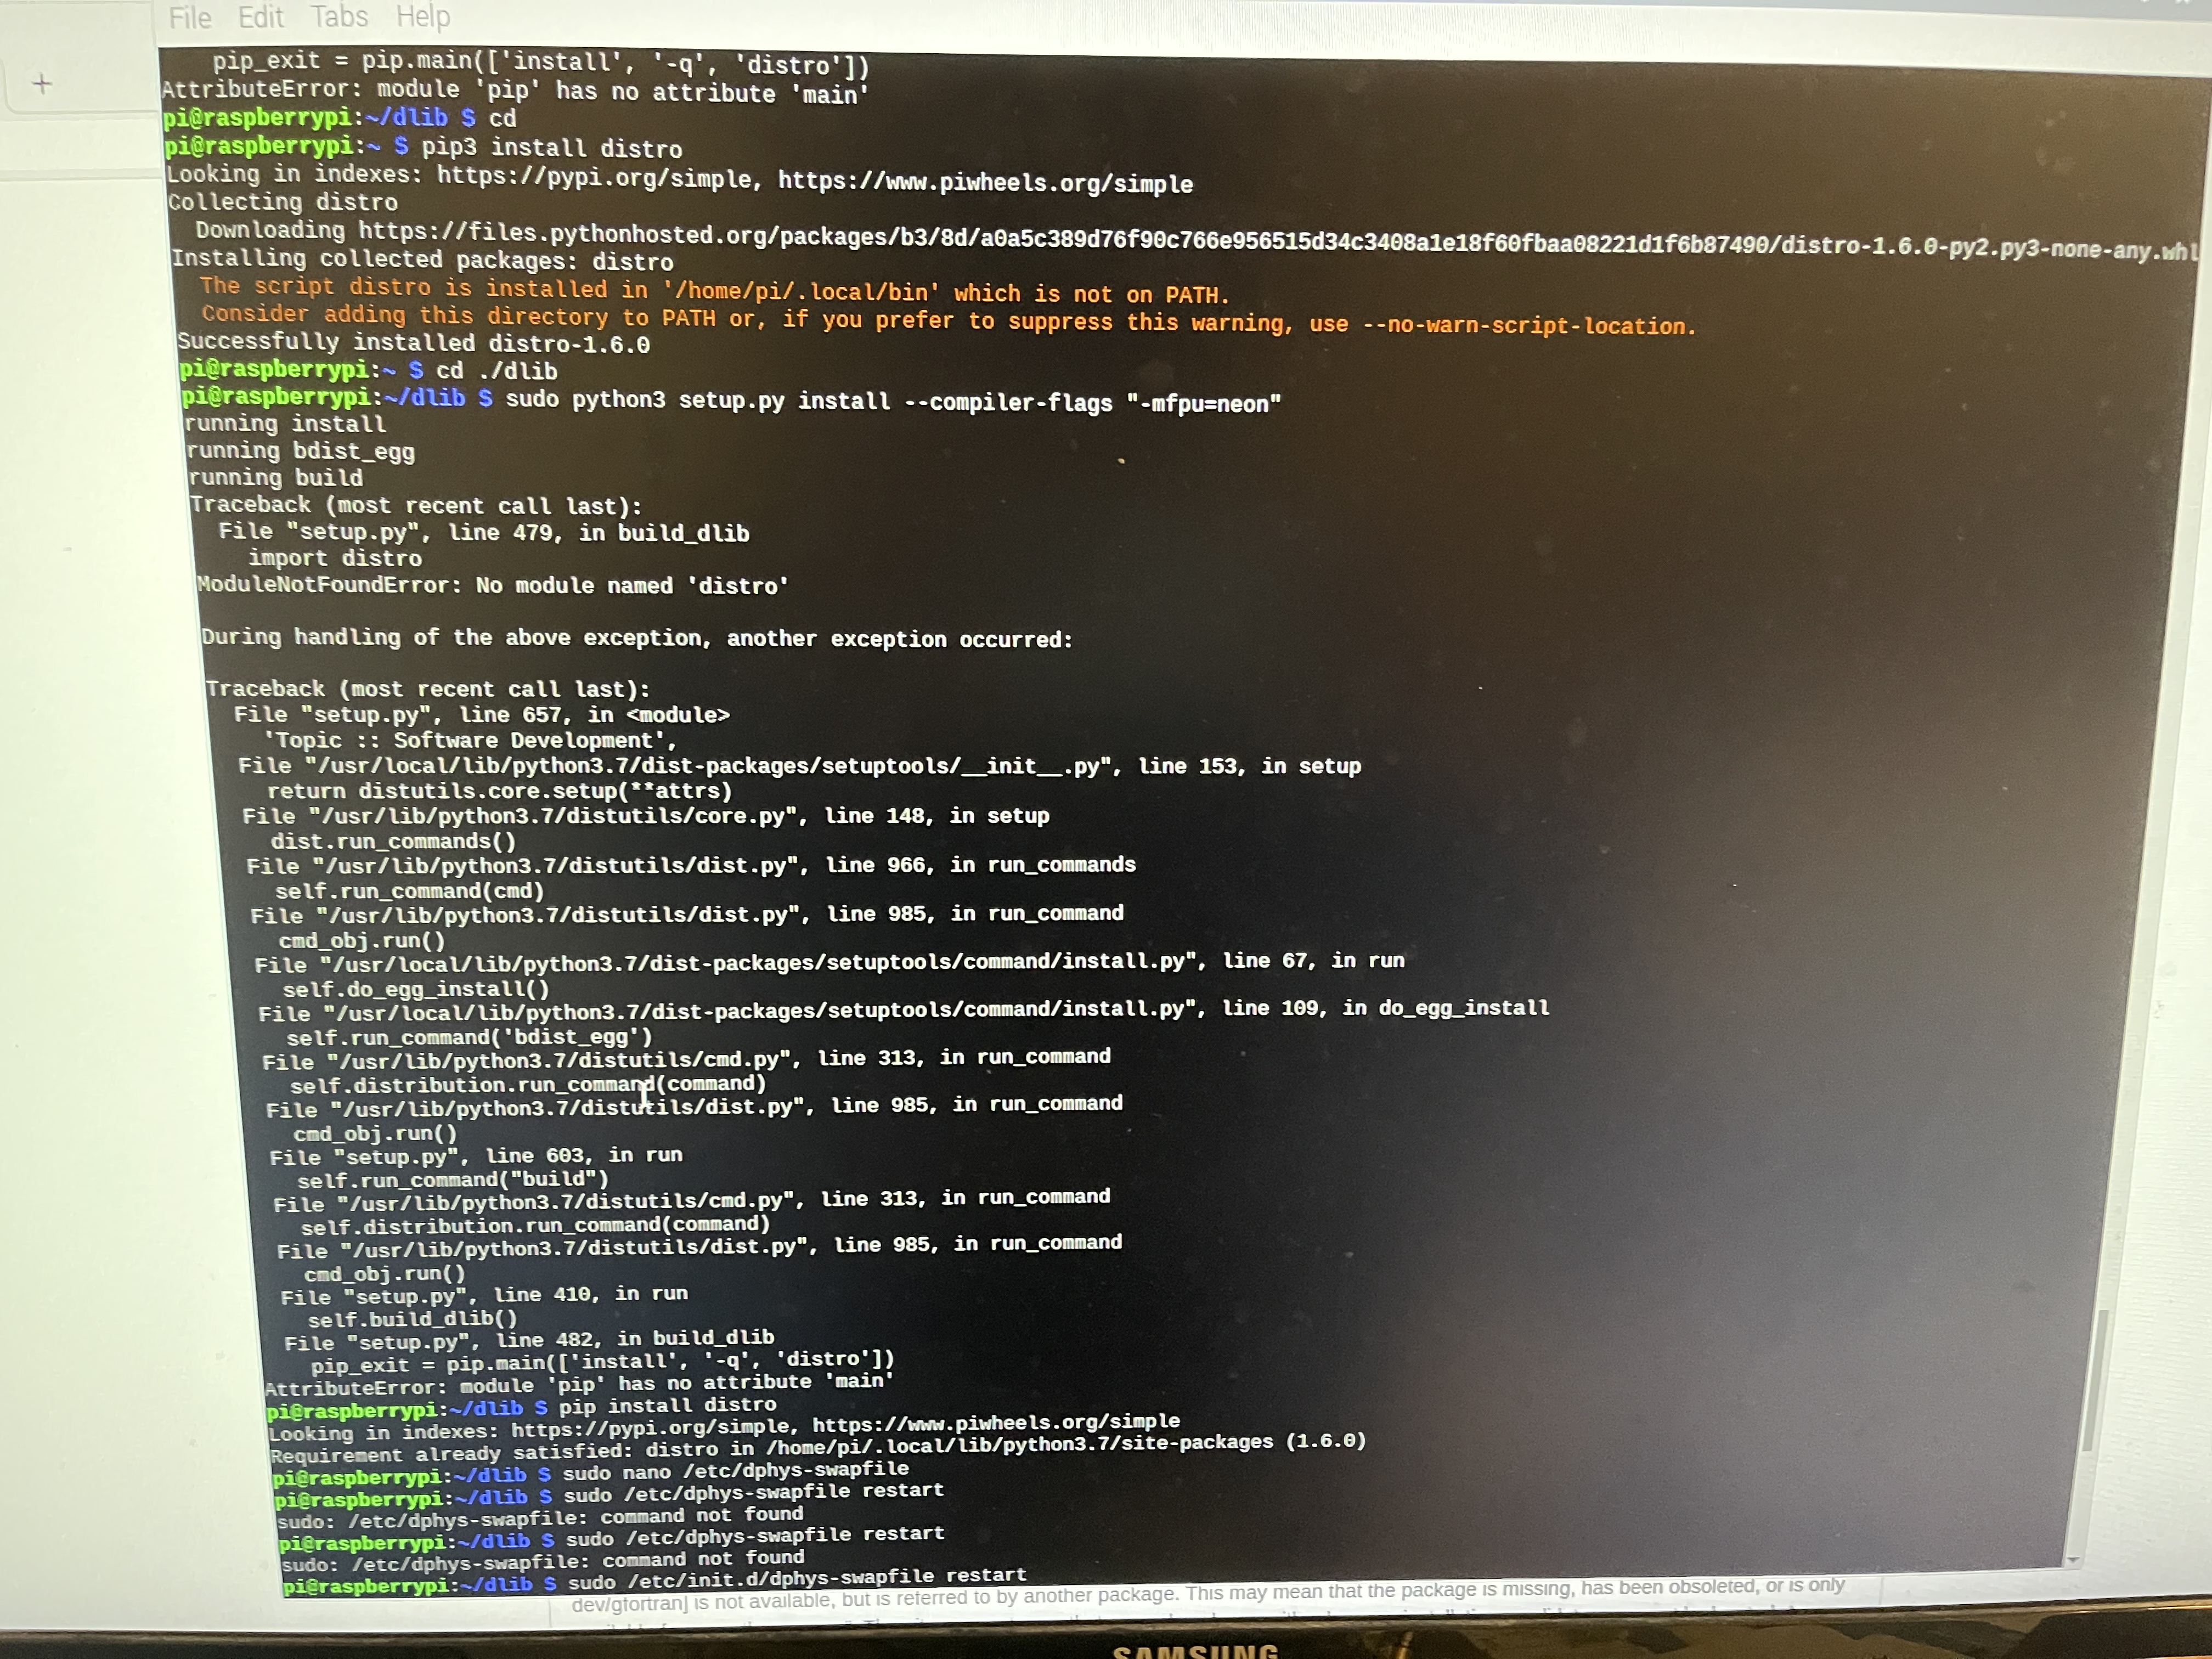
Also stucked on step 4, says "no module named 'distro' in the error message when running "sudo python3 setup.py install..." line.
Tried to install distro package but still doesn't work.
Messing around right now

@chenyinhao98
Copy link

ed0535a0f534fe5c2ef02fe62af079f

@mrpjevans
Copy link
Author

You need to install it as root, so...
sudo pip3 install distro

@Dweblenod
Copy link

Thank you so much for the help so far! I ran the "sudo apt install build-essential" line before the rest but at the fourth step I came up with the same error at the end. At "sudo nano /etc/dphys-swapfile" I assume I am saving correctly because I saw the changed value I made the first time around but perhaps I am still making a mistake somehow, somewhere

@mrpjevans
Copy link
Author

Try explicitly installing cmake:
sudo apt install cmake
And try again

@Dweblenod
Copy link

I got farther but a bunch of warnings and errors popped up. At the end it says Boost python library was not found and cmake configuration failed

Copy link

ghost commented Nov 13, 2021

I am also stuck at step 4 with the sudo python3 setup.py install --compiler-flags "-mfpu=neon" command.
I am getting an AttributeError: 'Thread' object has no attribute 'isAlive'
Any assistance would be appreciated.
IMG_5390

@mr-douglas
Copy link

mr-douglas commented Dec 15, 2021

Should there be an additional \ in the second-to-last line of the install step, ie:

python3-pip \
zip
python3-picamera

Should be

python3-pip \
zip \
python3-picamera

@mrpjevans
Copy link
Author

Thanks for pointing that out mr-douglas

@polyphonic13
Copy link

@DillonMcCardell did you ever get past the 'Thread' object has no attribute 'isAlive' error? I am stuck there as well.

@mrpjevans
Copy link
Author

@polyphonic13 Try step 4 but omit

-b 'v19.6'

From the git clone command.

@polyphonic13
Copy link

@DillonMcCardell thanks for the response. I ended up using a different solution and got it working. Go to know you fixed yours though!

@electroblake
Copy link

electroblake commented Dec 26, 2023

Hello and thank you for your work!
I'm trying to install on a Pi 4 running 32-bit Bookworm (I was originally trying with the 64-bit version, but switched to 32 when I started having problems because I understand software compatibility to be greater in the 32-bit version).

As per the "Python on Raspberry Pi" section of this support doc on the raspberry.com website, you can no longer use pip to install python packages systemwide and you must use a virtual environment. This also prevents you from being able to use sudo when doing pip install.

It also seems to be the case that in step 1, python3-picamera does not exist in the apt library, but python3-pycamera2 does. When I add the 2 to the package name, drop the -b 'v19.6' from step 4, and do everything inside a virtual environment (created using venv) and not using sudo, I get all the way through to Successfully installed face-recognition-models-0.3.0 face_recognition-1.3.0

@electroblake
Copy link

An important amendment to my comment above which I neglected to include: Be sure to create your virtual environment with the --system-site-packages flag or else you won't have access to e.g. libcamera inside the venv.

I just installed this on a Pi zero 2 W with a Lite install of Bookworm on it. Basically the same as my previous comment except:

  1. I think that if you are using picamera2 you don't need to do step 2. There is not an extra feature in picamera2 called array so the install doesn't work if you try to do pip3 install --upgrade picamera2[array] anyway. I'm not sure here, but I had trouble with the install and just skipped this step and everything else worked.

  2. Step six, sudo pip3 install face_recognition appears to want more memory than the Pi zero has (it just comes with 0.5GB) so do step 5, reverting the swap size) after step six instead of before. It takes a while but eventually the installation goes all the way through.

Impressively, the Pi zero 2 can do at least basic face detection. I got the examples from git clone --single-branch https://github.com/ageitgey/face_recognition.git and updated face_recognition/examples python3 facerec_on_raspberry_pi.py to use picamera2 and cut out the recognition part so it just looks for generic faces and it can do it! I had the image size set to 640 x 480 and it processes about one image every five seconds. When I dropped that down to 320 x 240 it peps up and can do about one image per second.

Thanks again!

@mrpjevans
Copy link
Author

Hi. Amazing that a Zero 2 can do this. Thanks for your great work and for taking the time to update this. Sadly, if I spent all my time keeping these tutorials up to date with OS releases, I'd never be able to do anything else!

Sign up for free to join this conversation on GitHub. Already have an account? Sign in to comment