For the lesson today, we are going to deploy our application to a live server.
The current workspace provided by cloud9 is meant only for development and not for production. By that, we mean you can use the service to write and even test your code but not to run your service.
For this we will be using a platform called heroku. Heroku is a PAAS (Platform As A Service).
This means you will not need to work VMs and such. Heroku will work with your code as long as you push it, which do using a similar technique.
The main things to consider when hosting your code will be:
- How do you run the code?
- How do you connect to the database?
- How do you host static files?
Heroku handles all of this for us.
So let us now see how we can get a new python/django project hosted on heroku.
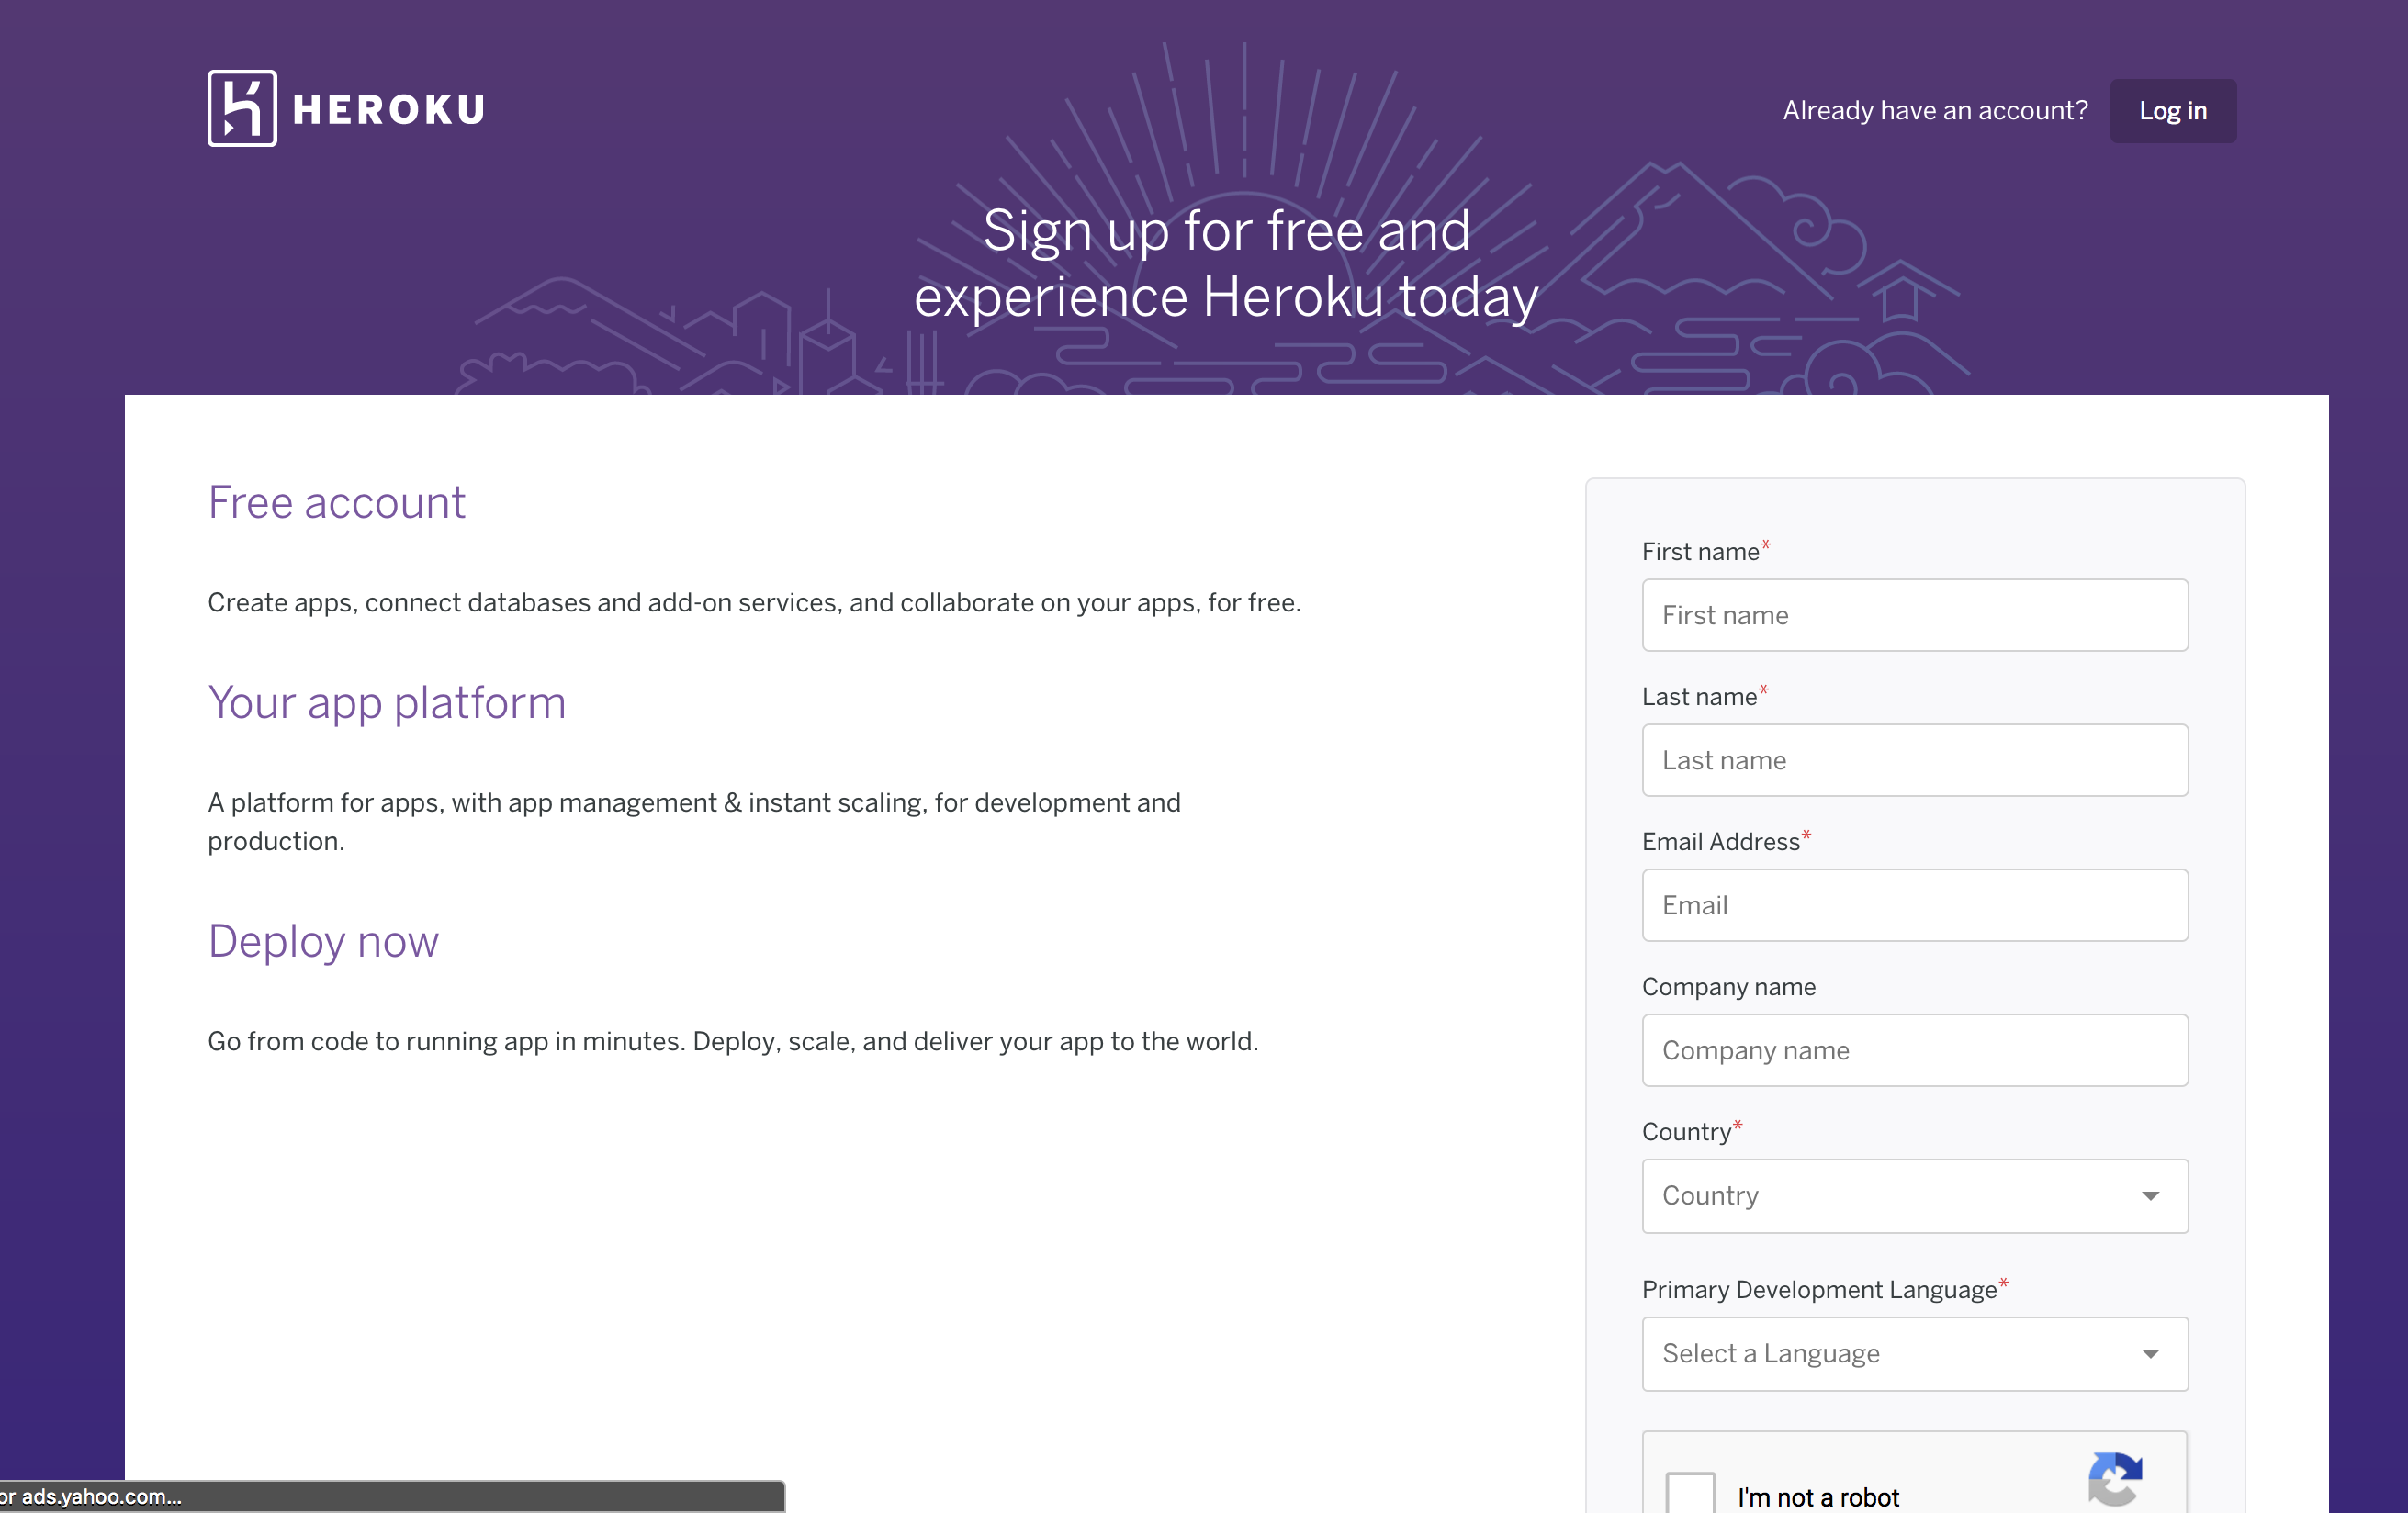
To use Heroku you must have an account. Thankfully, they don’t need a credit card.
Navigate to https://signup.heroku.com/login
Once logged in, you will see your applications in a list
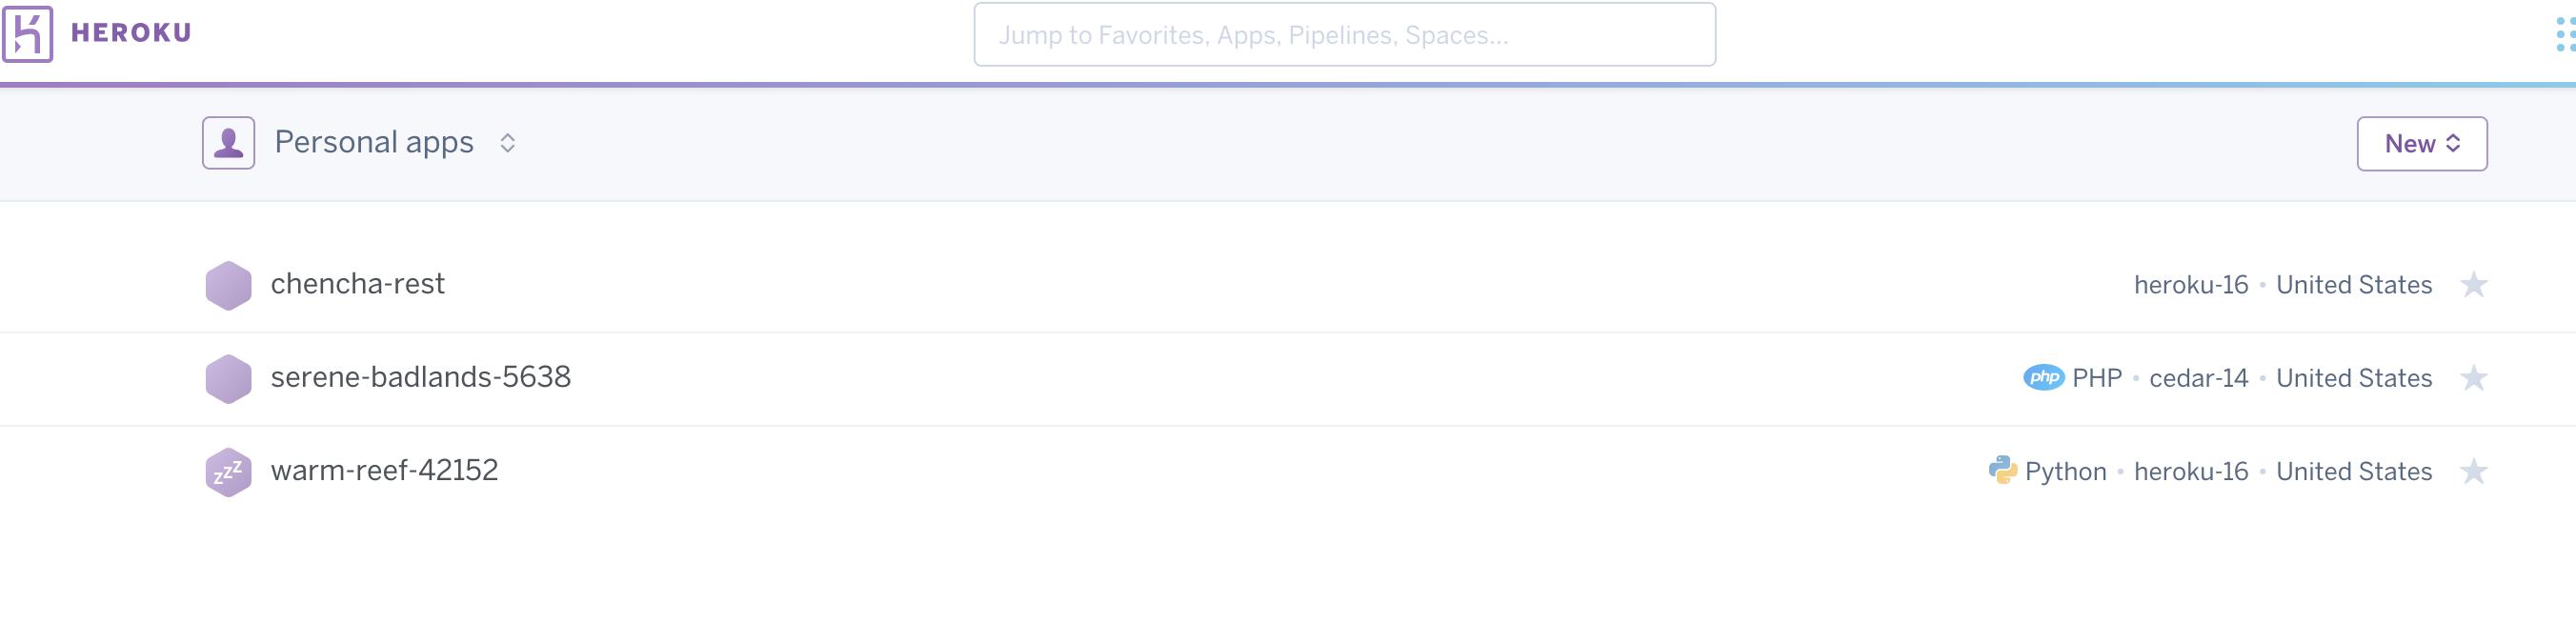
On first signup this page will be blank.
We are now ready to deploy our application.
Ensure you have a fresh install of django. Use the tutorial if you forgot how to create one.
By now you should have a template workspace which you just clone. If not, you can save this script and run it in a fresh workspace to configure it.
Since Heroku works with git, we must first commit all our code to git.
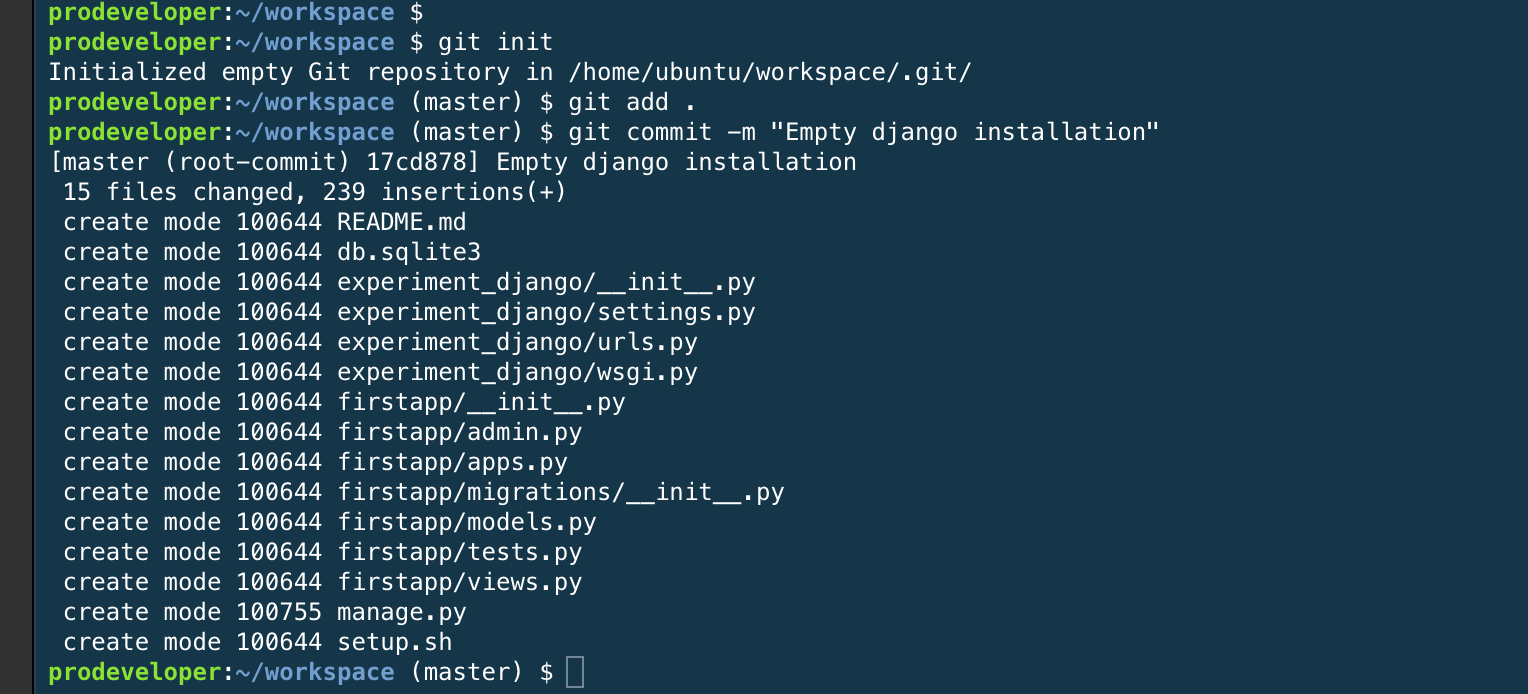
This commands ensure your code is now being versioned.
Now lets go ahead and install Heroku client on our machine as

The above commands adds heroku repository so that we can install it from ubuntu installer.
Here is a text version of it so that you can easily copy and paste
sudo add-apt-repository "deb https://cli-assets.heroku.com/branches/stable/apt ./"
curl -L https://cli-assets.heroku.com/apt/release.key | sudo apt-key add -
Once that is done, we do an update

And install heroku

For heroku to know how to handle our application, we need to provide it with the following files:
- requirements.txt
- Pipfile
- Procfile
This three files give instructions on how to deploy the application.
To create the requirements.txt simply run
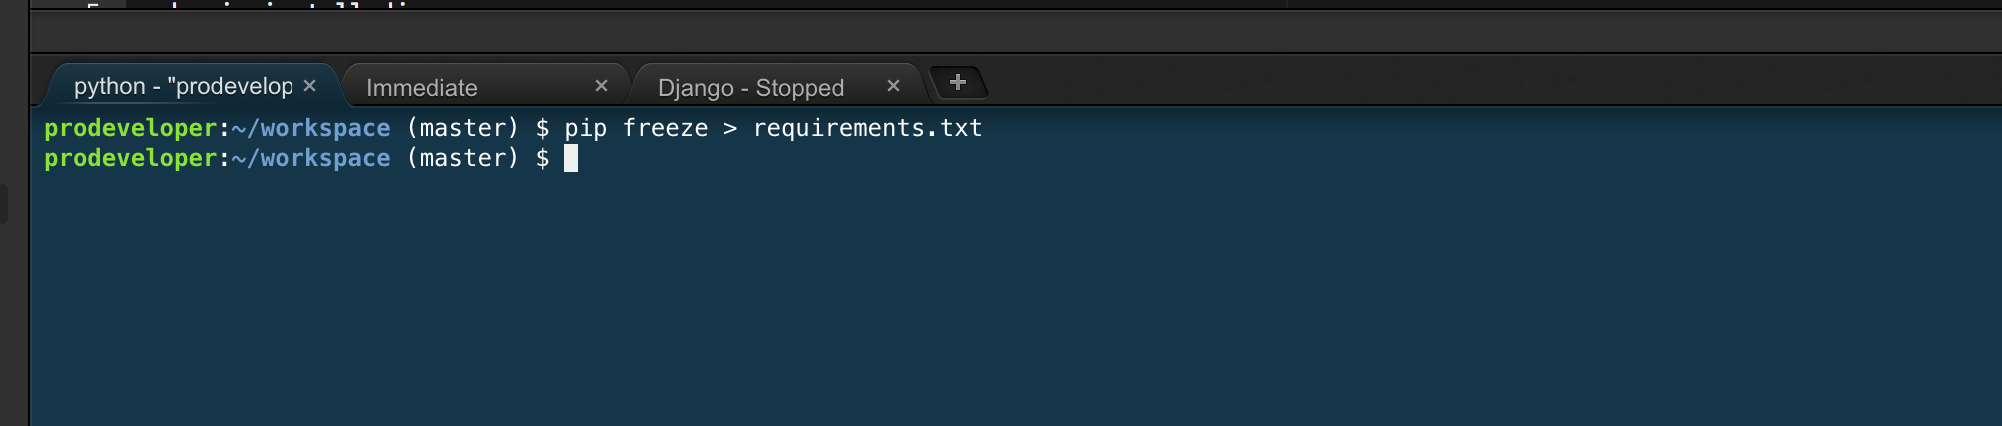
If you look at the requirements file, you notice there are a lot of libraries you just don't need
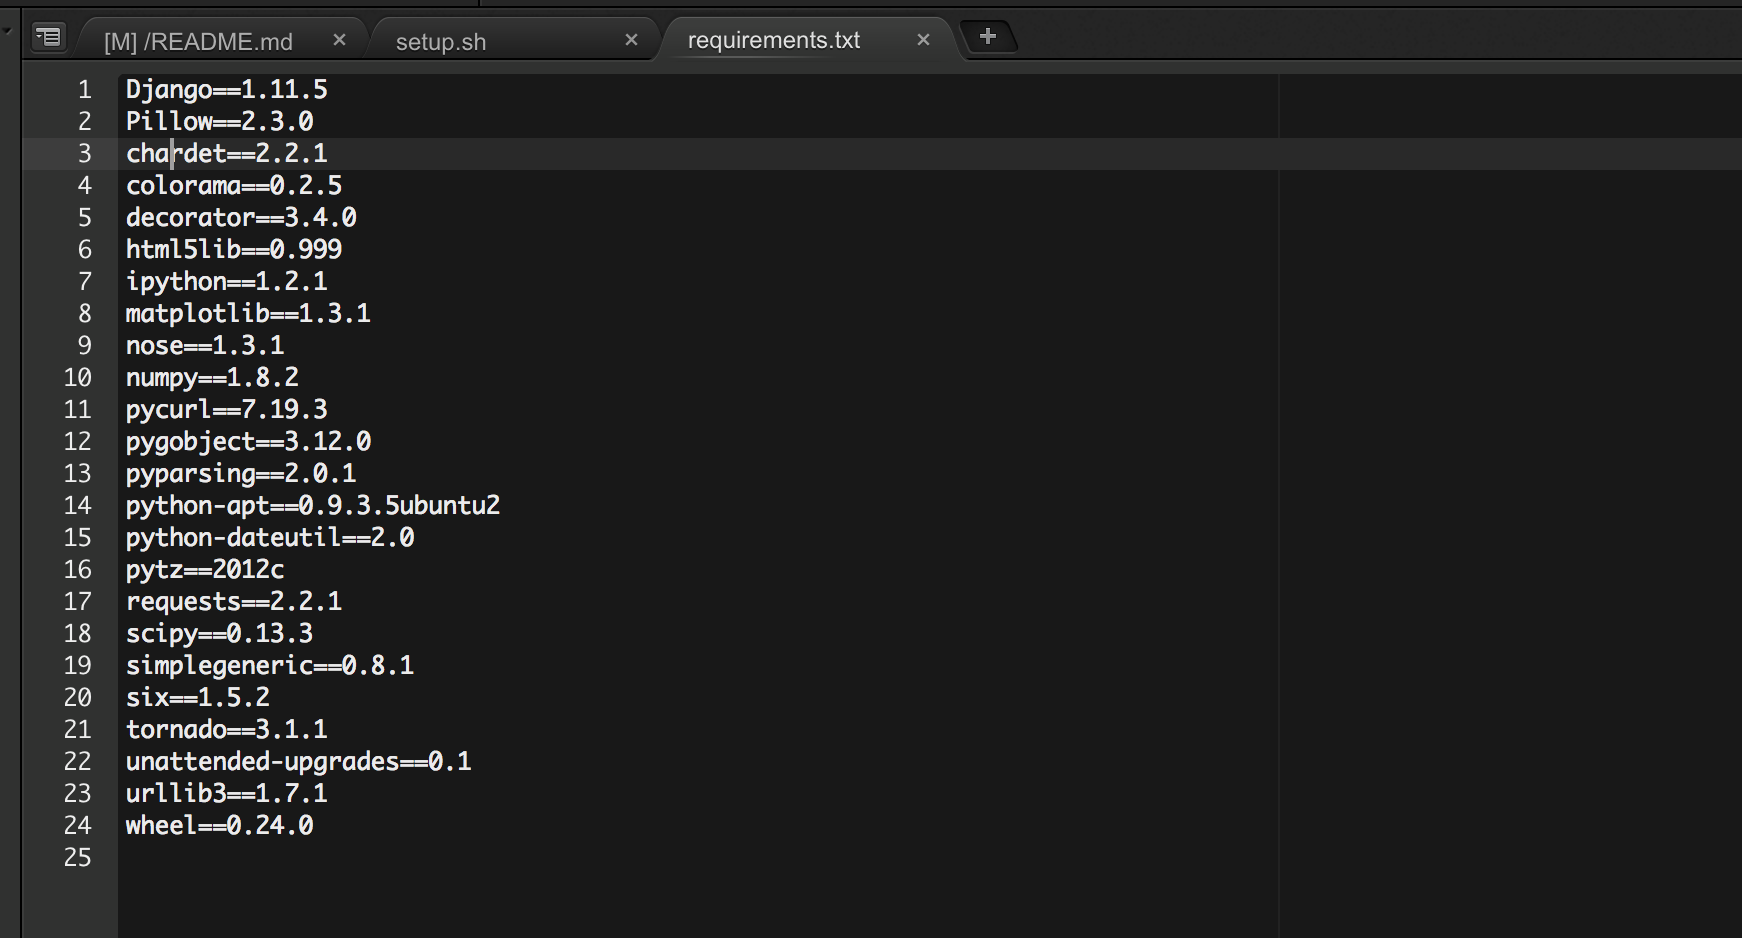
This is because we are using the global environment rather than a local one. For now, we can proceed on to remove any unused libraries so that our file now looks like this.
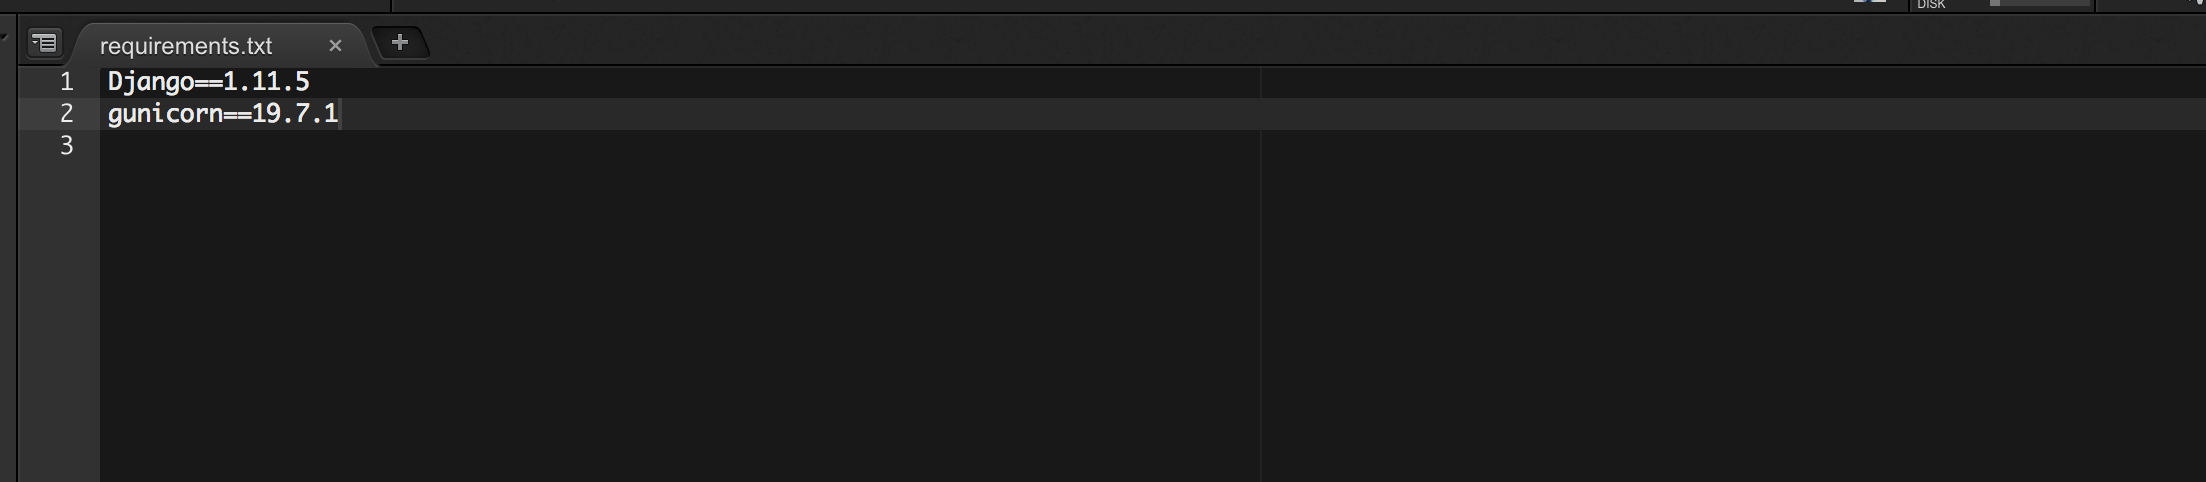
For ease of copying, here are the requirements in text format.
Django==1.11.5
gunicorn==19.7.1
Your Pipfile also provides deployment instructions, it should look like this
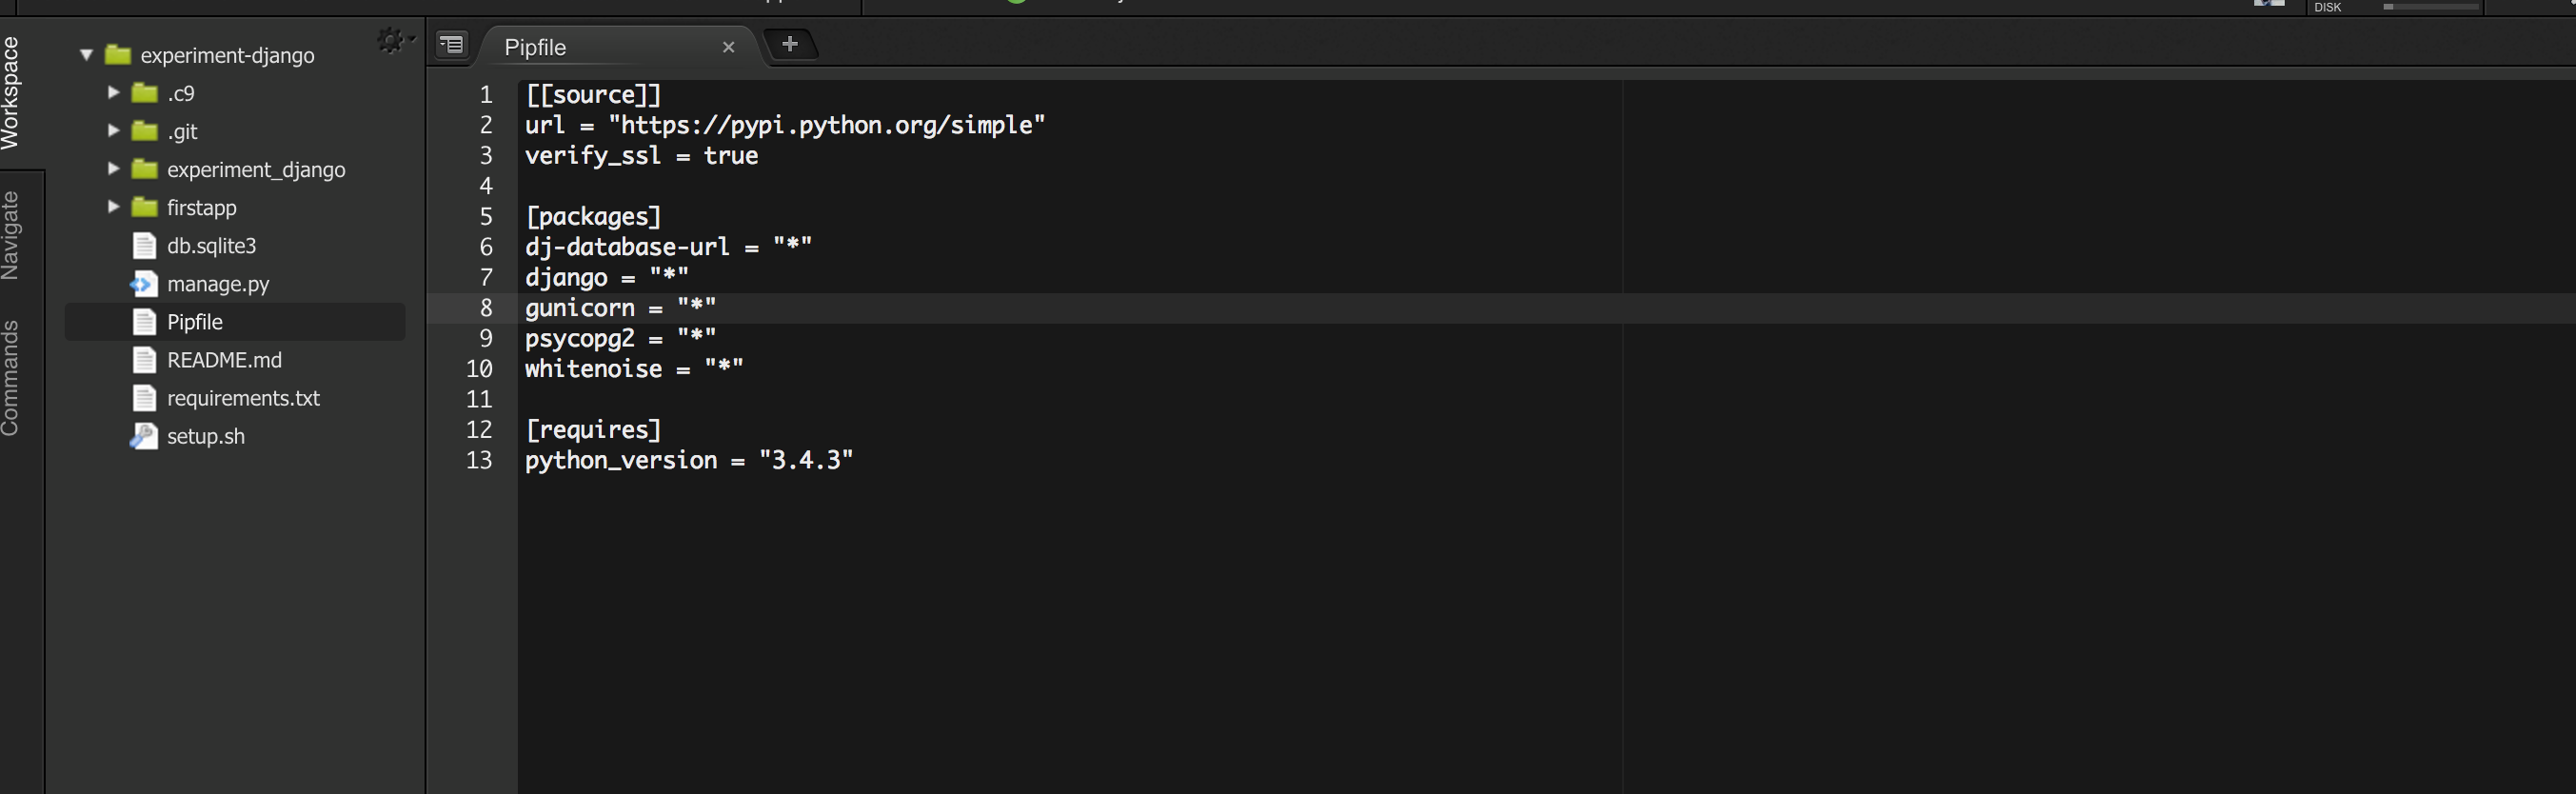
Note the filename and its location in root.
For ease, here is the code in text format
[[source]]
url = "https://pypi.python.org/simple"
verify_ssl = true

[packages]
dj-database-url = "*"
django = "*"
gunicorn = "*"
psycopg2 = "*"
whitenoise = "*"

[requires]
python_version = "3.4.3"
Finally, we specify our Procfile

The format can be found below in text format.
web: gunicorn [project_name].wsgi --log-file -
For example in mine.
web: gunicorn experiment_django.wsgi --log-file -
You notice the Procfile has code that points to the wsgi module within the name of your application.
Ensure your name also matches this particular values. For example, in this tutorial, the name is experiment_django yours will probably be different depending on how you named the workspace.
With all our files set, we are now ready to deploy.
Lets start of by first logging into our accounts from the CLI. We will use the same email and password that we used to sign up to heroku

With login done, we can now create our application

To ensure heroku understands our project setup, we go right ahead and specify the buildpack by typing into the terminal

In the future we will need to upload images to our server, to do so. Add the following lines to your settings.py files near the bottom.

For ease, here is the text version of code to copy and paste
# Static files (CSS, JavaScript, Images)
# https://docs.djangoproject.com/en/1.9/howto/static-files/

PROJECT_ROOT = os.path.dirname(os.path.abspath(__file__))

# Static files (CSS, JavaScript, Images)
# https://docs.djangoproject.com/en/1.9/howto/static-files/
STATIC_ROOT = os.path.join(PROJECT_ROOT, 'staticfiles')
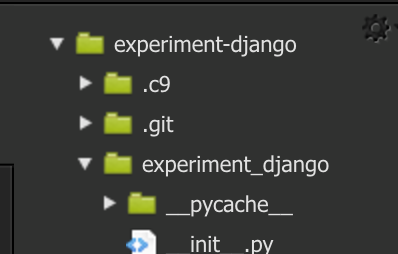
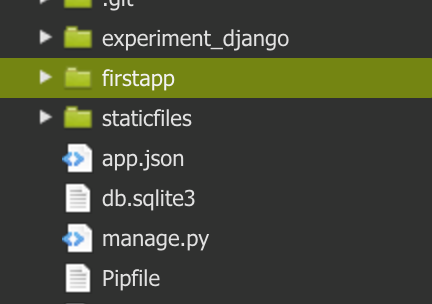
This setting specify that django should serve static files from the specified directory. We can now go ahead and create the folder, it will be in our root directory as shown below.
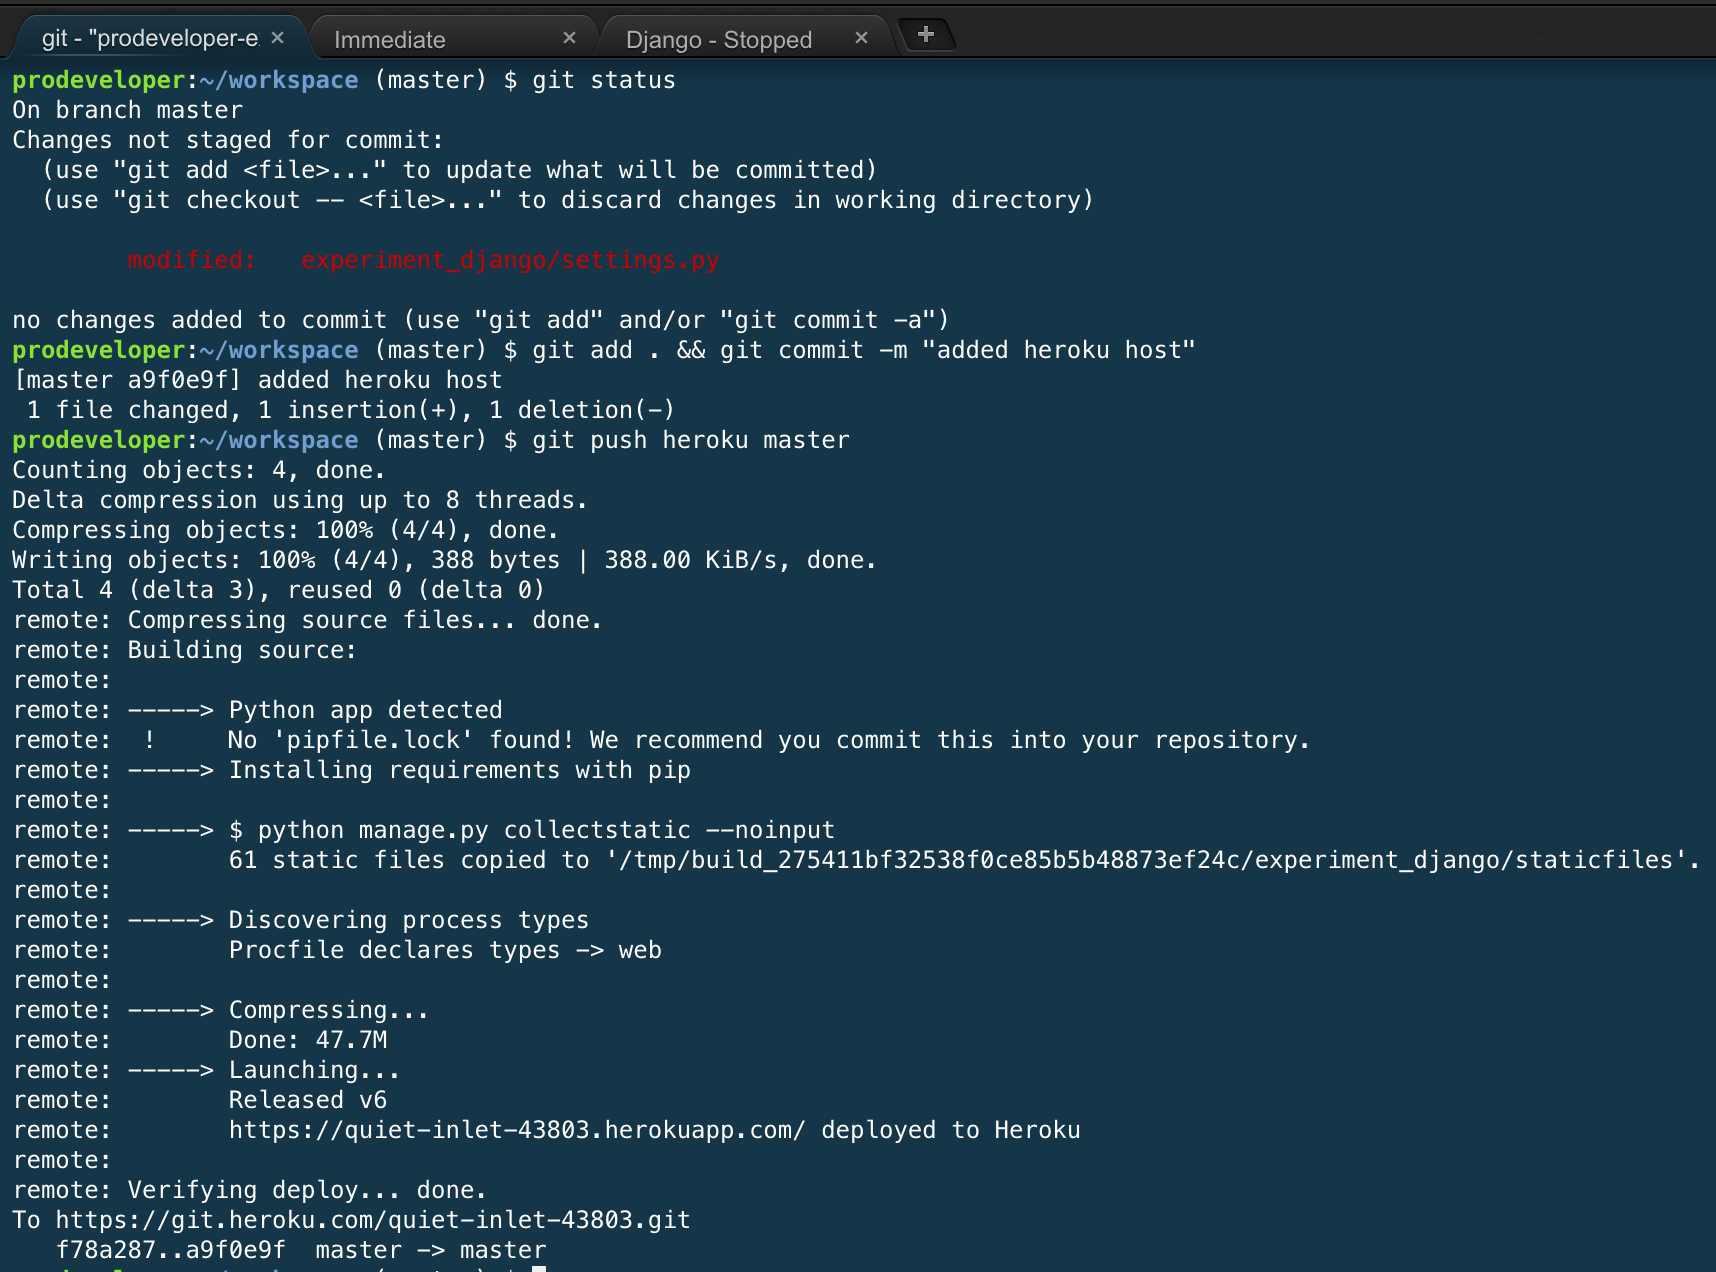
While setup is done, we need to ensure its all committed. Remember, Heroku only understands committed code.
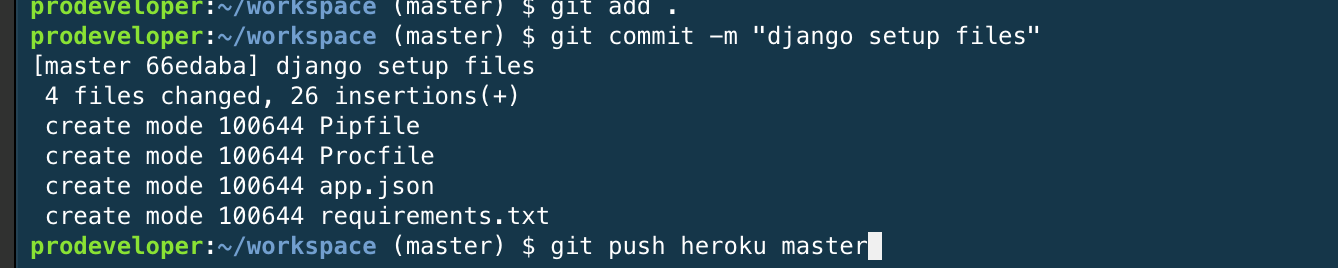
With the app ready, you can now push your application code to the heroku servers
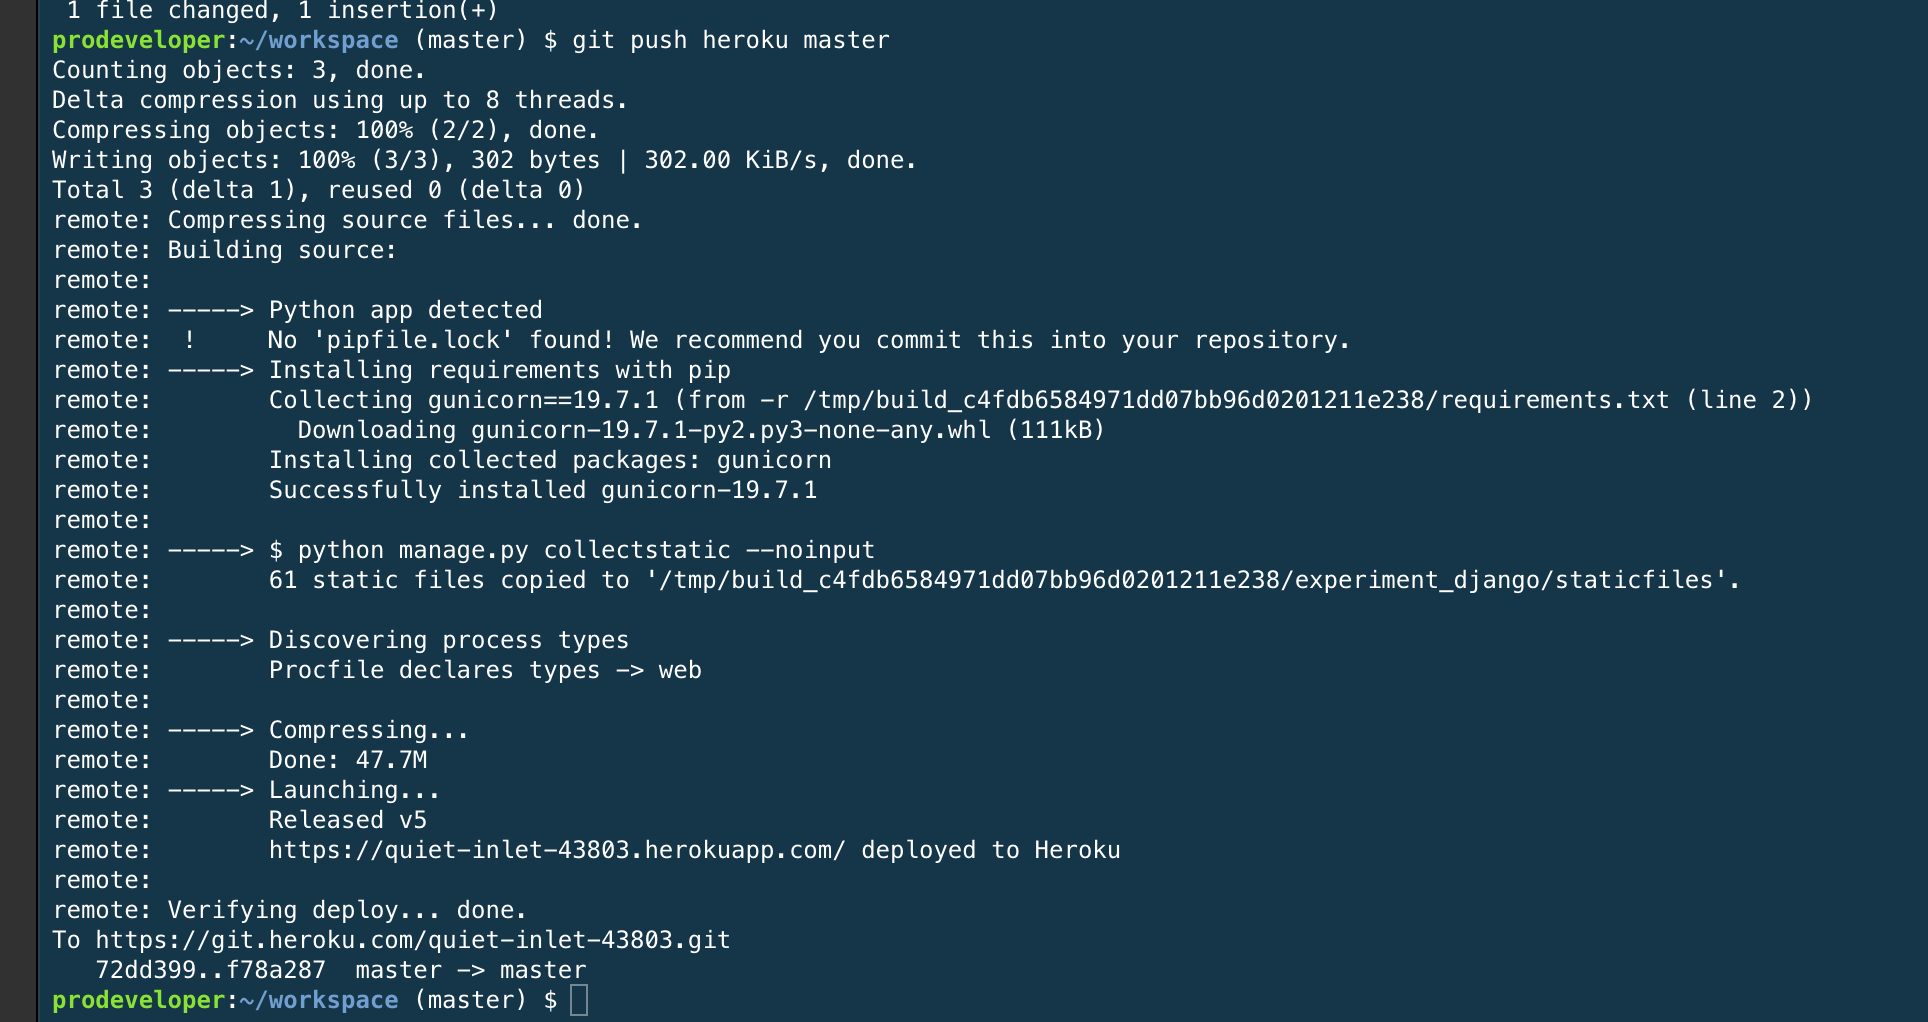
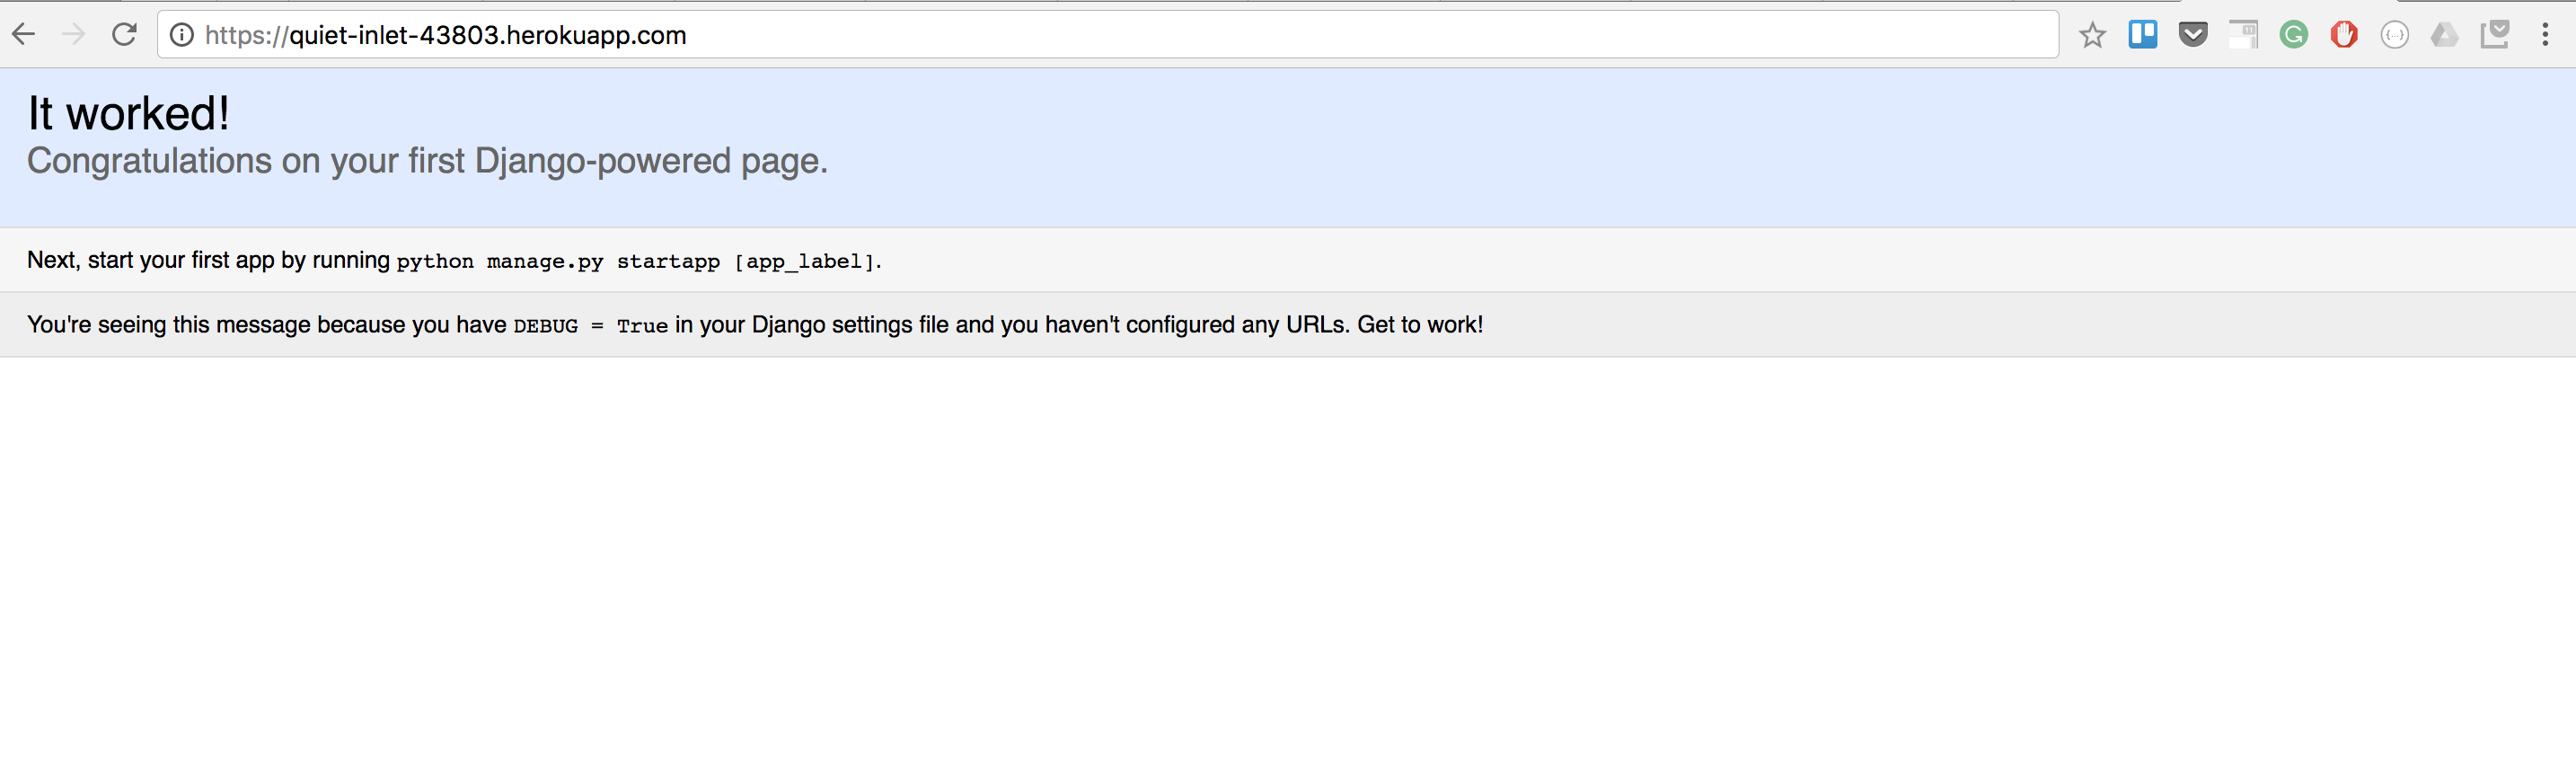
If everything has been setup right, a url is generated below showing location of your application.
When you load the application you should now see a view like this
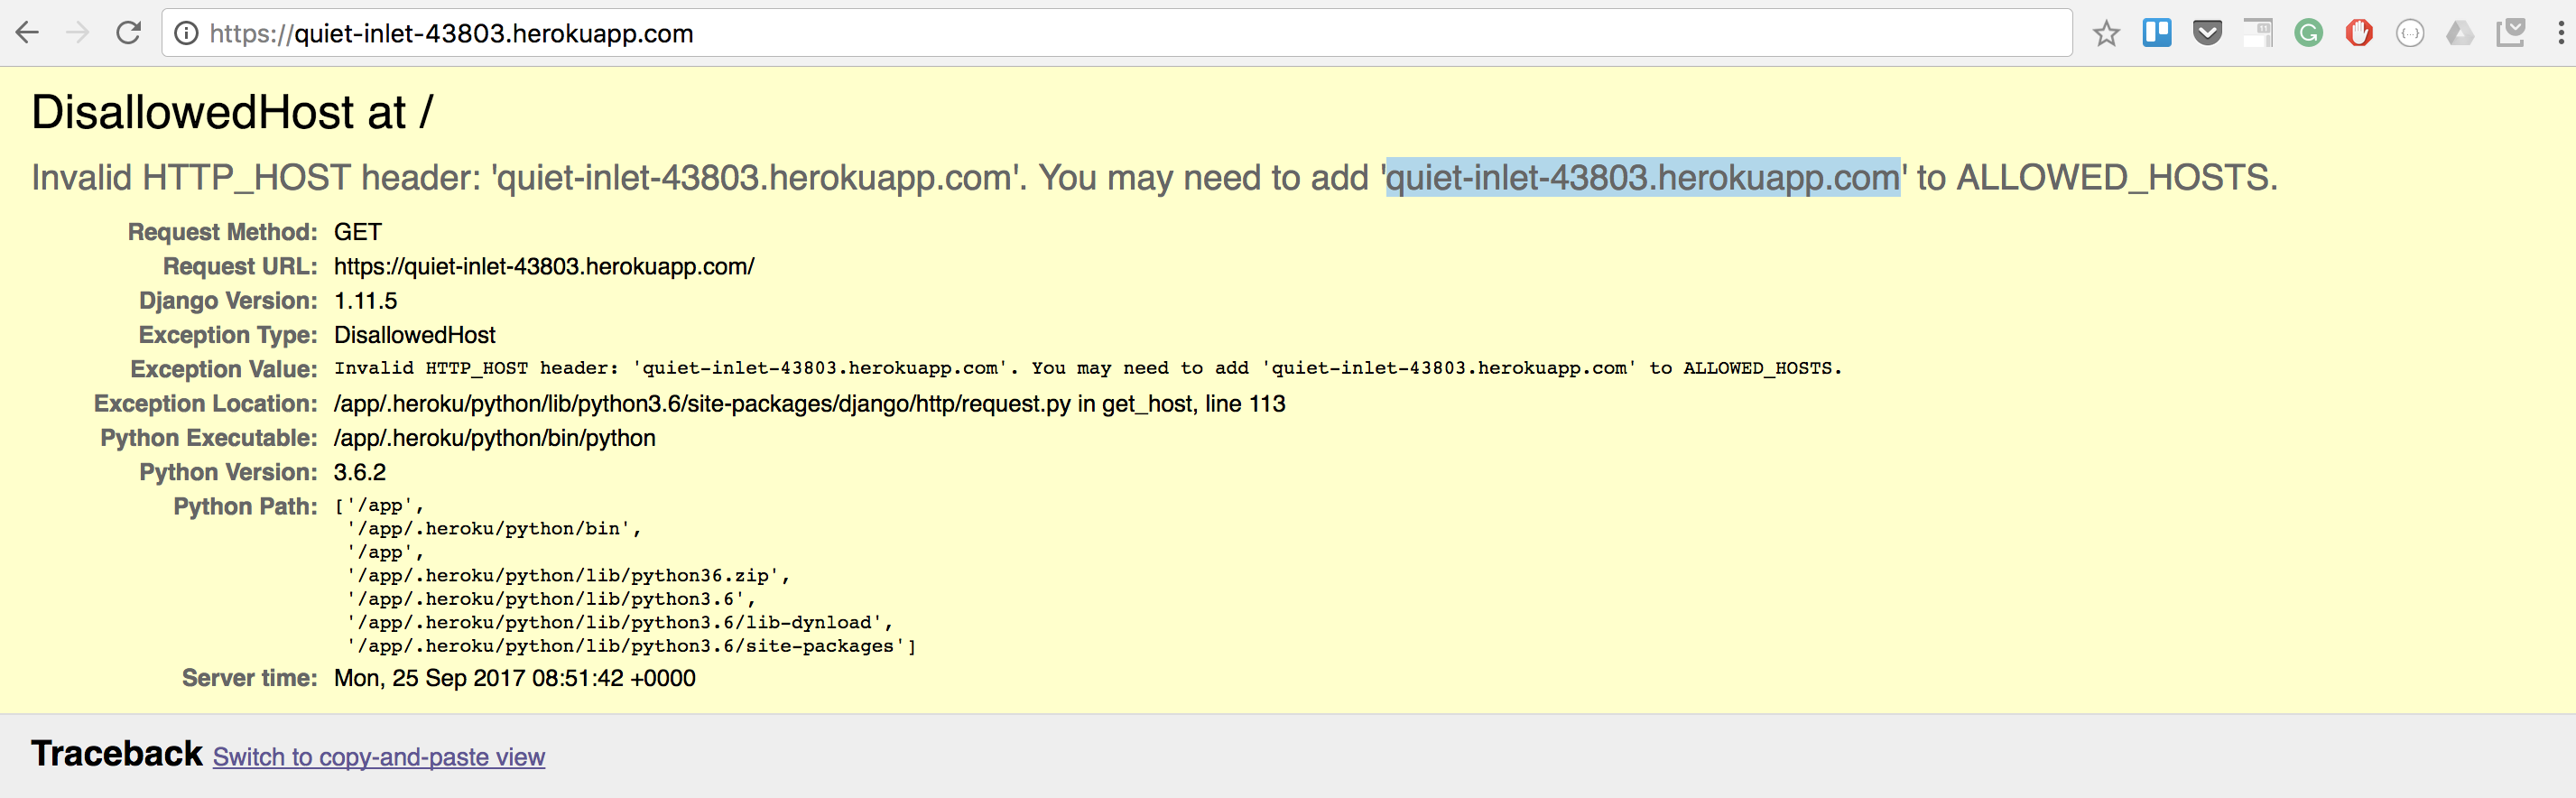
We can correct for the error now that we know the domain by adding the domain to the settings.py file. Note the domain to put is the one generated by your application.

As usual after the change, commit and push your changes to heroku.
Your app is now deployed and you can see it on the url
In a future lesson, we shall be looking at how to handle assets even better.
- https://devcenter.heroku.com/articles/getting-started-with-python#introduction
- https://devcenter.heroku.com/articles/django-app-configuration
- http://gunicorn.org/
- https://scotch.io/tutorials/working-with-django-templates-static-files
Deploy your students application that we have been working with in class to heroku.
Thank you sir