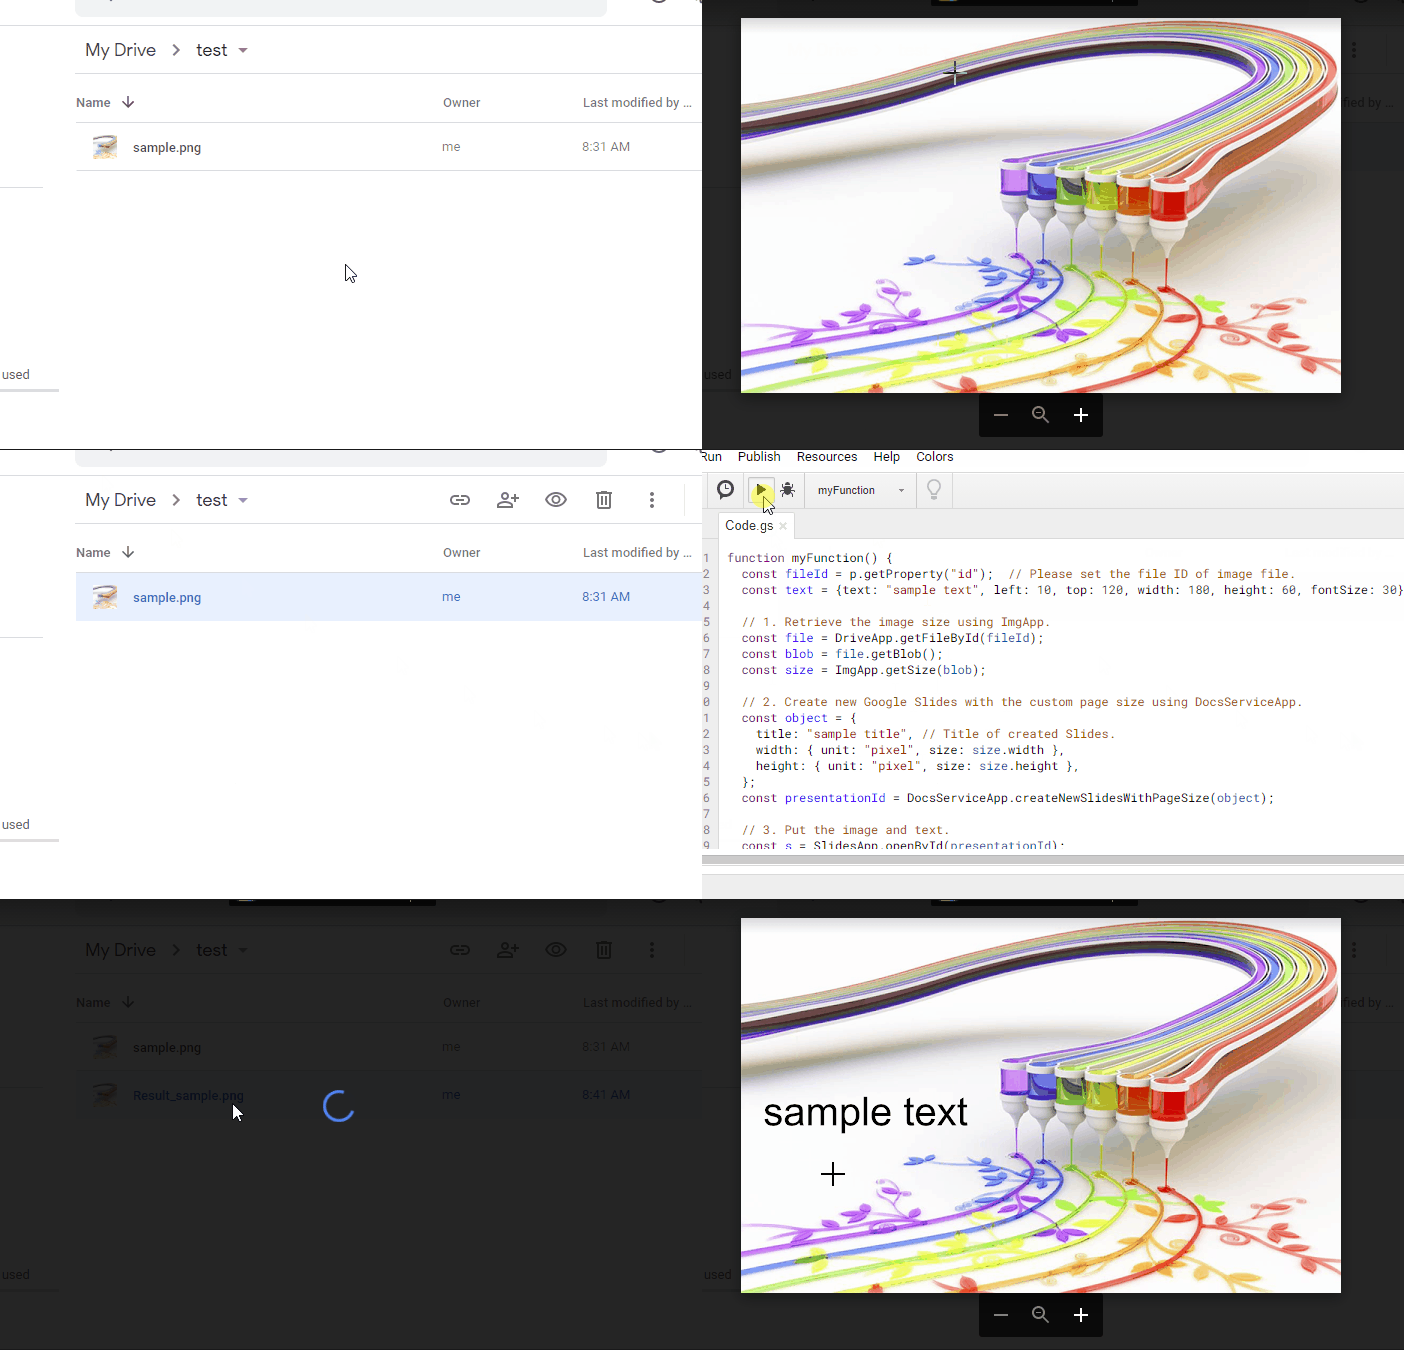
This is a sample script for inserting a text on an image using Google Apps Script.
You can see the demonstration video at https://tanaikech.github.io/2020/10/13/inserting-text-on-image-using-google-apps-script/
In this demonstration, "sample text" is inserted to the image. The image is from https://www.deviantart.com/k3-studio/art/Rainbow-painting-281090729.
When you use this script, please install the following 2 Google Apps Script libraries.
And, please enable Slides API at Advanced Google services.
The flow of this sample script is as follows.
- Retrieve the image size using ImgApp.
- Create new Google Slides with the custom page size using DocsServiceApp.
- Put the image and text.
- Export the result image.
function myFunction() {
  const fileId = "###"; // Please set the file ID of image file.

  // Please set the text.
  const text = {
    text: "sample text",
    left: 10,
    top: 120,
    width: 180,
    height: 60,
    fontSize: 30,
  };

  // 1. Retrieve the image size using ImgApp.
  const file = DriveApp.getFileById(fileId);
  const blob = file.getBlob();
  const size = ImgApp.getSize(blob);

  // 2. Create new Google Slides with the custom page size using DocsServiceApp.
  const object = {
    title: "sample title", // Title of created Slides.
    width: { unit: "pixel", size: size.width },
    height: { unit: "pixel", size: size.height },
  };
  const presentationId = DocsServiceApp.createNewSlidesWithPageSize(object);

  // 3. Put the image and text.
  const s = SlidesApp.openById(presentationId);
  const slide = s.getSlides()[0];
  slide.insertImage(blob);
  slide
    .insertTextBox(text.text, text.left, text.top, text.width, text.height)
    .getText()
    .getTextStyle()
    .setFontSize(text.fontSize);
  s.saveAndClose();

  // 4. Export the result image.
  const obj = Slides.Presentations.Pages.getThumbnail(
    presentationId,
    slide.getObjectId(),
    {
      "thumbnailProperties.thumbnailSize": "LARGE",
      "thumbnailProperties.mimeType": "PNG",
    }
  );
  const url = obj.contentUrl.replace(/=s\d+/, "=s" + size.width);
  const resultBlob = UrlFetchApp.fetch(url)
    .getBlob()
    .setName("Result_" + file.getName());
  DriveApp.createFile(resultBlob);
  DriveApp.getFileById(presentationId).setTrashed(true);
}- This is a simple sample script. When you want to add more texts and change the text style, please modify the section 3 of above script.
- In this sample, the maximum size of image is
25,000,000 pixels^2. Ref Please be careful this.
- February 6, 2021: When I tested above sample script, I could confirm that the script worked.
- January 3, 2023: When I tested above sample script, I could confirm that the script worked.
