Note
If you want to use pure WSLg, you can try the new WSLg (XWayland) tutorial or the WSLg (Wayland) tutorial.
In this tutorial, we will setup GUI in WSL2, and access it using VNC. No additional software outside WSL (like VcXsrv) is required, except, of course, a VNC Viewer (RealVNC, TightVNC, TigerVNC, UVNC, etc, all of them might work flawlessly).
The key component we need to install is the desktop metapackage you want (GNOME, KDE, Xfce, Budgie, etc) and tigervnc-standalone-server.
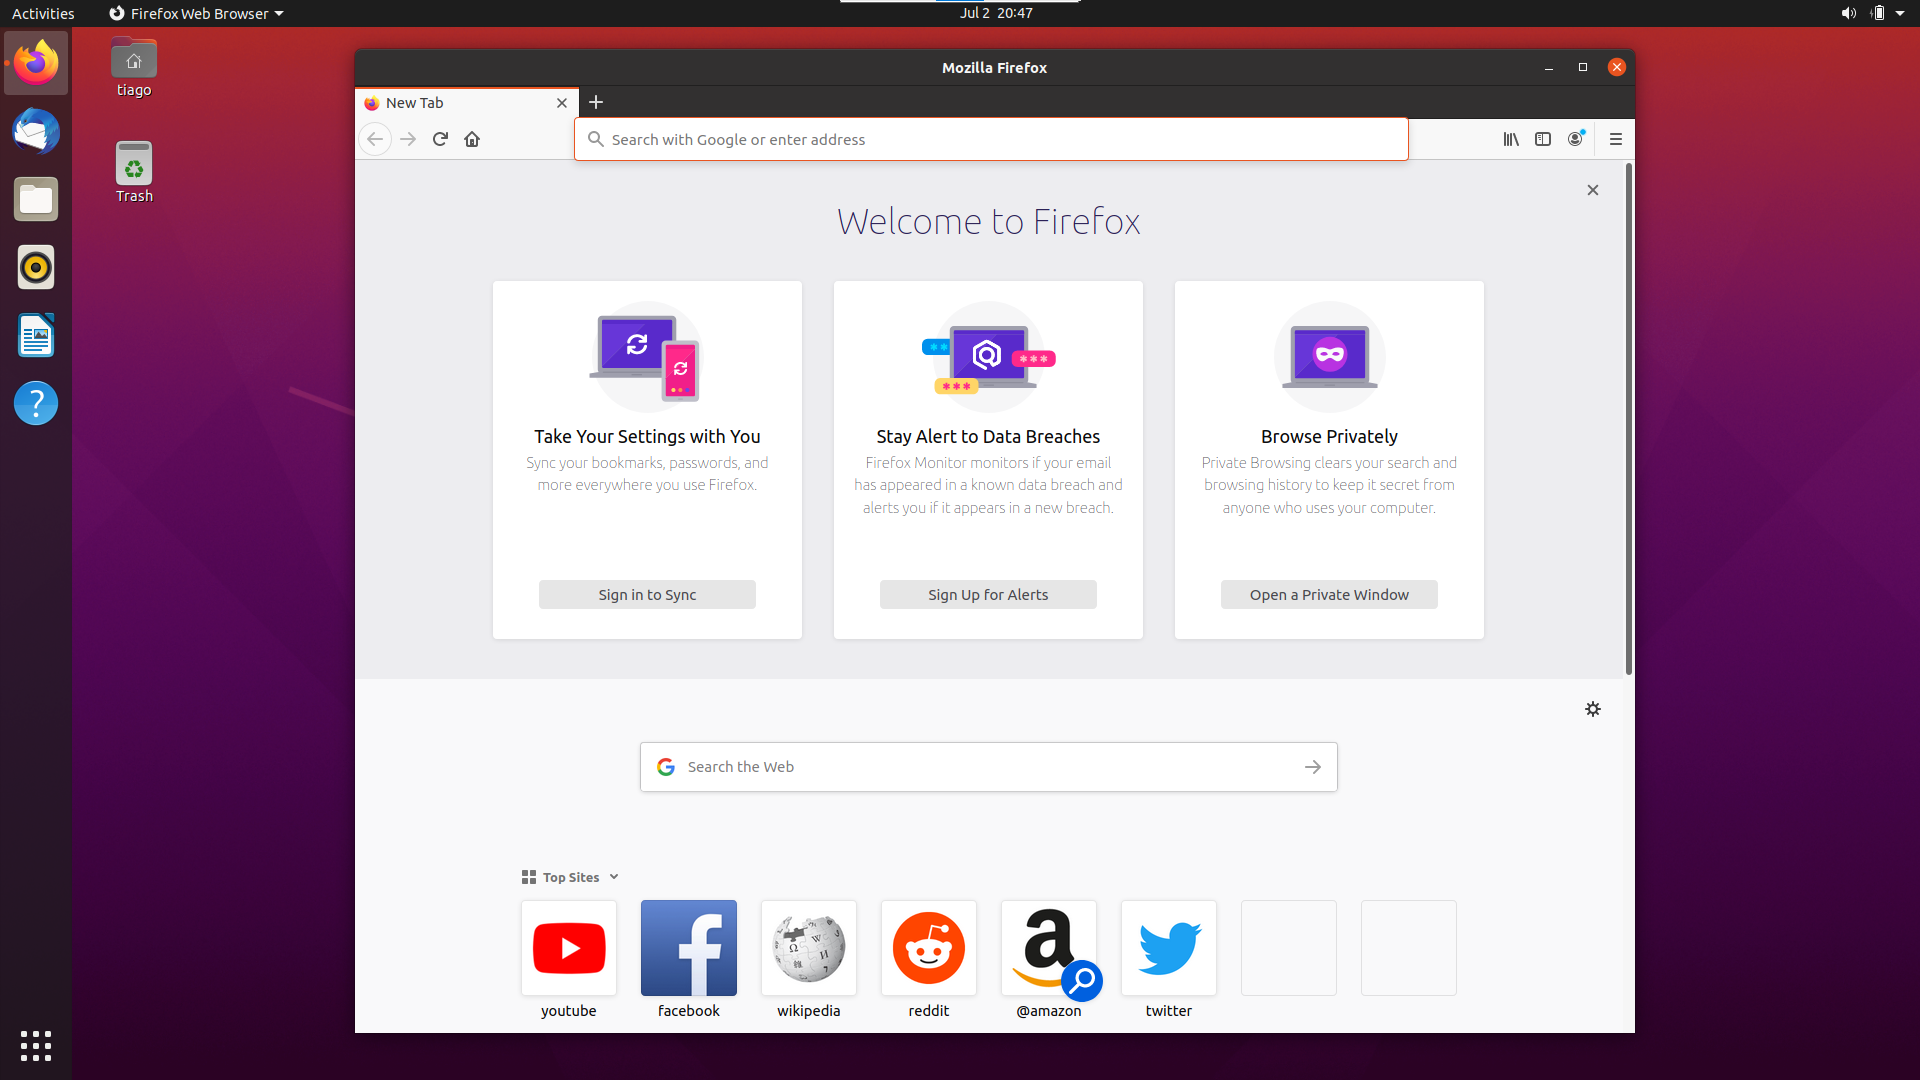
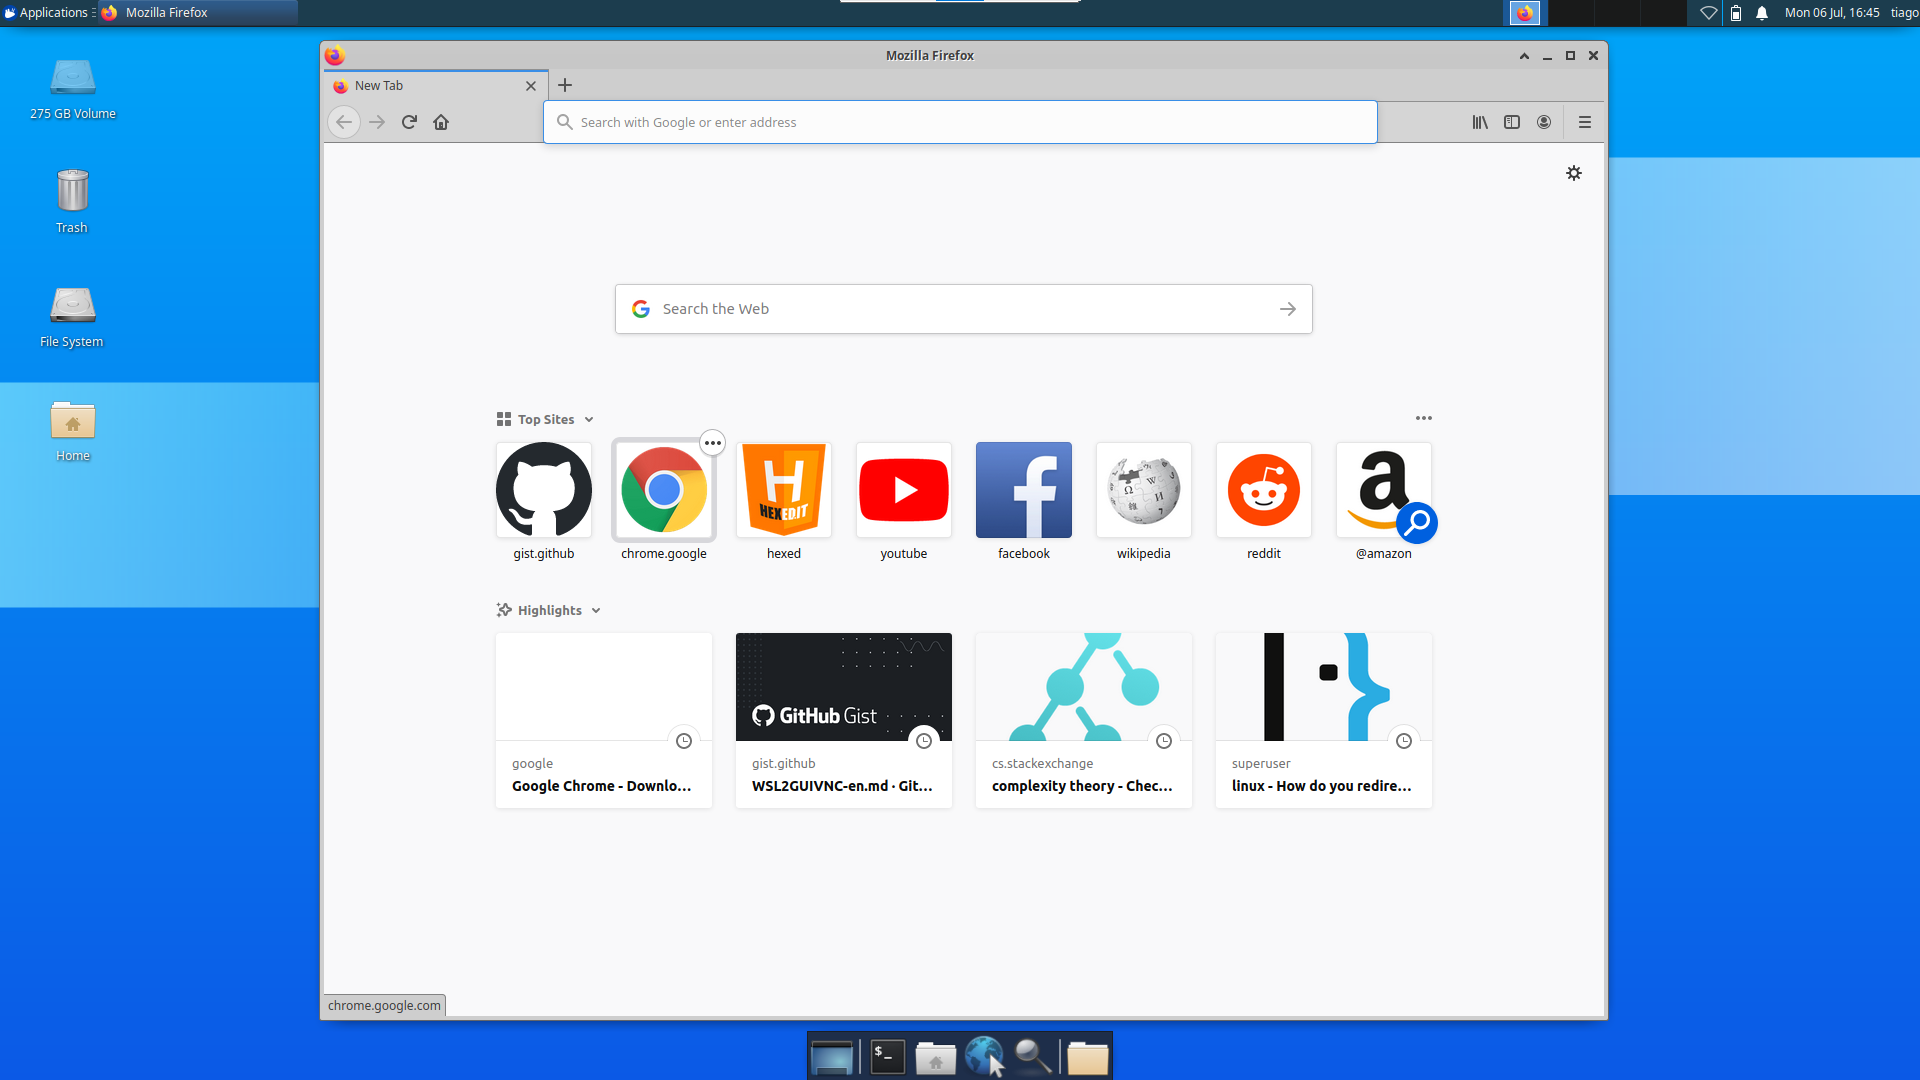
For this setup, I will use Ubuntu (20.04, 22.04 and 24.04 are working), and install GNOME Desktop. Since the key components aren't bound to Ubuntu or GNOME, you can use your favorite distro and GUI. Check the Sample screenshots section for examples.
So let's go. First, we need a working WSL2 installation.
Warning
WSLg may not work as expected, since Wayland sockets are disabled for everyone, and not every app can handle this.
Before going to real business, let's make sure we are updated.
sudo apt update
sudo apt upgrade
You also need to make sure /etc/wsl.conf have the following lines:
[boot]
systemd=true
If not, create/edit this file, add these lines and restart WSL (for example, using wsl.exe --shutdown, then reopening the distro terminal).
Now we are ready to go.
-
First you select your favorite desktop environment metapackage. Here is a list of the most common metapackages:
Distro Desktop Environment Metapackage Ubuntu Budgie ubuntu-budgie-desktopGNOME ubuntu-desktopKDE kubuntu-desktopKylin ubuntukylin-desktopLXDE lubuntu-desktopMATE ubuntu-mate-desktopStudio ubuntustudio-desktopUnity ubuntu-unity-desktopXfce xubuntu-desktopUbuntu/Debian Cinnamon task-cinnamon-desktopGNOME task-gnome-desktopGNOME Flashback task-gnome-flashback-desktopKDE Plasma task-kde-desktopLXDE task-lxde-desktopLXQt task-lxqt-desktopMATE task-mate-desktopXfce task-xfce-desktop -
Once you have chosen the metapackage, let's install it. For example, if you choose
ubuntu-desktop, the command will be:sudo apt install \ `[ ! -z "$(apt-cache search ^acpi-support$)" ] && echo "acpi-support-"` \ tigervnc-standalone-server \ ubuntu-desktopThis will install the
ubuntu-desktopandtigervnc-standalone-server, but excluding theacpi-supportdependency, if included. Ifacpi-supportis installed, it will render your distro almost unusable (see microsoft/WSL#10059), so we will tell apt to not install it.The installation will take a while, so be patient.
-
If in Ubuntu, you may want to install
snap-store. If you don't need it, you can skip this step:sudo snap install snap-store
If you are using Debian, you need to configure the locale (this is not needed in Ubuntu):
echo "LANG=en_US.UTF-8" | sudo tee -a /etc/default/locale
-
Now we have everything installed, we need to fix the directory
/tmp/.X11-unix/, because it's mounted as read-only by default. We will create a new systemd unit:sudo systemctl edit --full --force wslg-fix.service -
Paste the code below in the editor:
[Service] Type=oneshot ExecStart=-/usr/bin/umount /tmp/.X11-unix ExecStart=/usr/bin/rm -rf /tmp/.X11-unix ExecStart=/usr/bin/mkdir /tmp/.X11-unix ExecStart=/usr/bin/chmod 1777 /tmp/.X11-unix ExecStart=/usr/bin/ln -s /mnt/wslg/.X11-unix/X0 /tmp/.X11-unix/X0 [Install] WantedBy=multi-user.target -
Exit the editor saving the changes to the file.
-
Let's enable
wslg-fix.service:sudo systemctl enable wslg-fix.service -
We also need to remove all references to Wayland, because if not, some apps (
gnome-terminal, for example) will open outside the desktop shell. We will edit theuser-runtime-dir@.serviceservice:sudo systemctl edit user-runtime-dir@.service -
Paste the code below in the editor:
[Service]
ExecStartPost=-/usr/bin/rm -f /run/user/%i/wayland-0 /run/user/%i/wayland-0.lock
Warning
Please read the editor instructions about the correct place to position the text cursor before pasting. If you paste the code in the wrong place, it will be discarded.
- Restart WSL using
wsl.exe --shutdown, then reopen your distro terminal.
Important
In Debian, the GDM user is Debian-gdm, so you need to replace gdm by Debian-gdm in the commands below.
-
In some distros, the directory
/var/lib/gdm3/has an incorrect owner, so let's fix it before setting the VNC Server passwords:sudo chown gdm:gdm /var/lib/gdm3/ -
In this setup, each user has a different VNC password. So you have to configure at least three passwords, one for the current user, other for root, and other for GDM, who will present the login screen. If you don't configure the password, you won't able to access the login screen, or the user's desktop. First, let's configure the VNC password current user:
vncpasswd -
Now, let's configure the VNC password for root (needed if you use LightDM instead GDM):
sudo -H vncpasswd -
Finally, let's configure the VNC password for GDM (skip this step if you are not using GDM):
sudo -H -u gdm vncpasswdYou can repeat the process for other existing users.
By default, the display manager call multiple Xorg instances, one for each user session, including the login screen, provided by GDM. So we will replace Xorg script by a new version which calls Xvnc instead the classic Xorg. This is the real magic we are trying to do.
-
First, let's backup the original
Xorgscript.sudo mv /usr/bin/Xorg /usr/bin/Xorg.original -
Then, we create a new
Xorgscript.sudo nano /usr/bin/Xorg.Xvnc -
Paste the code below in the editor:
#!/bin/bash
for arg do
  shift
  case $arg in
    # Xvnc doesn't support vtxx argument. So we convert to ttyxx instead
    vt*)
      set -- "$@" "${arg//vt/tty}"
      ;;
    # -keeptty is not supported at all by Xvnc
    -keeptty)
      ;;
    # -novtswitch is not supported at all by Xvnc
    -novtswitch)
      ;;
    # other arguments are kept intact
    *)
      set -- "$@" "$arg"
      ;;
  esac
done

# Find an available display number
for displayNumber in $(seq 1 100)
do
  [ ! -e /tmp/.X11-unix/X$displayNumber ] && break
done

# Here you can change or add options to fit your needs
command=("/usr/bin/Xvnc" ":${displayNumber}" "-geometry" "1024x768" "-rfbport" "$((5900 + $displayNumber))" "-rfbauth" "${HOME:-/root}/.vnc/passwd" "$@")

systemd-cat -t /usr/bin/Xorg echo "Starting Xvnc:" "${command[@]}"

exec "${command[@]}"
Please note the resolution of the virtual screen. You can change that to fit your needs (1366x768, 1920x1080, etc). Also, you can change the
-rfbauthoption to point to a fixed location instead the home of current user, so you don't need to have a password for each user. -
Finally, we set the correct permissions for the file and create a link to it:
sudo chmod 0755 /usr/bin/Xorg.Xvnc
sudo ln -sf Xorg.Xvnc /usr/bin/Xorg
Warning
Sometimes, system updates replace Xorg link with the original version. Just repeat this step if this happens, and Xvnc will work again as Xorg replacement.
Now you have everything ready to start. First we shut down WSL:
wsl.exe --shutdown
Then reopen your distro terminal.
Doing this is like booting Linux again, and GDM will start automatically, and will create a Xorg instance to display the login interface. We changed this process to make it create Xvnc instances, so we can access them. The first instance will listen to port 5901, the second instance will listen to port 5902, and so on.
After a while (usually a few seconds, but it can take more if you don't have a SSD), you can test if it's working properly. Use your favorite VNC Viewer to connect to your localhost port 5901 (localhost:5901). Use the VNC password set for user gdm (or Debian-gdm, if in Debian). The login screen must appear.
After logging in, the screen will be blank and eventually will be closed automatically. This is because a new instance of Xvnc was created for user desktop, listening to port 5902. Connect to this port now. The logged user's desktop must appear. When you log out, the screen at port 5901 will show the login interface again. This applies to GDM (which is the case if you installed Ubuntu Desktop). You can change this behavior changing the configuration file like this:
-
sudo nano /etc/gdm3/custom.conf -
Uncomment and edit the following lines:
 AutomaticLoginEnable=true
 AutomaticLogin=[your username without the brackets]
If you are using LightDM, the desktop screen will appear in port 5901, so there's no need to connect to port 5902.
One important thing is: once you start your WSL instance, you cannot just stop it. You must perform a standard Linux shutdown. You can do one of the alternatives below:
- Power off option on GUI menu
sudo poweroff
After doing that, you can safely shut down your WSL instance, either by wsl.exe --terminate or wsl.exe --shutdown. Not doing the shutdown process may cause damage to your WSL instance. So be careful.
- VNC is a very adaptive protocol, and by default tries to use the most aggressive compression available, for better networking performance. But in our case, doing this only adds unnecessary CPU extra load, since you are connecting to localhost ("infinite" bandwith, near zero ping). To remove all compression algorithms and reduce lagging, force your VNC Viewer to connect using RAW encoding. The performance gain is noticeable, specially when playing videos (not a spectacular performance in this particular scenario, though).
-
If it doesn't work at first, try to check your
journalctllogs:journalctl -b -t /usr/lib/gdm3/gdm-x-session -t /usr/bin/Xorg --no-pagerIf you are using Debian, then the command is:
journalctl -b -t /usr/libexec/gdm-x-session -t /usr/bin/Xorg --no-pagerIn the output, you must see what command line was generated for
Xvnc, and which error messages appear. Of course, even if it works correctly, you can check the logs just to see what is happening, or for debugging. -
You must check if the custom
Xorgscript was not replaced by the default version of it. If it was the case, just repeat the steps of Replacing default X by Xvnc section. -
Check if
Xorgis your default display server, notXephyrorWayland. If it's not, you must change it to haveXorgas your default display server. -
If you are using LightDM, you also need to check logs at
/var/log/lightdm(you will need to use sudo to cat files in that directory). TheXvncoutput will be in the file/var/log/lightdm/x-0.log. -
If you can connect to 59XX ports, but receive an error like
Authentication failure: No password configured for VNC Auth, the file$HOME/.vnc/passwdis missing for that particular user (on port 5901, the user isgdm). Try to repeat the steps described in section Creating VNC Server passwords and try to connect again. -
If it still doesn't work, you can try to restart WSL with
wsl.exe --shutdown(don't forget to save everything that is unsaved before, because WSL will shut down completely), then open your distro shell again and repeat the steps of section Accessing the VNC screen.
Thanks to this guys, whose feedback made this tutorial reach the current level of quality and completeness (and it will be more and more complete as more feedback is given).
- nselimis
- rkzdota
- WSL_subreddit_mod
- ptflp
- ROBYER1
- vdevan
- Greasy-Monkey
- siegLoesch
- adamgranthendry
- cerebrate - Creator of
systemd-genie - hdhnl
- MrRendroc


i wiped my vm and redid the whole process but with gnome and it works now thanks