Blog 2020/2/1
<- previous | index | next ->
This is a tutorial on how to use a Raspberry Pi to make an existing ethernet network visible to wifi clients. This is known as an access point, which bridges an ethernet network to a wifi network.
Note: The Raspberry Pi will act strictly as a bridge. DHCP will be handled by the existing DHCP server on the ethernet network.

See also https://www.raspberrypi.org/documentation/configuration/wireless/access-point.md
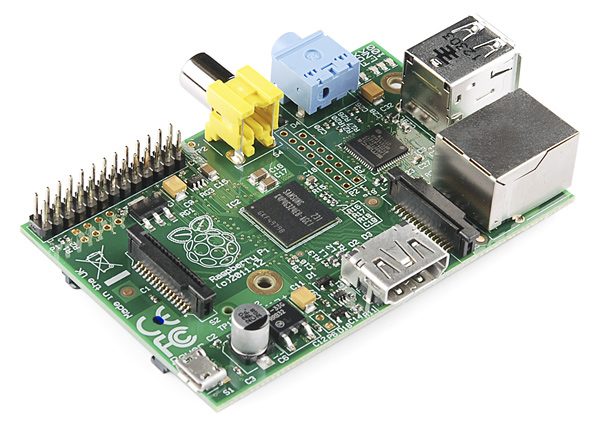
This tutorial is using a Raspberry Pi 1 Model B and a RaLink RT5370-based USB-Wifi dongle.

(Search amazon.com for "rt5370".)
Note: plugging in the Wifi dongle may reboot the Pi. I recommend you insert the dongle before booting up your Pi.
Note: this tutorial was previously based on a RTL8188CUS-based USB-Wifi dongle (sold as an Edimax EW-7811Un on amazon.com), but I ran into stability and performance problems.
Grab the latest Raspbian Lite from https://www.raspberrypi.org/downloads/ and burn it to an SD card.
On my Linux box, that's pv 2019-09-26-raspbian-buster-lite.img > /dev/mmcblk0.
- Boot the Pi
- Login as
pi, passwordraspberry sudo raspi-config- Localisation Options -> Change Locale (to en_US.UTF-8)
- Localisation Options -> Change Timezone (to America / Chicago)
- Localisation Options -> Keyboard Layout (to Generic 104, Other -> English US)
- Interfacing Options -> SSH (enable)
- Make note of the IP address (
ifconfig eth0) - Logout
- Login via ssh as
pi, thensudo -i - Change root's password (run
passwd) - Append your
~/.ssh/id_rsa.pubto/root/.ssh/authorized_keys - Logout
- Login via ssh as
root deluser pi && rm -rf /home/pi
Install bridge-utils
apt-get update
apt-get install bridge-utils
Disable DHCP:
systemctl disable dhcpcd.service
Note: on systems which predated systemd, this would have been update-rc.d dhcpcd disable.
Bridge eth0 and wlan0 together, and give the Pi a static IP address (in my case, 192.168.4.254).
Edit /etc/network/interfaces:
iface eth0 inet manual
iface wlan0 inet manual
iface br0 inet static
    bridge_ports eth0 wlan0
    address 192.168.4.254
    broadcast 192.168.4.255
    netmask 255.255.255.0
    gateway 192.168.4.1
auto br0
For some reason, adding wlan0 to the bridge fails initially, but succeeds a short time later.
As a work-around, add this to /etc/rc.local (before the exit 0 line):
# Adding wlan0 to the bridge fails initially.
# Keep trying until it succeeds.
attempt=0
while [ $attempt -lt 30 ]
do
  if brctl show br0 | grep -q wlan0
  then
    if [ $attempt > 1 ]
    then
      echo "Successfully added wlan0 to br0."
    fi
    break
  else
    attempt=$(( $attempt + 1 ))
    echo "Adding wlan0 to br0 (attempt $attempt of 30)."
    brctl addif br0 wlan0 > /dev/null 2>&1 || true
    sleep 1
  fi
done
Reboot, then log back in via ssh root@192.168.4.254.
Install hostapd:
apt-get install hostapd
Edit /etc/hostapd/hostapd.conf:
Thanks to https://wiki.gentoo.org/wiki/Hostapd
# the interface used by the AP
interface=wlan0

# g simply means 2.4GHz band
hw_mode=g

# limit the frequencies used to those allowed in the country
ieee80211d=1

# the country code
country_code=US

# 802.11n support
ieee80211n=1

# QoS support
wmm_enabled=1

# 1=wpa, 2=wep, 3=both
auth_algs=1

# WPA2 only
wpa=2
wpa_key_mgmt=WPA-PSK
rsn_pairwise=CCMP

# work-around for "deauthenticated due to inactivity" errors:
disassoc_low_ack=0

# edit these values as needed:
channel=11
ssid=somename
wpa_passphrase=somepassword
Edit the Wifi channel, SSID name, and WPA passphrase as needed.
Enable and start hostapd:
systemctl unmask hostapd.service
systemctl enable hostapd.service
systemctl start hostapd.service
systemctl disable avahi-daemon
This will save a bit of wear-and-tear on your SD card. Add this to /etc/sysctl.conf:
vm.swappiness=1
apt-get update
apt-get dist-upgrade
reboot
apt-get install openntpd