You signed in with another tab or window. Reload to refresh your session.You signed out in another tab or window. Reload to refresh your session.You switched accounts on another tab or window. Reload to refresh your session.Dismiss alert
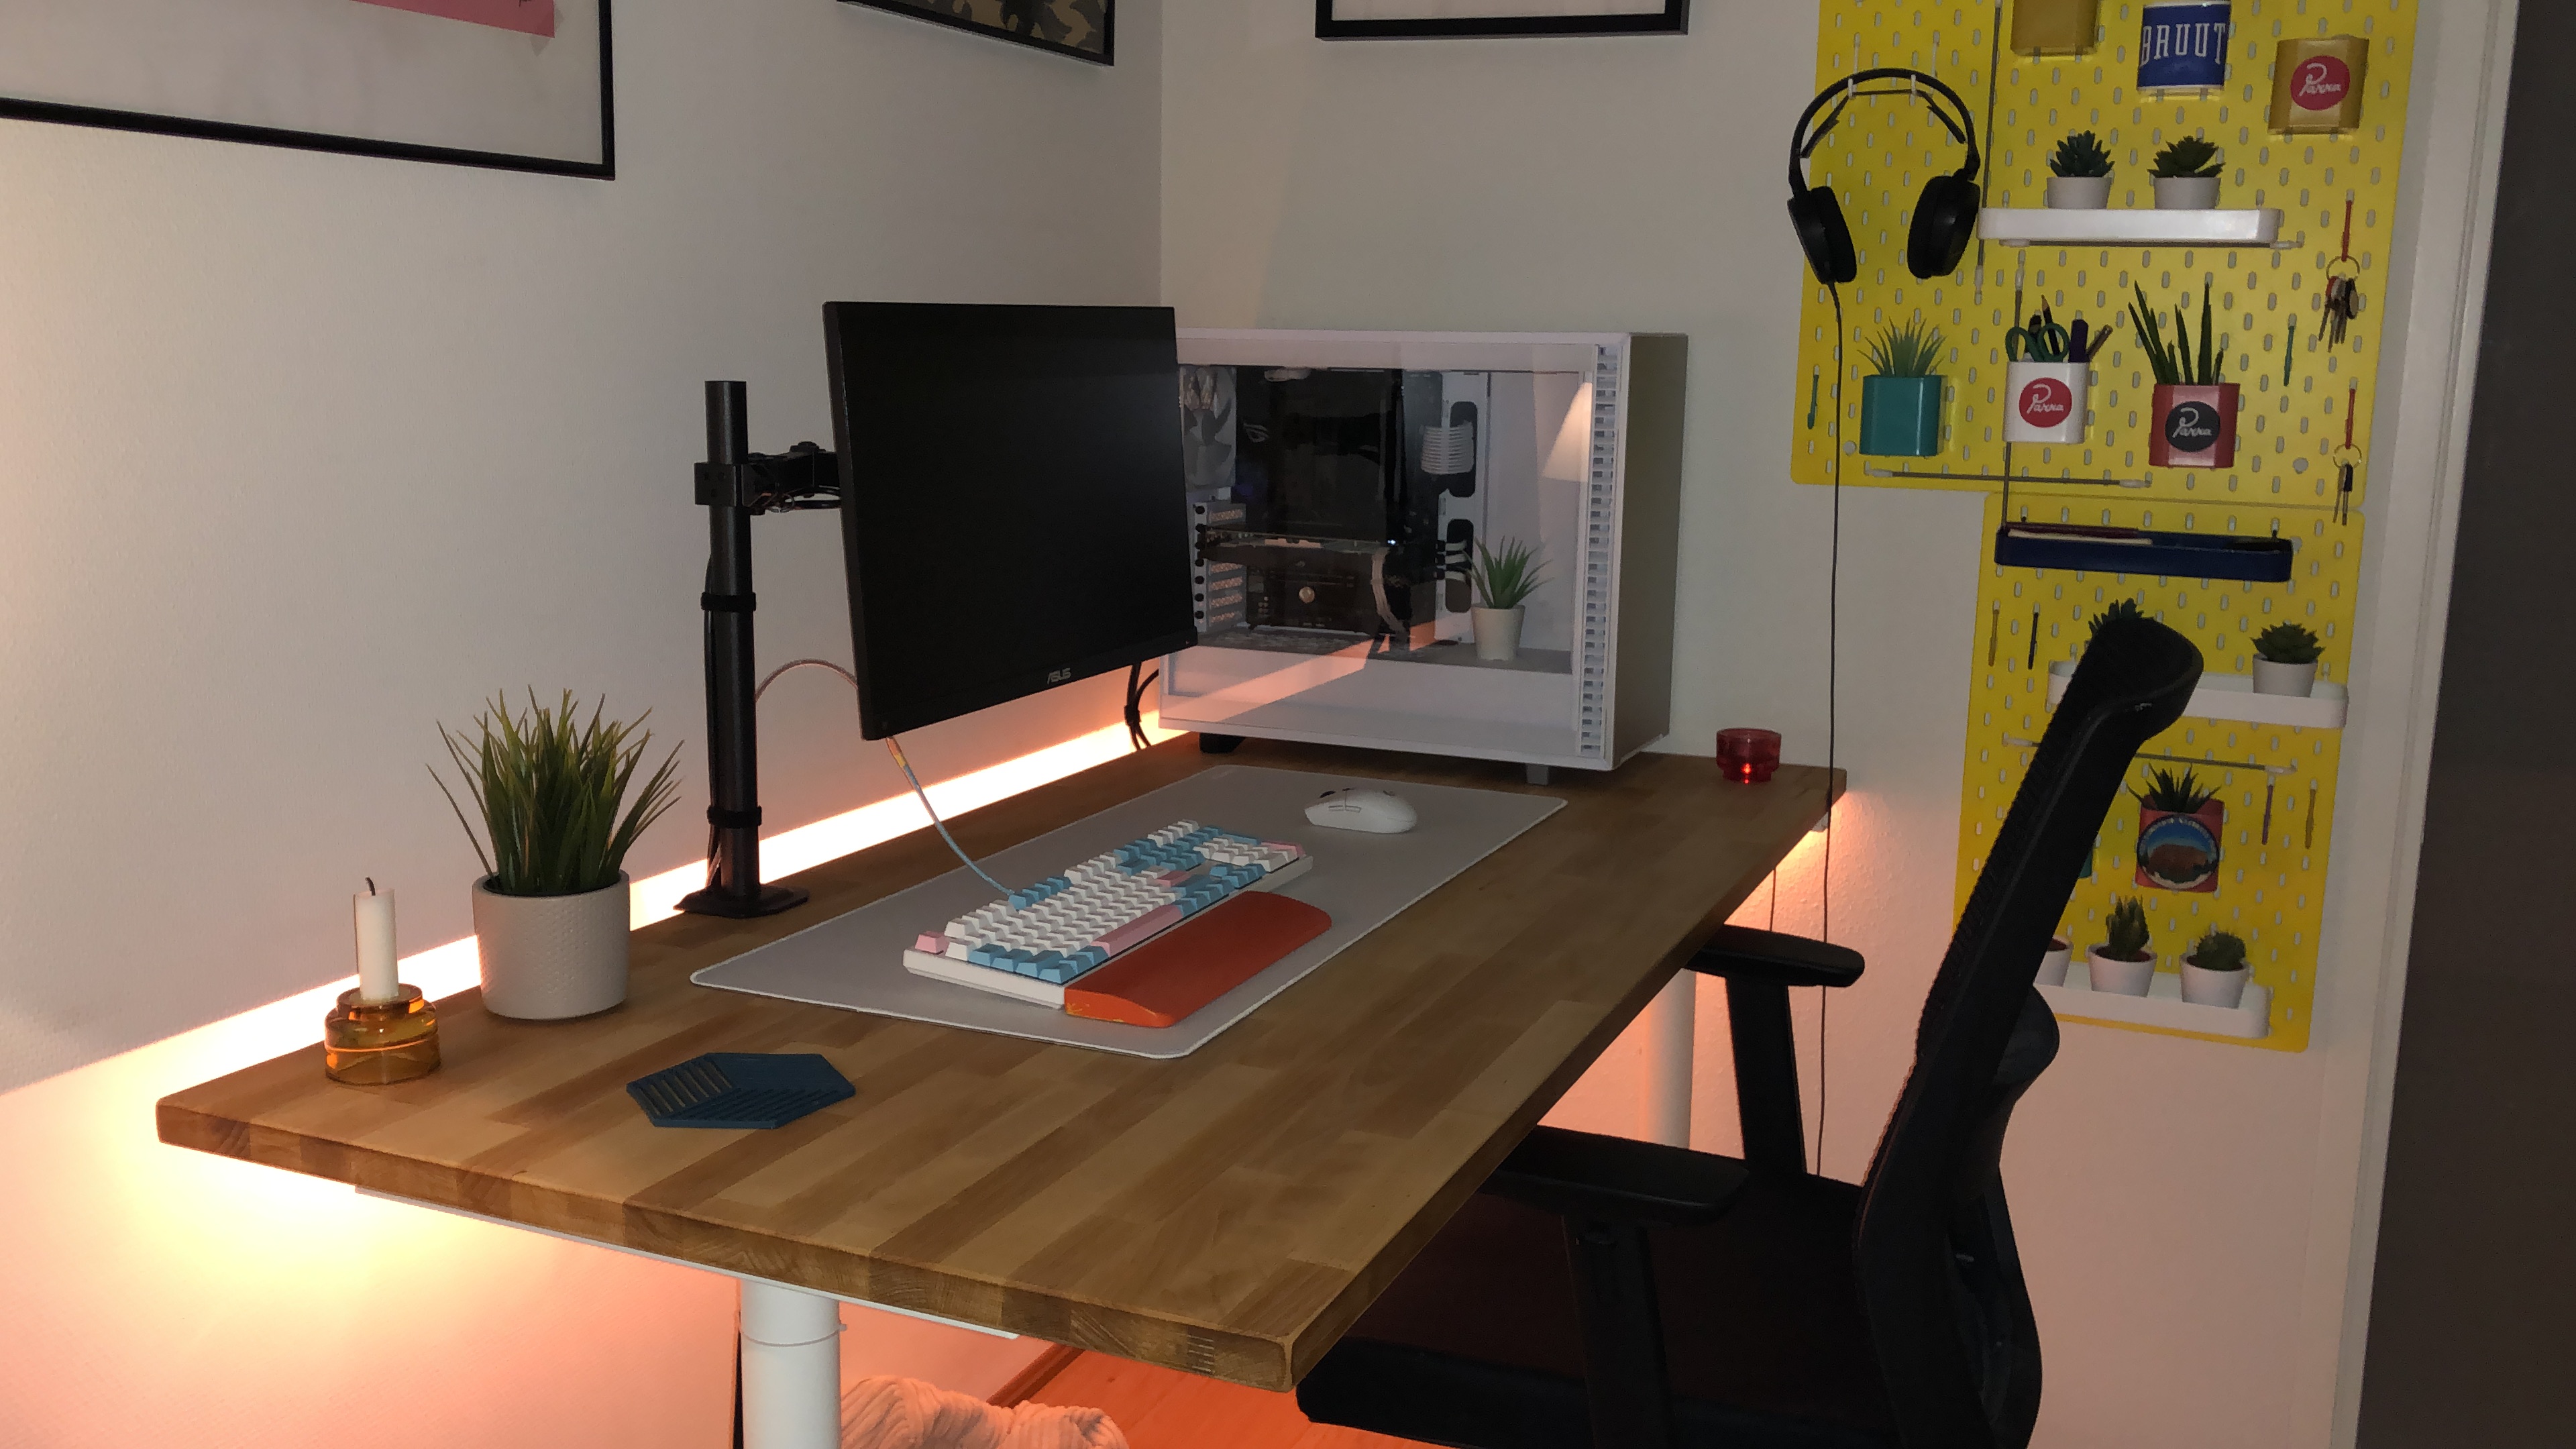
We've had our Ikea Bekant sit-stand desk for around a year now and we're big fans. It's easy to put together, feels sturdy enough, and only cost $529 for top and frame. However, I've never liked the particle board top with its plastic edging.
Still, it wasn't enough to deter me from wanting to pickup a second for proper his and her's workstations, so we headed to Ikea to pickup another. While there we stumbled upon the $90 Gerton all wood table top. We immediately loved it over the Bekant tops, so we picked up two, one for the new desk and one for the old.
Putting the Gerton table top on the Bekant frame requires some manual labor and extra supplies though, much more than your standard Ikea build process. You'll need to drill holes into your Gerton table top. The size of those holes is dependent on your method of attaching the frame. You can either re-use the Ikea plastic hardware, or you can head to Home Depot and pickup some custom hardware (I chose the latter). Fair warning: no matter the build, you'll need a power drill.
Below are instructions for modifying the two pieces to work together with some custom hardware from Home Depo. They're not perfect, but I figure it could help others as a reference guide.
Use these instructions if you're interested in visiting Home Depot to purchase custom screws and fasteners to connect your table top to your desk frame.
You only need 4-6 individual insert nuts, machine screws, and washers—not 4-6 packs of the above items. Some links are to 5-counts, others to 100-count packages.
Why four to six? Depends on how many holes you want to drill. More on that later.
The 20 in those insert nuts and screws refers to the thread count. Make sure numbers these match.
I couldn't find the required machine screws individually; I had to buy these combo screw-nut packs at Home Depot.
Equipment needed
Power drill
11/32" drill bit
Drill stop, or masking tape (to mark drilling depth)
Follow the provided instruction manual up through Step 4 to assemble the cross beams, electric motors, and frame legs. You'll only need the allen wrench for this part.
2. Prep Gerton table top
Next, we have to prep our Gerton table top for drilling. The Gerton table top doesn't include holes that match up with the Bekant frame, so we have to do this ourselves. You'll need your measuring tape, pencil, power drill, and drill stop (or masking tape) for this part.
Lucky for us the Gerton table top is exactly 2" narrower and 2" shallower than the Bekant desk top. That makes for easy math on our part.
Gerton table top: 61" x 29.5"
Bekant desk: 63" x 31.5"
With the Gerton table top upside down on the floor (carpet, or put a towel/blanket under), measure 5.75" from the front and back and 1.75" from the left and right sides. Here's a rough diagram on the placement.
Mark off those dimensions with your pencil, and draw additional lines as needed.
Now grab one of the frame rails from Step 6 in your instruction manual. On each side, line up the frame rail over those measurements you just penciled onto the table. You'll see about 1/16" overlap on the front-back measurements, so eyeball it as needed. When lined up, pencil in the outermost holes from the frame rail, like so.
Heads up! I skipped the middle frame rail that's shown in Step 5 of the instruction manual. This is where the 4-6 screws and insert nuts variance comes in. It didn't seem super necessary and is easily addressed. After you attach the frame rails to the table top, place the frame with centered middle rail over the table (roughly 19" from either electric motor bit). Pencil in the holes, remove the frame, drill, apply insert nuts, and assemble.
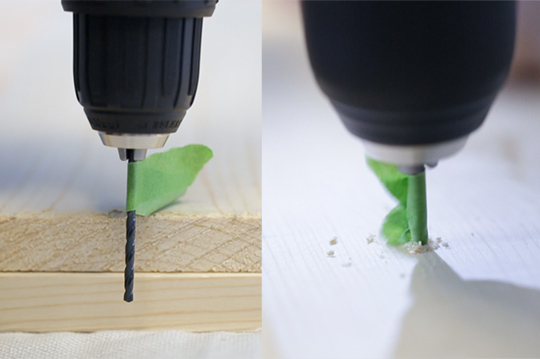
3. Drill holes, hammer in insert nuts, attach frame rails
When you're done drawing those frame rail holes, it's time to drill and hammer in the insert nuts. Insert nuts are used for added grip in the wood; their star-like configuration keeps things nice and stable, making future disassembly and reassembly super easy.
As noted on the insert nuts packaging, you should drill 5/8" deep with a 11/32" drill bit. I lacked a legit drill stop, so masking tape was the perfect solution. Wrap your drill bit in masking tape, leaving 5/8" on the end.
When ready, drill in the center of those penciled circles you drew. It's okay to be a little off we have wiggle room on the frame rails, but do try to stay in the lines :). Keep your drill at it's lowest speed, pump the trigger, and you'll be fine.
When the holes are drilled, hammer in those insert nuts—two on each side.
Heads up! I got carried away in this next photo and drilled too many holes. Don't worry about that, all you need is the outer holes from the frame rails (which is what Ikea shows with their default instructions).
4. Attach the rails
Now that we have something to screw the frame into, we can do just that. Snag your 4x screws, 4x washers, and screwdriver. Attach the frame rails, but don't tighten them completely just yet; we'll want some wiggle room next.
5. Attach the frame
Next up, bring over the Bekant frame from our first step here. Place it right in the middle begin to attach it to the second and fourth holes in those frame rails with the included allen wrench and bolts.
For reference, see those two nerds in the bottom right of this photo? That's what you're doing here :).
When you're feeling like it's about lined up, tighten up the bolts to the frame (as shown below from the Ikea instructions) and the screws to the table.
Follow steps above, but with these modifications, to re-use the Bekant plastic fasteners that come with the frame. Note that I haven't tried this method, so I have no specific photos to help. All of this is guess work right now.
You'll still need to follow the custom hardware instructions above, but a couple things are different.
Instead of an 11/32" drill bit, use a 10mm drill bit.
Instead of drilling 5/8" deep, drill 10mm deep.
Instead of marchine screws and insert nuts, use the provided plastic fasteners from Ikea.
Here are the fasteners you'll need. Push in the pronged part, then insert the doodad to snap them into place.
Thanks for this and especiallt for mentioning the specific size insert nut. Picked up the Idasen underframe and the Gerton tabletop today at Ikea. Picked up the insert nuts, screws and washers you mentioned from home depot on my way home... When assembling I used the the hex bolts that came with the Idasen and didn't use the extra washer or screws from HD .
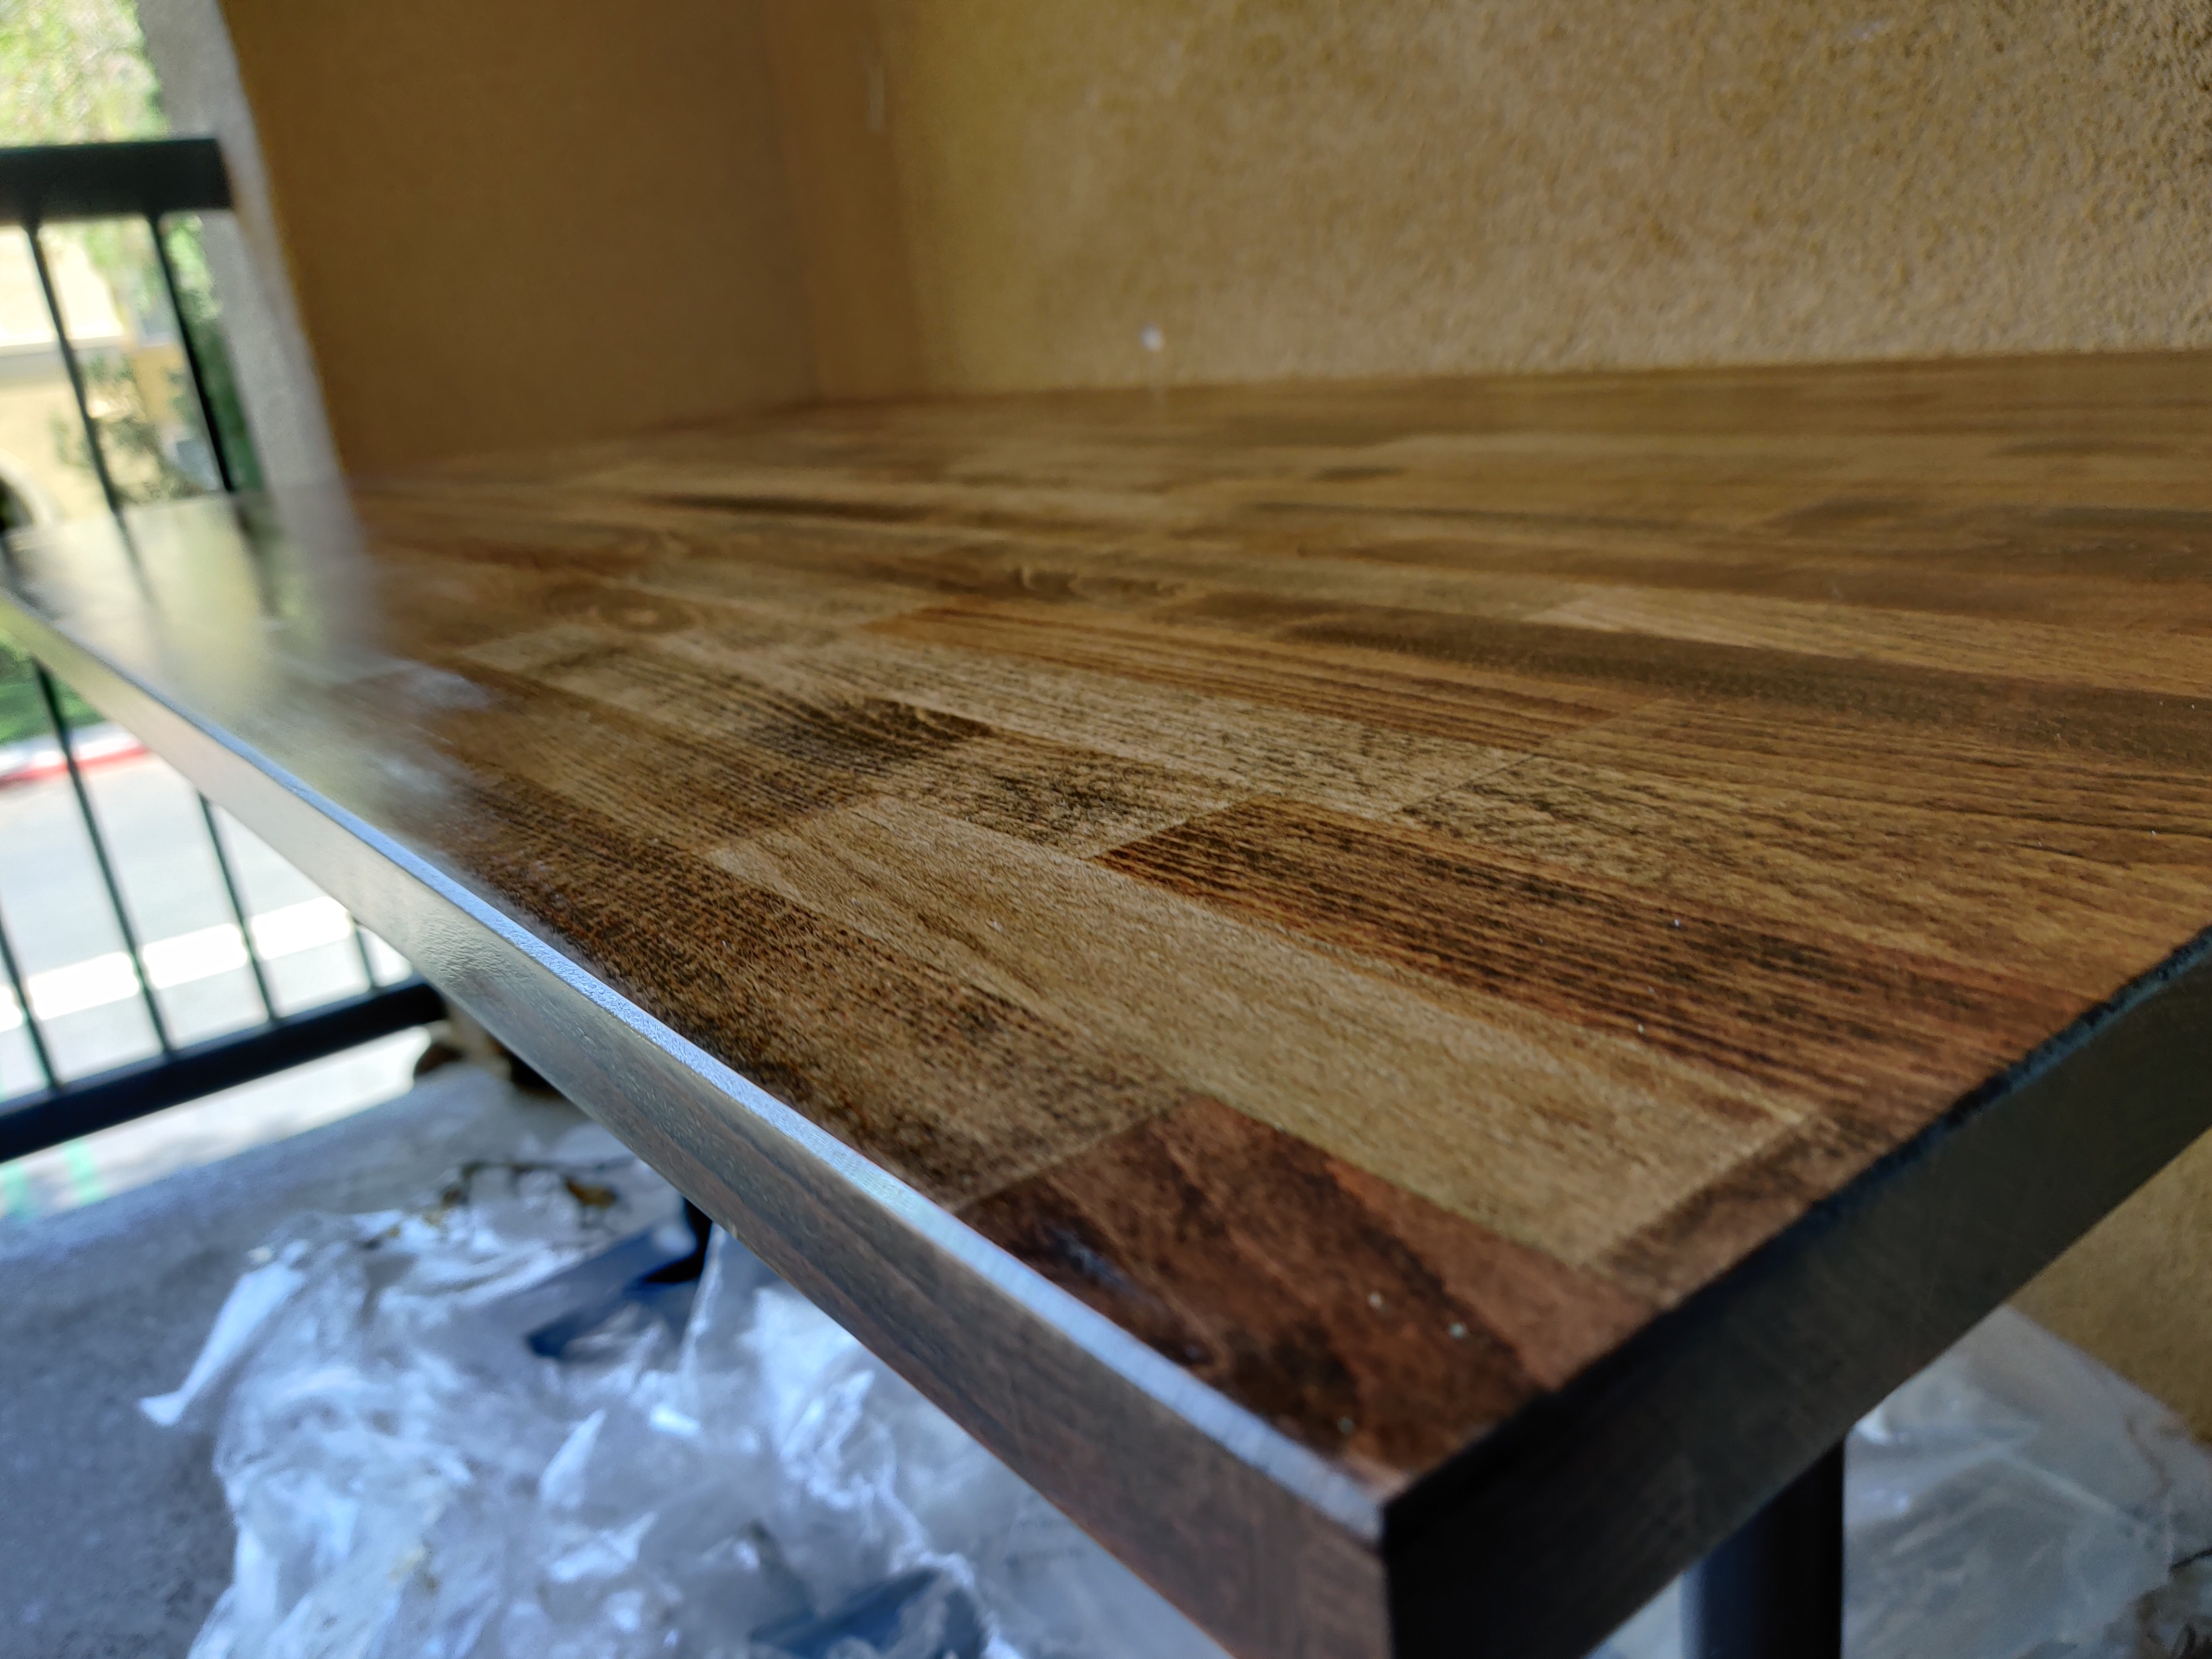
ill most likely stain and seal the Gerton when the season permits...
@ziogaschr You can use a stain or varnish to do paint it, I assume you want to still see the grain of the wood?
Regarding assembly, I too used the original plastic screws? to mount the gerton to the bekant frame. I had the bekant corner desk, but it fit like a charm. My frame was already assembled. I just flipped over the gerton and put the entire frame on it at once to line up the holes to drill.
Built a GERTON+SKARSTA desk half a year ago, holding up really well so far. I used the screws that came with the SKARSTA and just added matching threaded inserts into the GERTON. Finished with the standard STOCKARYD oil. It's holding quite a big weight with no issue (about 25kg + 25kg of the table top itself). Rock solid at the low position, acceptable wobble at the high position, and the crank isn't too hard to turn.
I had an issue where the holes on the SKARSTA didn't align completely with the threaded inserts in the GERTON. I think that was because the metal plates of the underframe weren't completely flat, so once it got pressed to the table top they stretched a bit and became misaligned. Had to use a file to adjust the holes in the underframe.
Also, after about a month there started to be an obvious color difference where the desk had been covered:
Thanks for this and especiallt for mentioning the specific size insert nut. Picked up the Idasen underframe and the Gerton tabletop today at Ikea.
I'm about to get a Gerton/Idasen. How is the stability on this on both sitting height and standing height? Are you happy with it?
I'll have 3 monitors on it and mostly i'll be using it on sitting height.
TIA!
HI, I purchase the manual 57" Idasen underframe and 63" Gerton top, not the sit/stand model. It's very sturdy and am very happy with the purchase. I use it daily for many hours, and on my three day weekends from work, I'm on it practically all day studying for the classes I'm taking in college.
The base model has some manual bolting adjustments that can be made for the single post part of the legs, I have mine set at about halfway and it feel like a suitable height for me. I have two 24" monitors mounted onto it. Three monitors would probably take up the entire width of the 63"desktop, but the stability of the desk itself would not be an issue. I like the extra space to keep, my laptop and tablet, a small air filter, two LED key lights for zoom class meetings, a laptop and tablet, and other various things on it. There is no wobble at all and the desk feels very sturdy. I feel I could even sit or stand on it if needed.
The first week I could hear a little 'creaking' noise coming from the underframe, where it was screwed into the tabletop. It was most likely from the friction of the bolted metal settling into position. When assembling it I tightened all the bolts pretty well, there is a little room for adjusting on the non-threaded holes, and this is probably where the sound was coming from. It's been in use for a few months now and I don't hear those sounds anymore.
I'm happy with the purchase and have found no actual need to stain or seal the Gerton top yet. I bought a bottle of their mineral oil and applied that, speaking of which, I might apply it again today.
While I don't regret not buying the sit/stand model, if the additional cost weren't an issue, I probably would have bought that model instead. Having the option to stand occasionally while at the desk for long sessions would be nice.
@ziogaschr You can use a stain or varnish to do paint it, I assume you want to still see the grain of the wood?
Regarding assembly, I too used the original plastic screws? to mount the gerton to the bekant frame. I had the bekant corner desk, but it fit like a charm. My frame was already assembled. I just flipped over the gerton and put the entire frame on it at once to line up the holes to drill.
Hi this table looks great! What finish did you use here?
Never knew I would get my Ikea hack instructions from a gist, but here I am. Thanks for a thorough guide for customizing the table top for a Bekant standing desk. 😀🙌
@yuraymondl that looks terrific! thank you for sharing. You've definitely inspired me to go after something like this. The Karlby is always sold out, and turns out to be way more expensive than the Gerton.
Skarsta + Gerton. Still need to do some sanding and apply a varnish. Added this cable duct to keep things neat. Colour is identical to the Skarsta frame.
@FlexMcMurphy
Nope got the chair from a neighbour. It does not have any brand or information on it. I am thinking of putting rollerblade wheels on the chair, so it moves more swiftly haha
I'm buying a idasen underframe.
And I ordered a maple wood board from a carpenter.
He is putting metal fitting under the board to avoid curling. He will put them in a way that they are even with the rest of the surface.
The question is what are the exact dimension of the idasen fixtures so we do not hit a metal bar.
Has someone made a detailed plan of the idasen underframe?
For those who do it with the original plastic plugs, is it strong enough when you left the table? The motors are seriously heavy so I would be afraid of the plugs ripping out of the desk when lifting it.
Thanks for the great info. I am planning to buy a shorter frame with length of about 1.2m and the table top at 1.6m. So the table would protrude out on one side. Reason for doing so is because I have a bay window (concrete slap of about 60cm height and depth). Its wasted space, so if I can do the above configuration, I could extend out to the bay window with this table. Of course, will not put heavy stuff on the side that is above the bay window concrete slap. Has anyone done anything like that? Would it work? I guess, may have to drill new holes on the table top. Any comments or feedback would be great.


Great gist. I wonder if anyone tried to paint the Gerton to look like Karlby.