- iFixit iOpener Set
- T4 Screwdriver
- T3 Screwdriver
-
After about 60~90 seconds, use Opening Picks (or a slot screwdriver that's thin enough to fit) to pry open the back cover from upper right corner

-
Remove the screws (T4) that keeping the black plate attached to the frame and remove the black plate
-
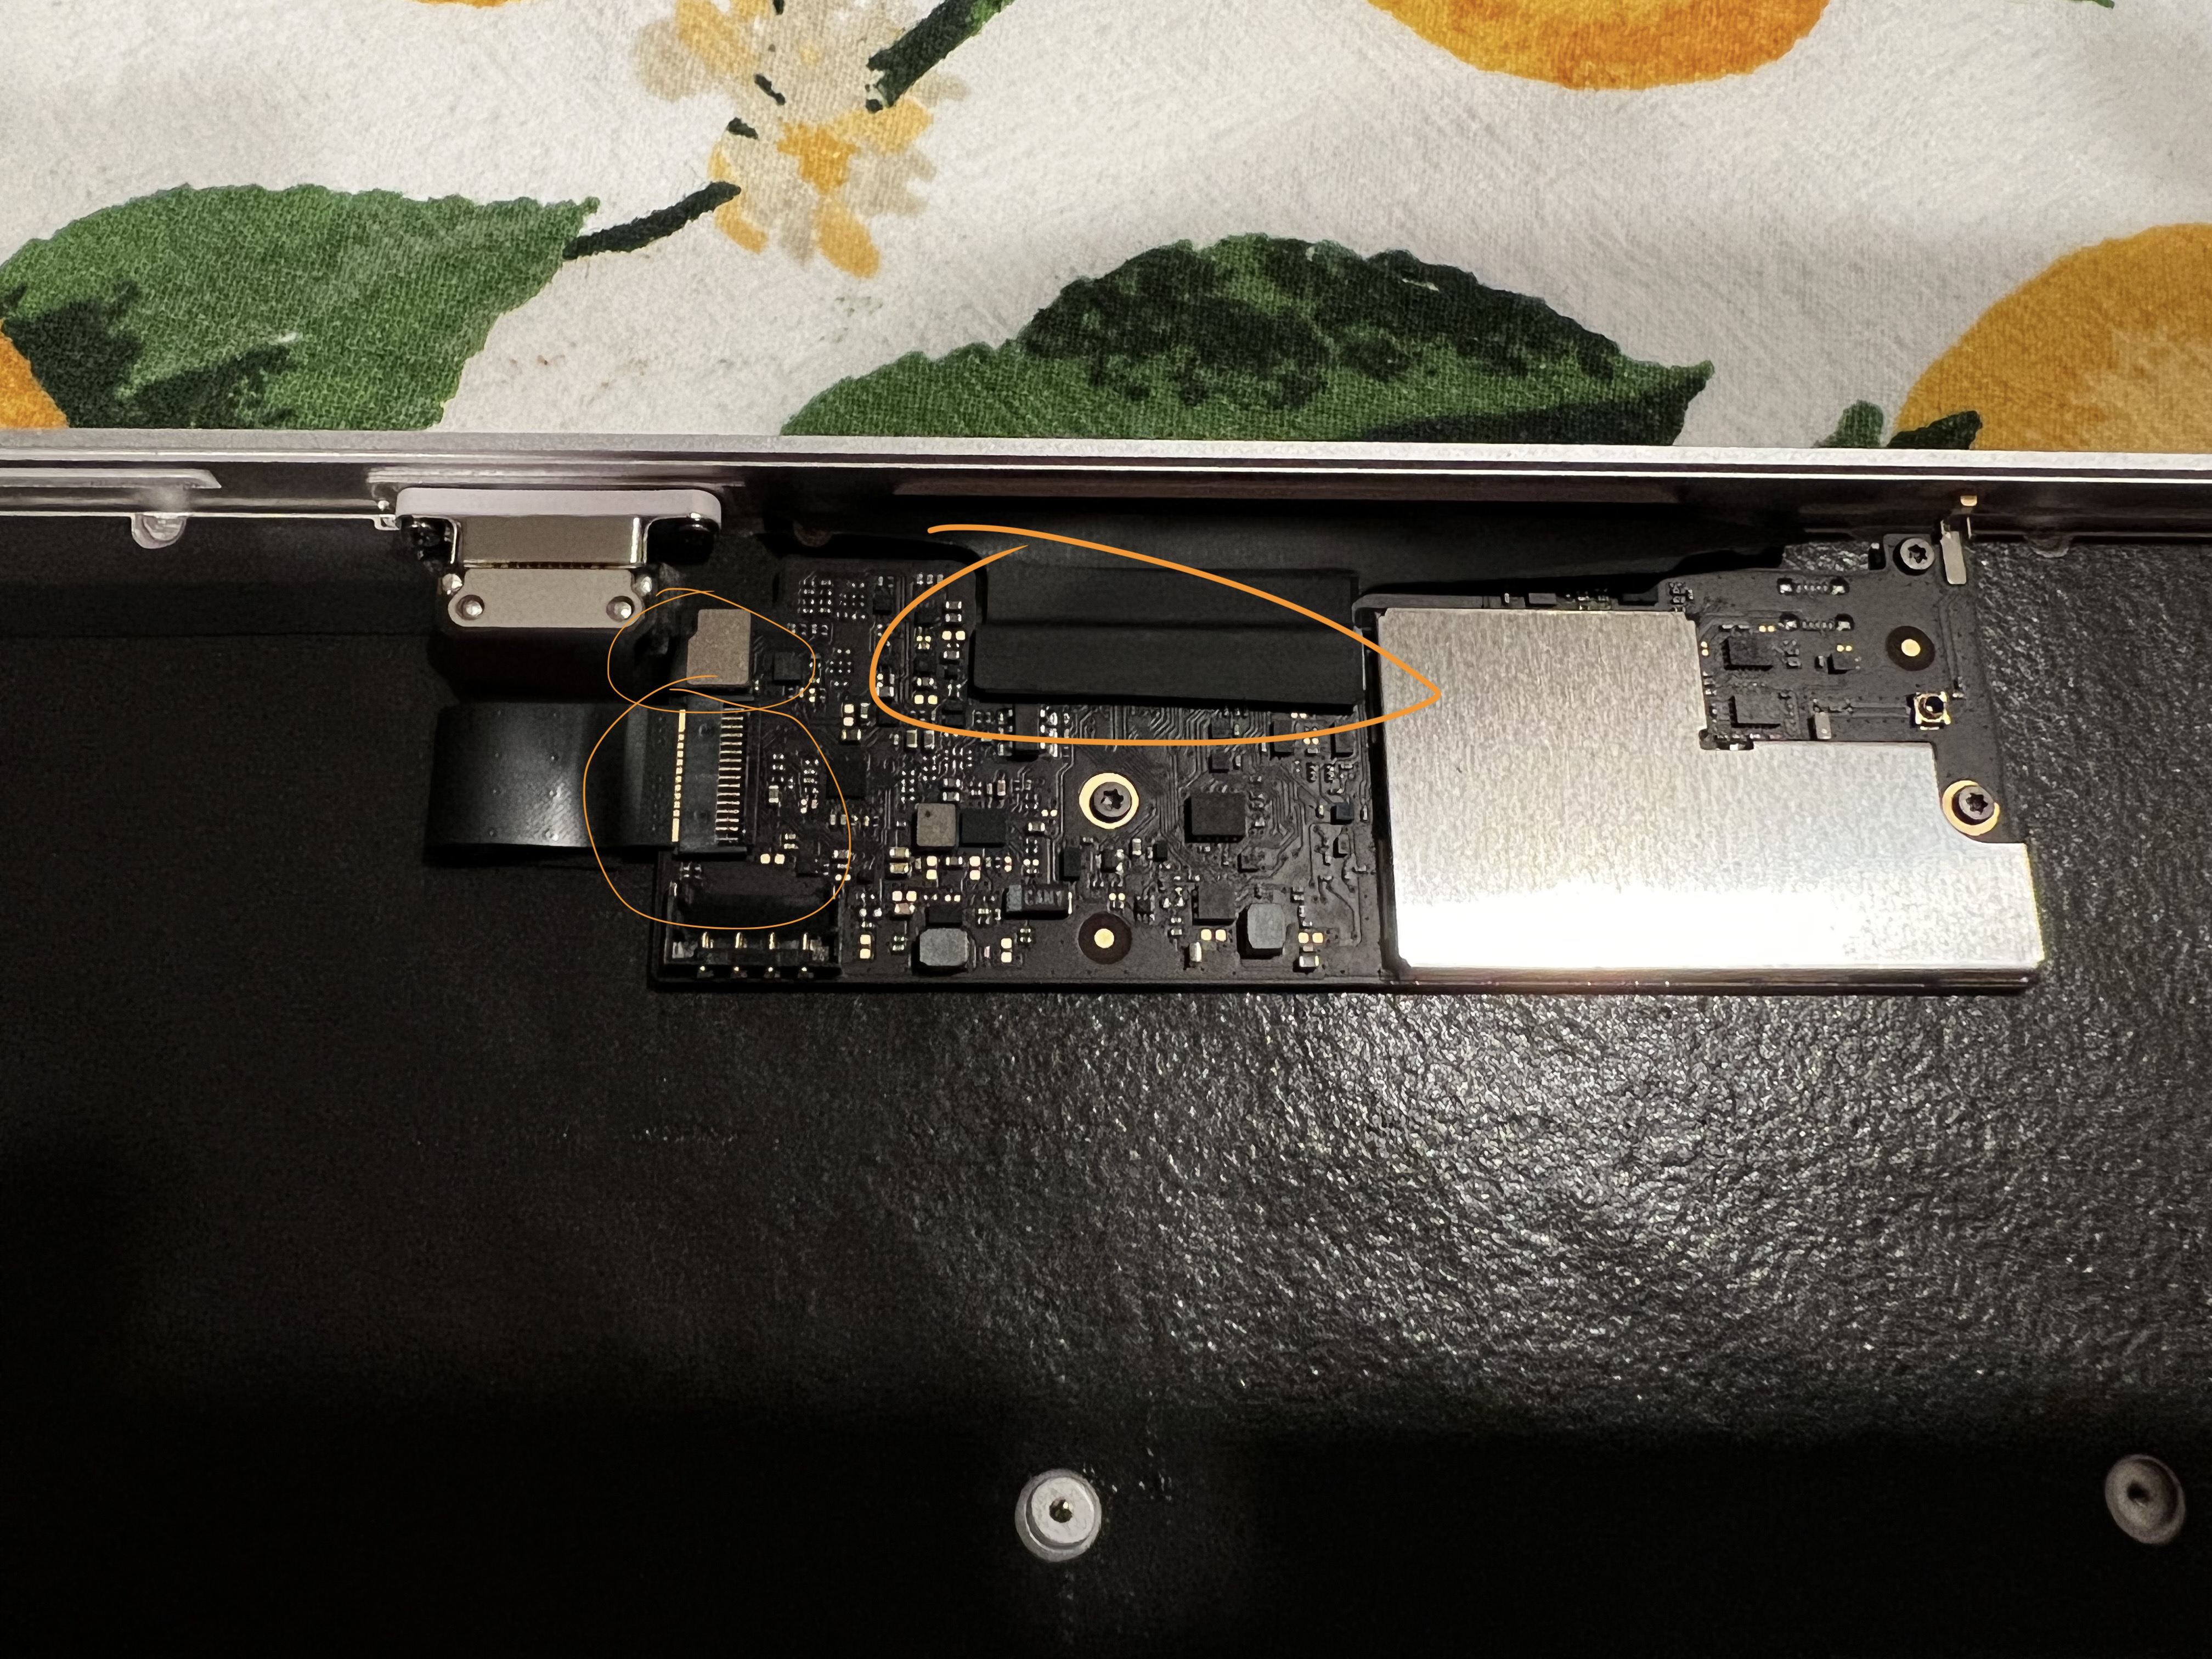
Disconnect all 3 connectors from the logic board and take out the logic board from the Keyboard frame


-
Remove the power switch from upper left corner (T3)
-
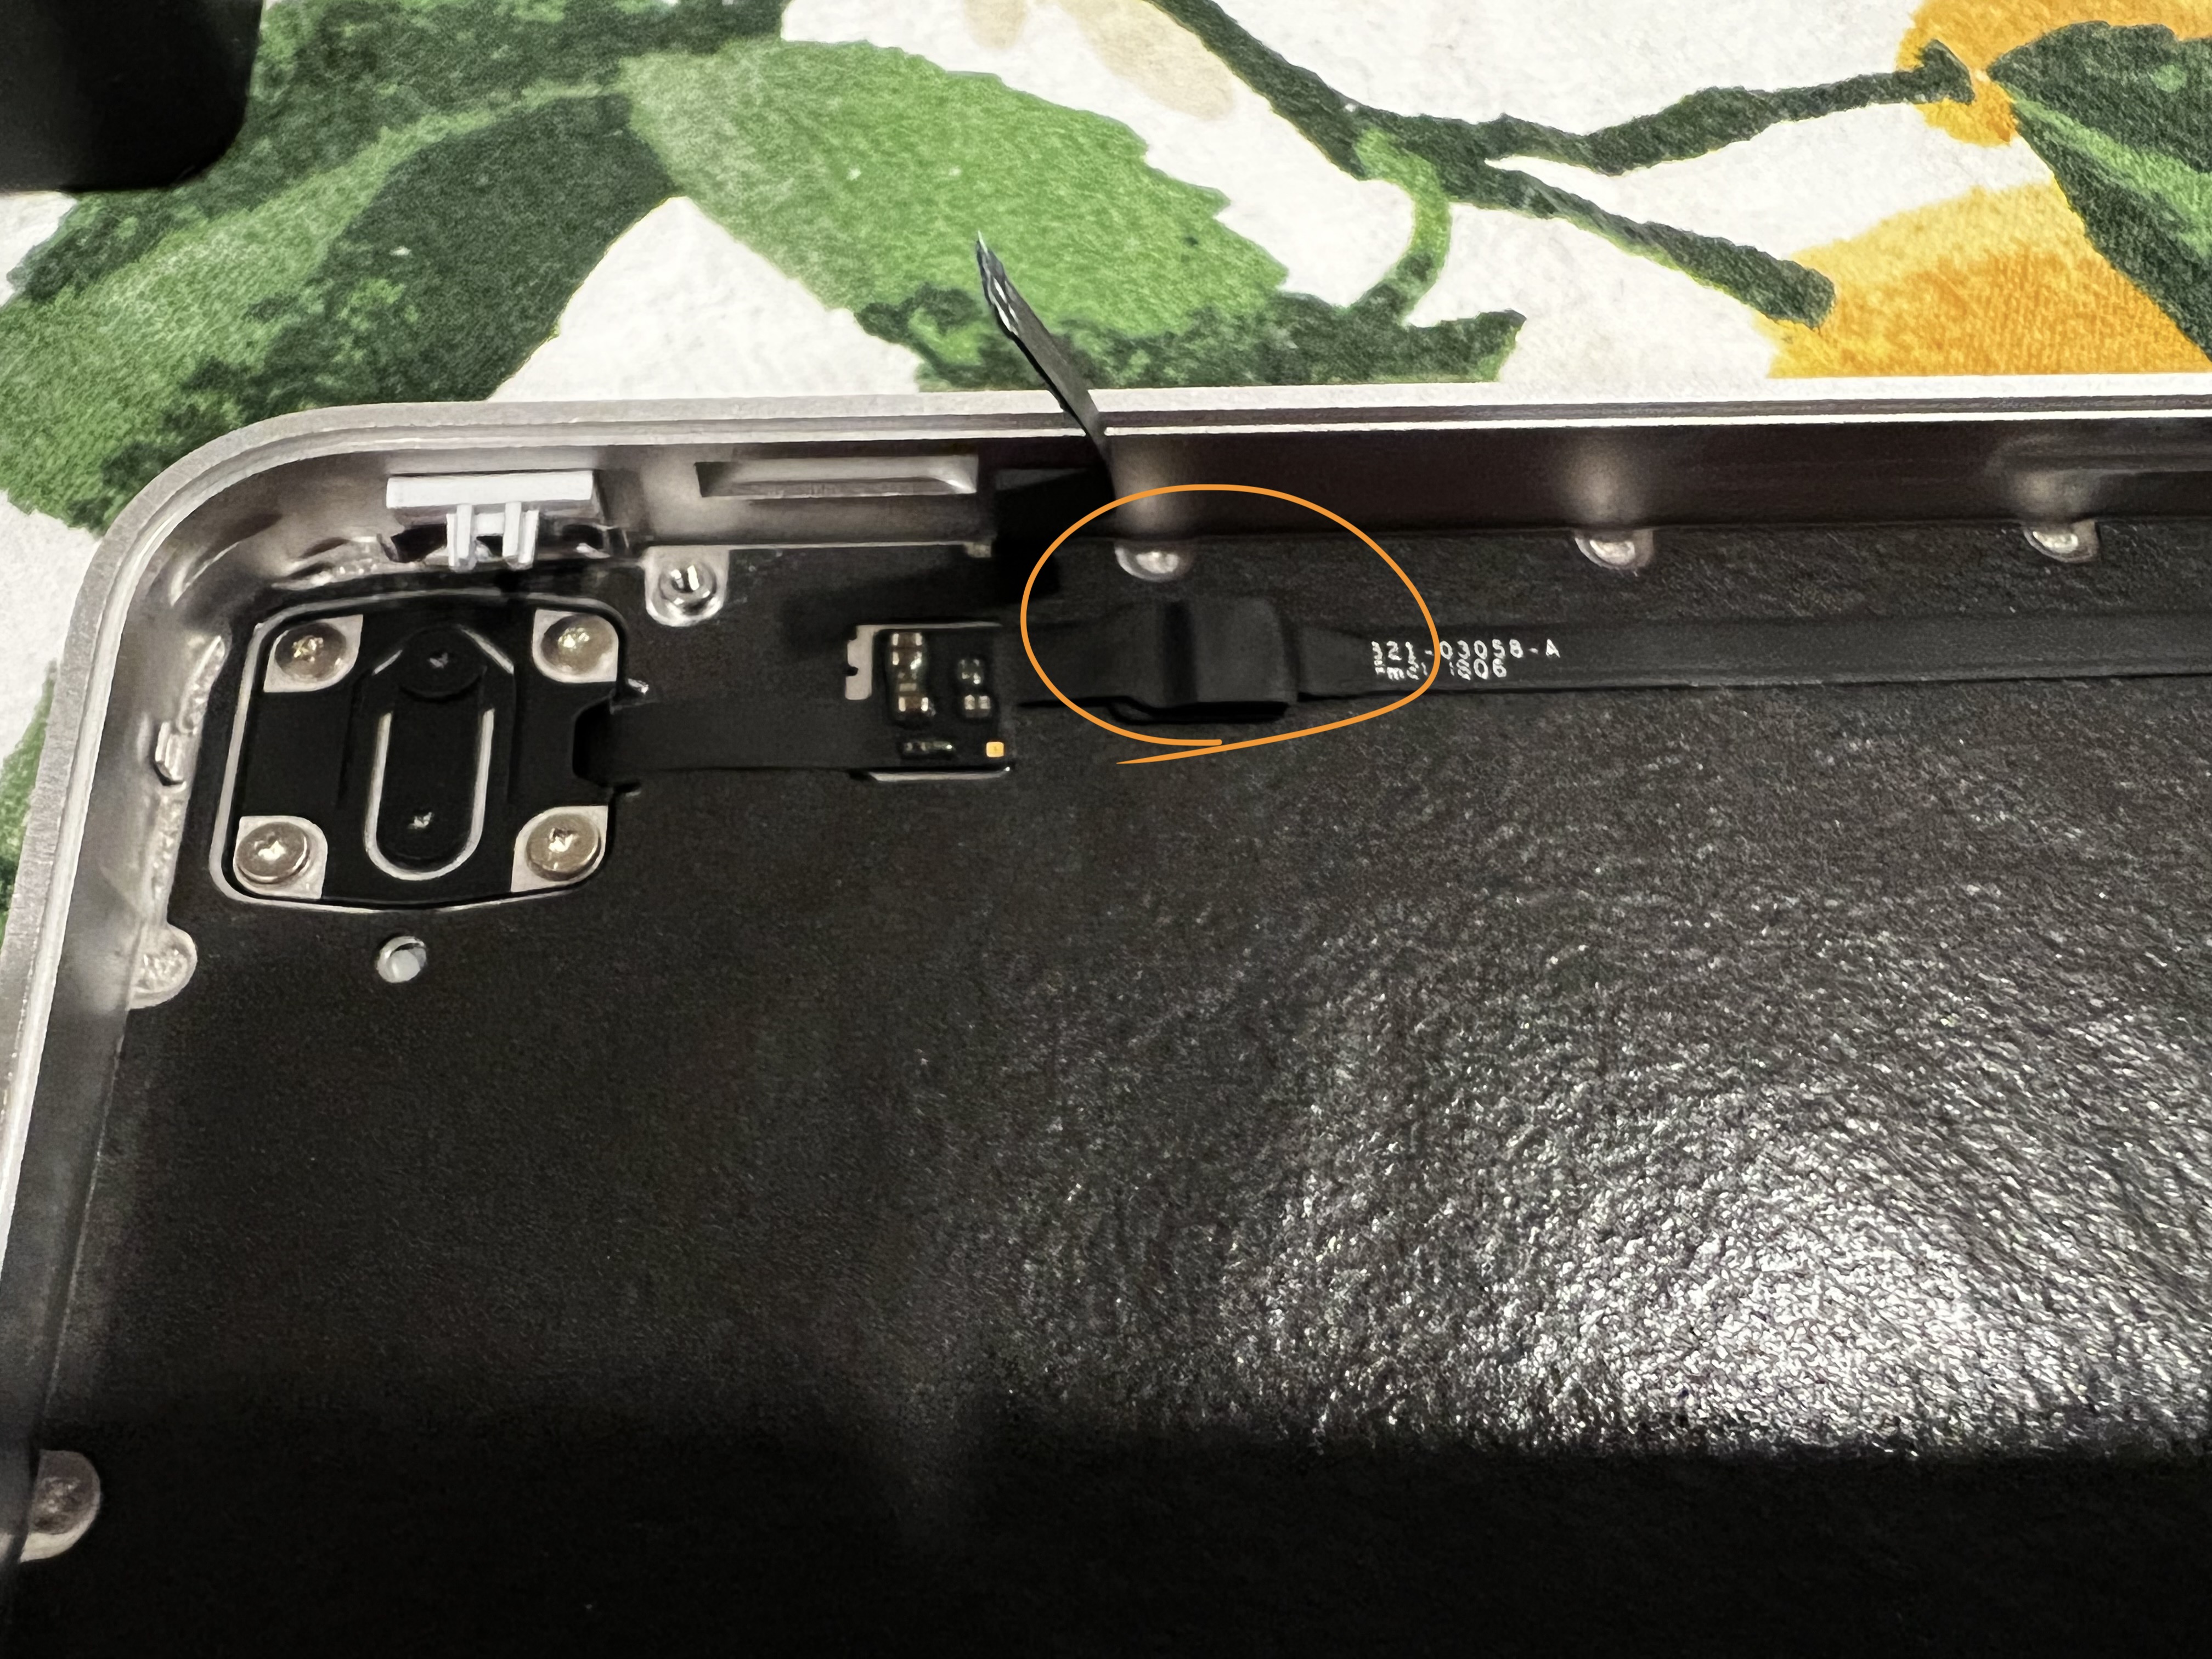
Carefully remove the sticker(?) from the connector and disconnect Touch ID sensor from the connector

-
Unscrew the mounting screws around the Touch ID sensor (T3), and remove the Touch ID sensor
-
Carefully remove the flex cable used to connect Touch ID sensor
Now you have all the parts to put together a standalone Touch ID device for your Apple silicon Mac.
After connecting the Lightning connector and Touch ID sensor back to the logic board, you can pair the Touch ID sensor with your Mac under System Preferences.
If the pairing step doesn't appear when you go to Touch ID settings -> add a new fingerprint, make sure the Touch ID sensor is correctly connected and try power cycle the Touch ID device.


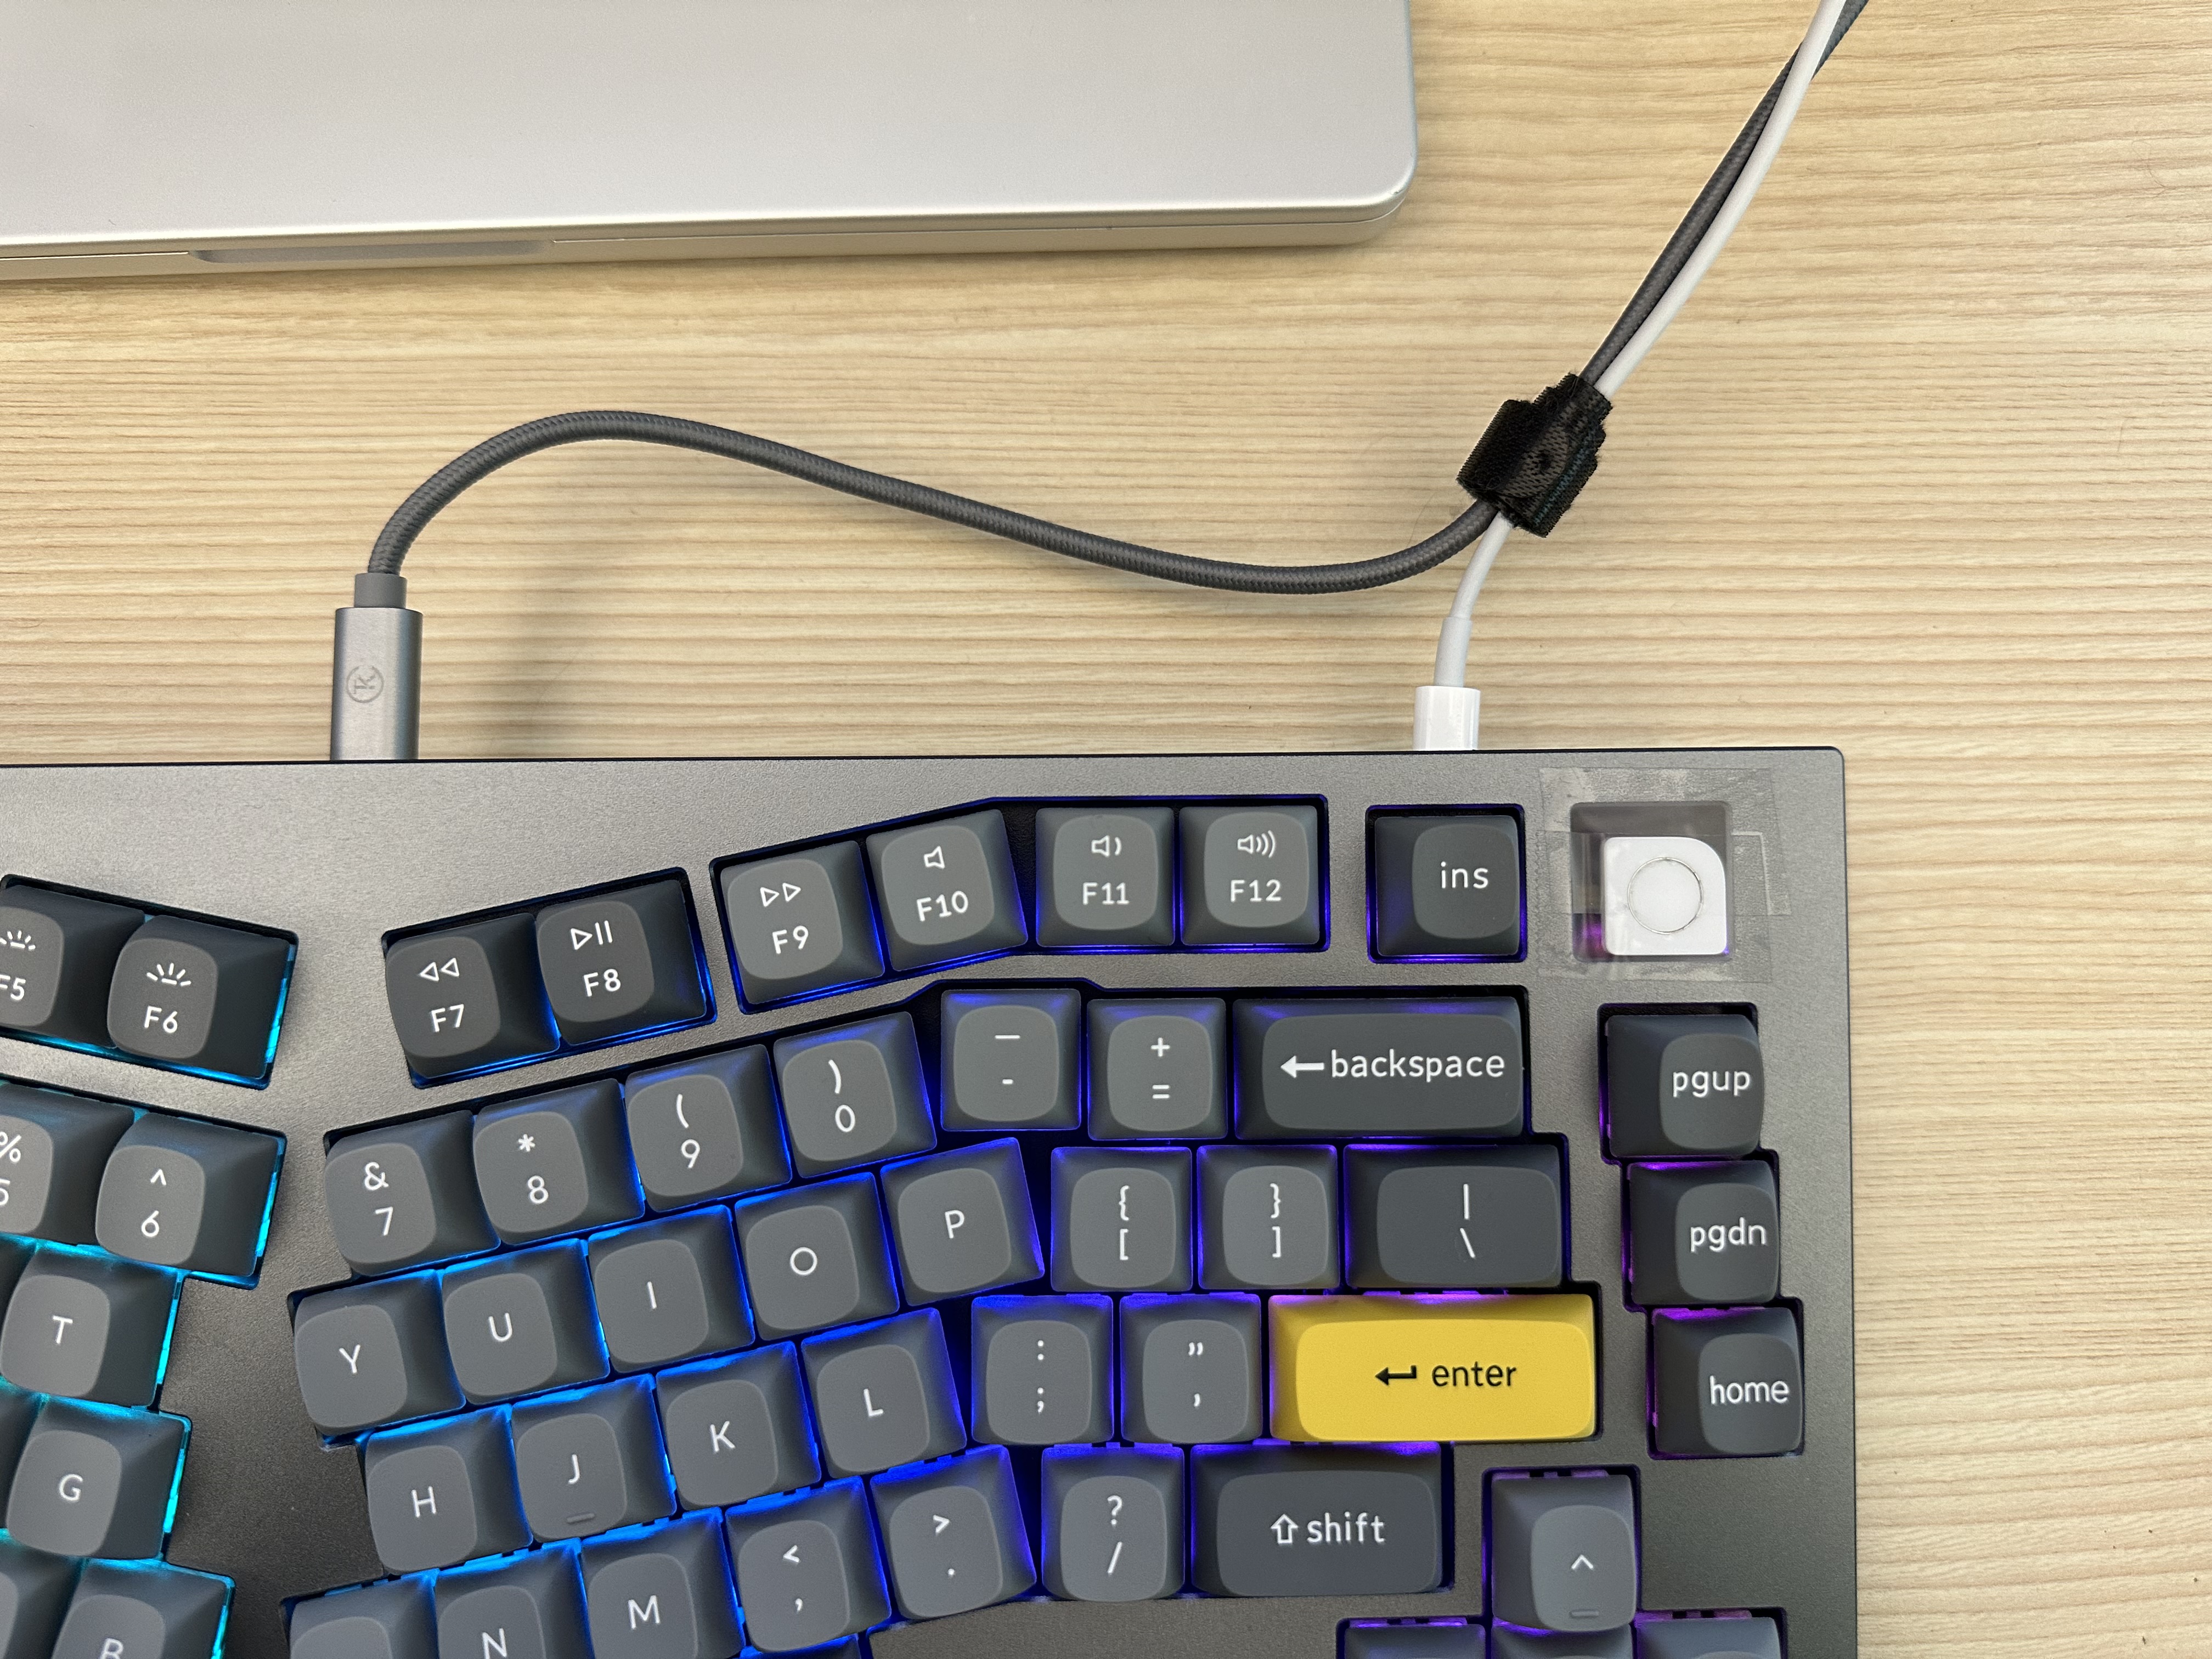
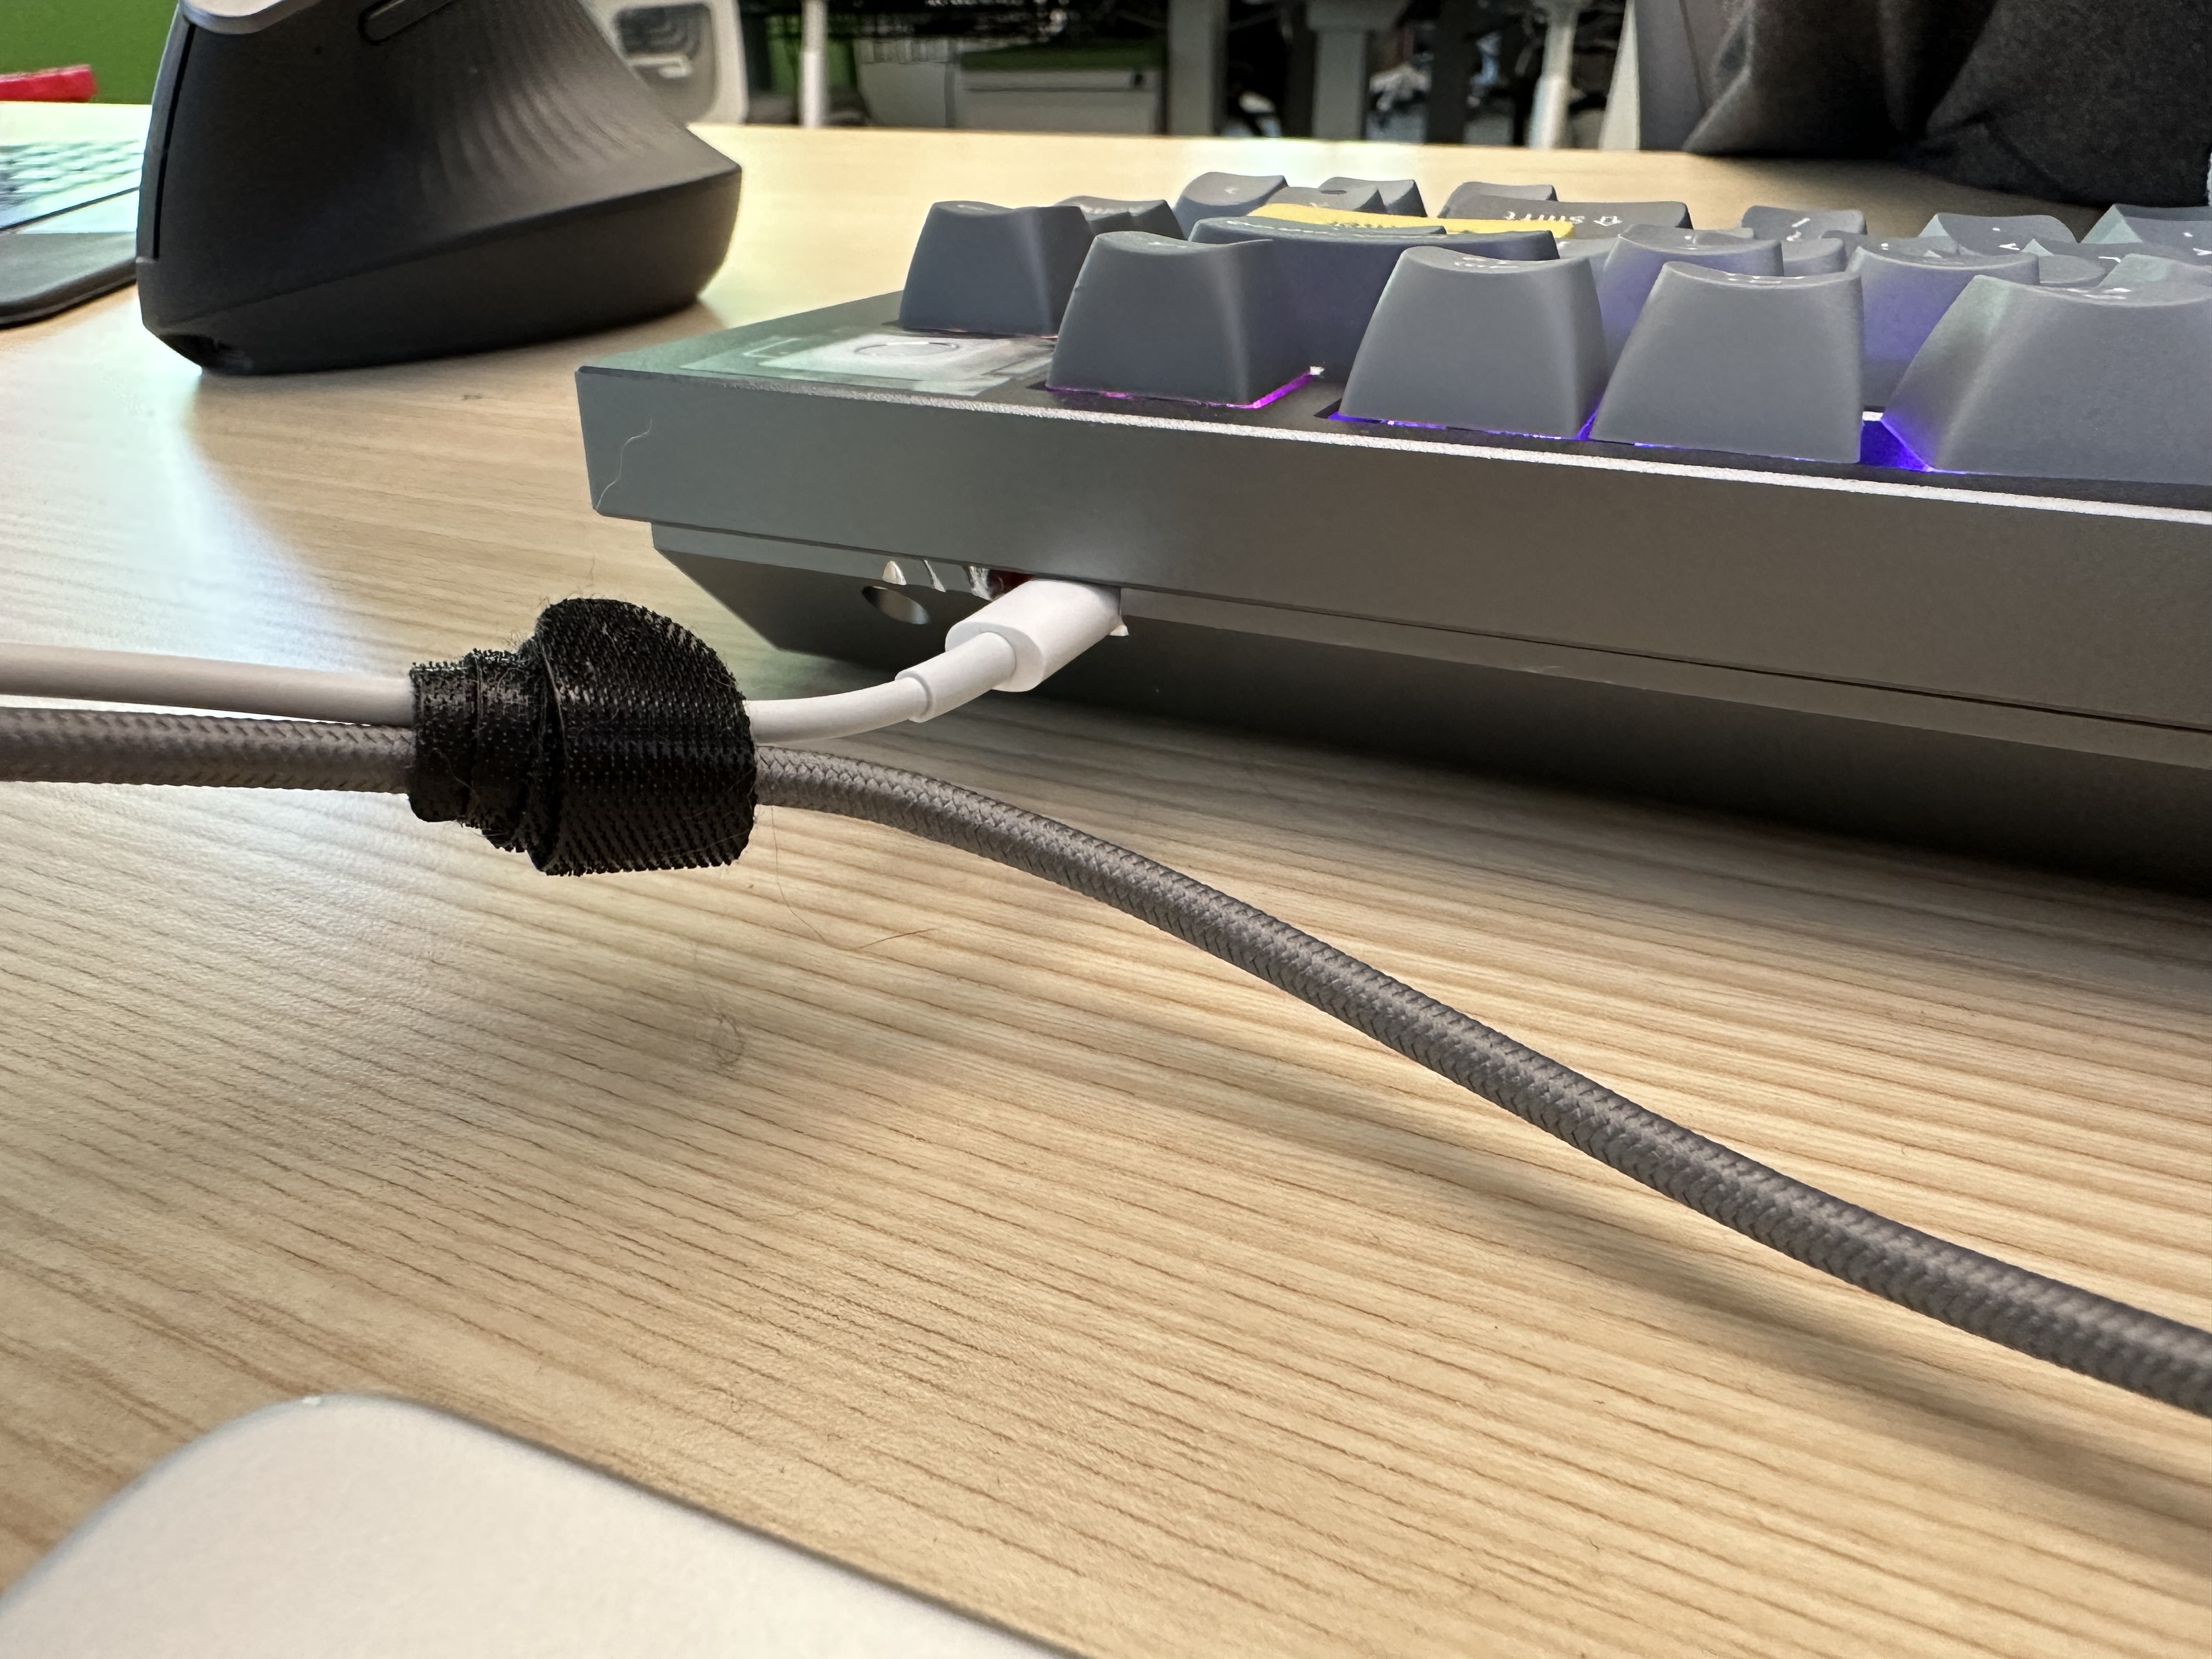
I still need to 3D print the keycap (h/t to @humza2000 for the idea and file, I was originally planning on replacing the nob instead), but it turned out really well. I used a mill to remove enough aluminum on the lower case of a Keychron Q10 to get the lightning cable through. The female connector is just taped to the underside of board on the inside so it has enough hold to not move around, but I had to plug the cable in before shutting the case. I don't disconnect my keyboard very often so I'm ok with this compromise but might revisit in future if it starts to bother me.
The random gashes in the aluminum are due to the tray coming out of the vise mid operation in the mill. After that I cleaned it up with a file and I think when I do my second one of these for my work keyboard, I'll just do the whole thing with a file. It goes fairly easily manually.

